DIY kitchen: planning, assembly and installation of kitchen furniture, facades, (75 photos of kitchen design)
In this article, you can learn how to repair a kitchen with your own hands, as well as choose a specific decor for a headset and do it yourself.
- Kitchen planning
- We collect bedside tables
- Installation of pedestals starts from the corner
- Particle board surface
- Drawers
- Volume bottom drawer
- The position of the ties on the nightstand
- Wall cabinet for dishes
- Installation of wall cabinets
- Kitchen without facades
- Facade
- 75 photos of a do-it-yourself kitchen interior
Kitchen planning
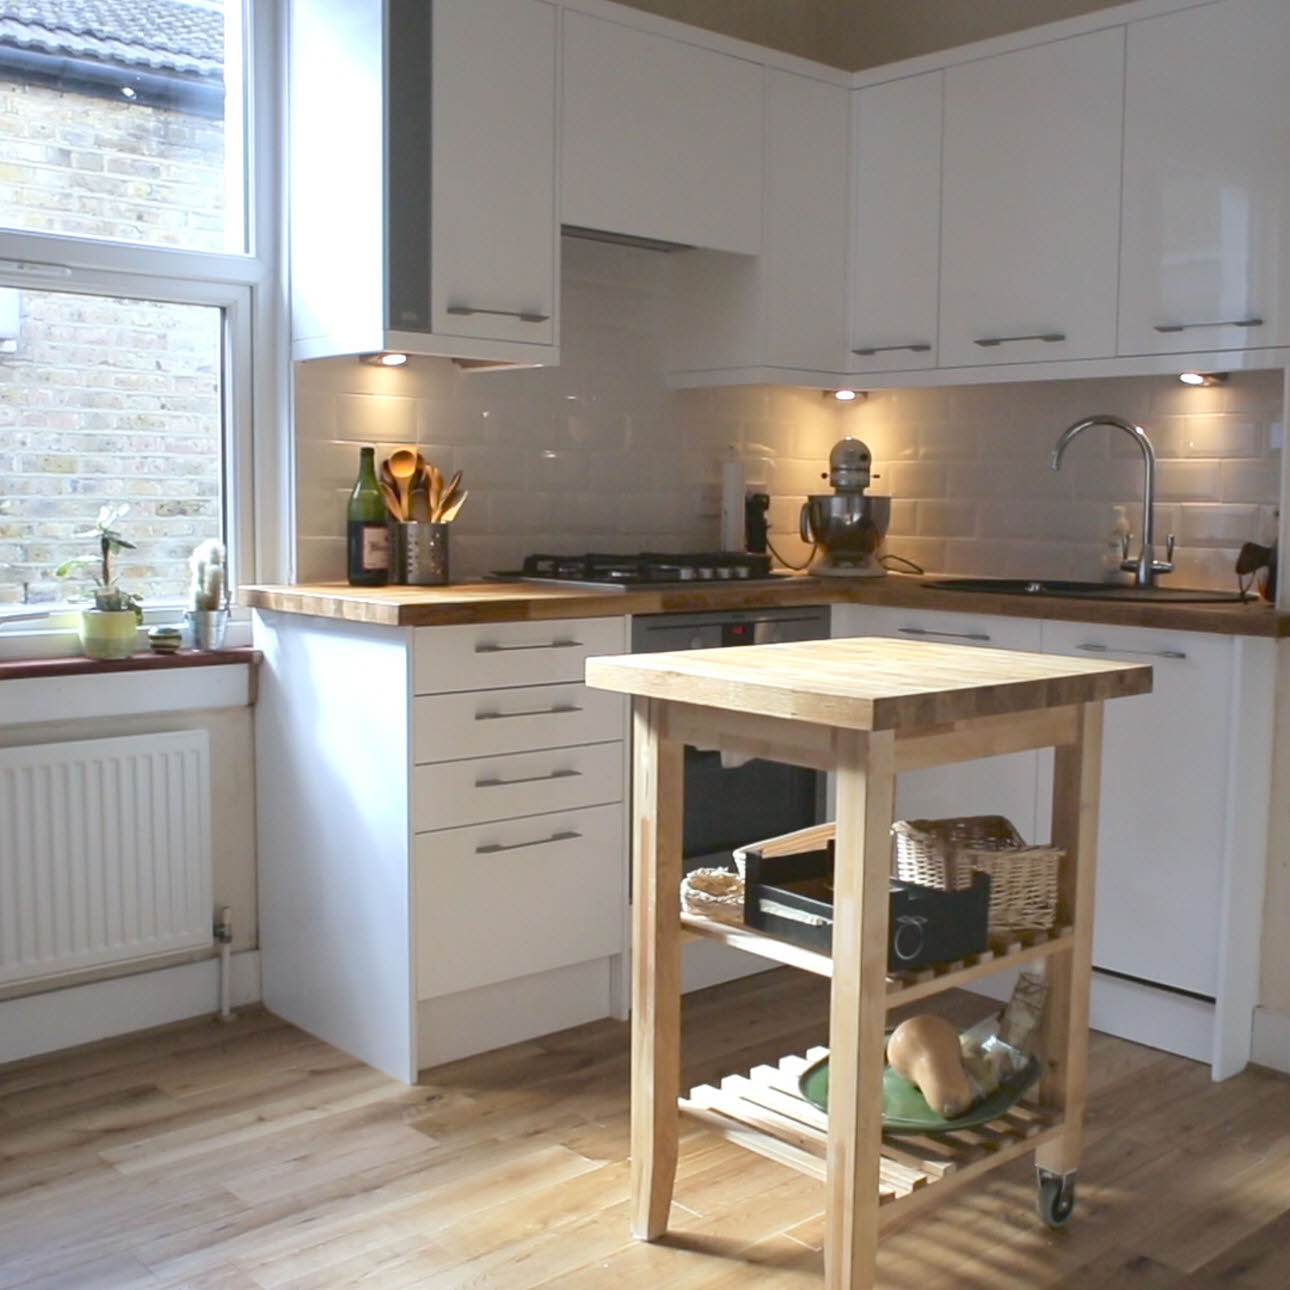
This room has an area of about 8.5 meters, one door, conveniently located. The place of the window sill is made of laminated particleboard and the countertop is 3.8 cm thick. This can be seen in the photo of the kitchen with your own hands.
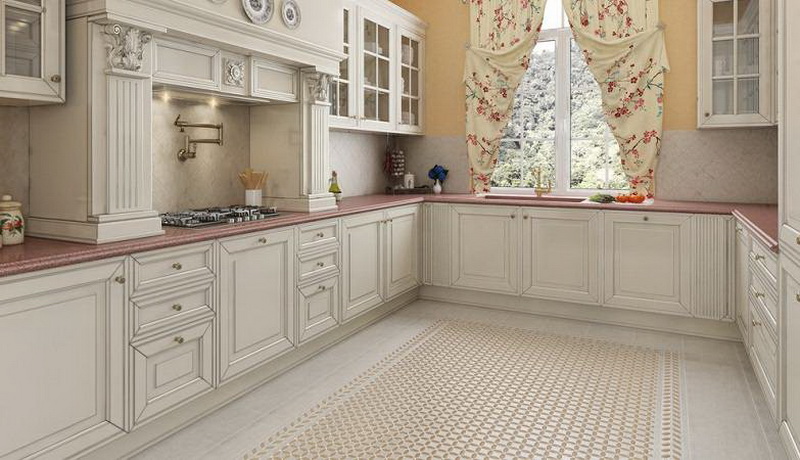
In our case, the idea for a do-it-yourself kitchen is a p-shape. For this, the facades will be from MDF, covered with a film, so it will be more durable and reliable.
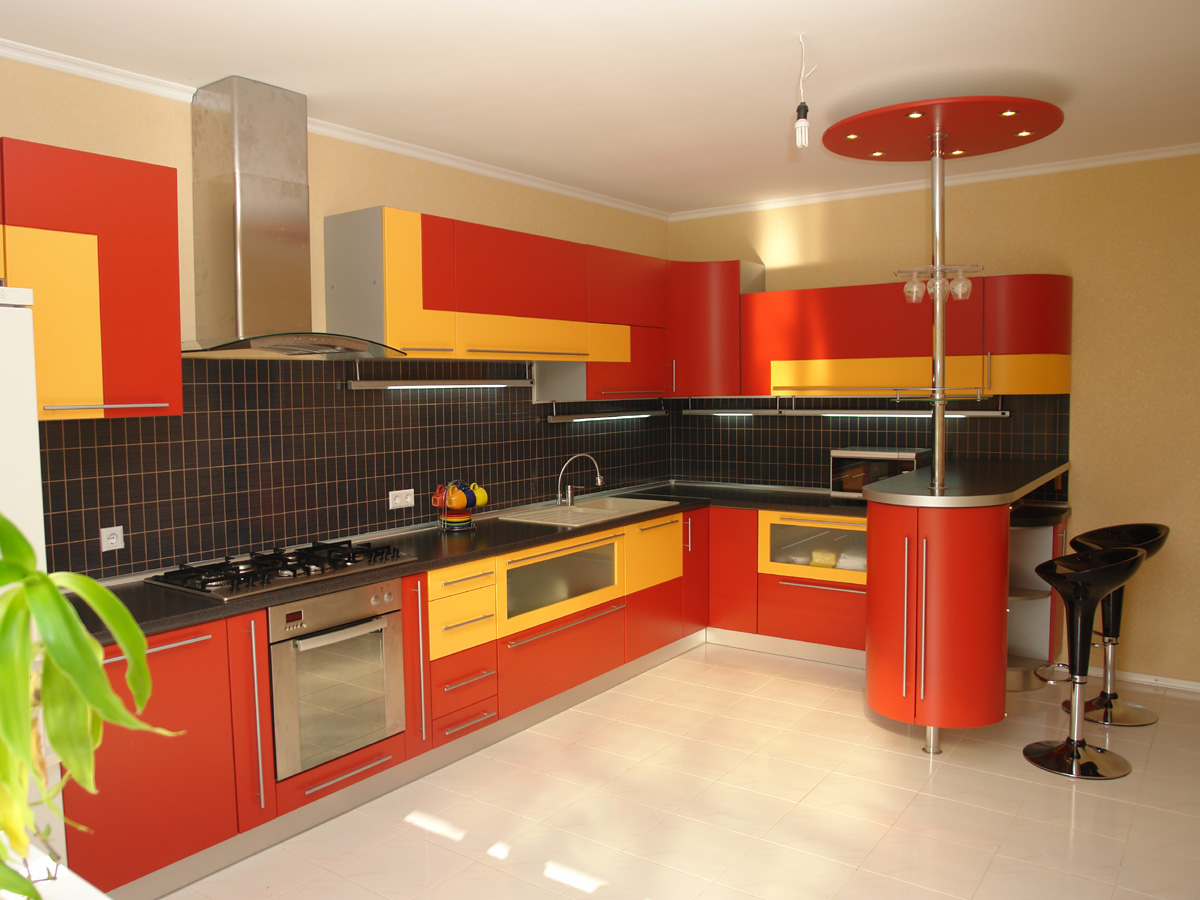
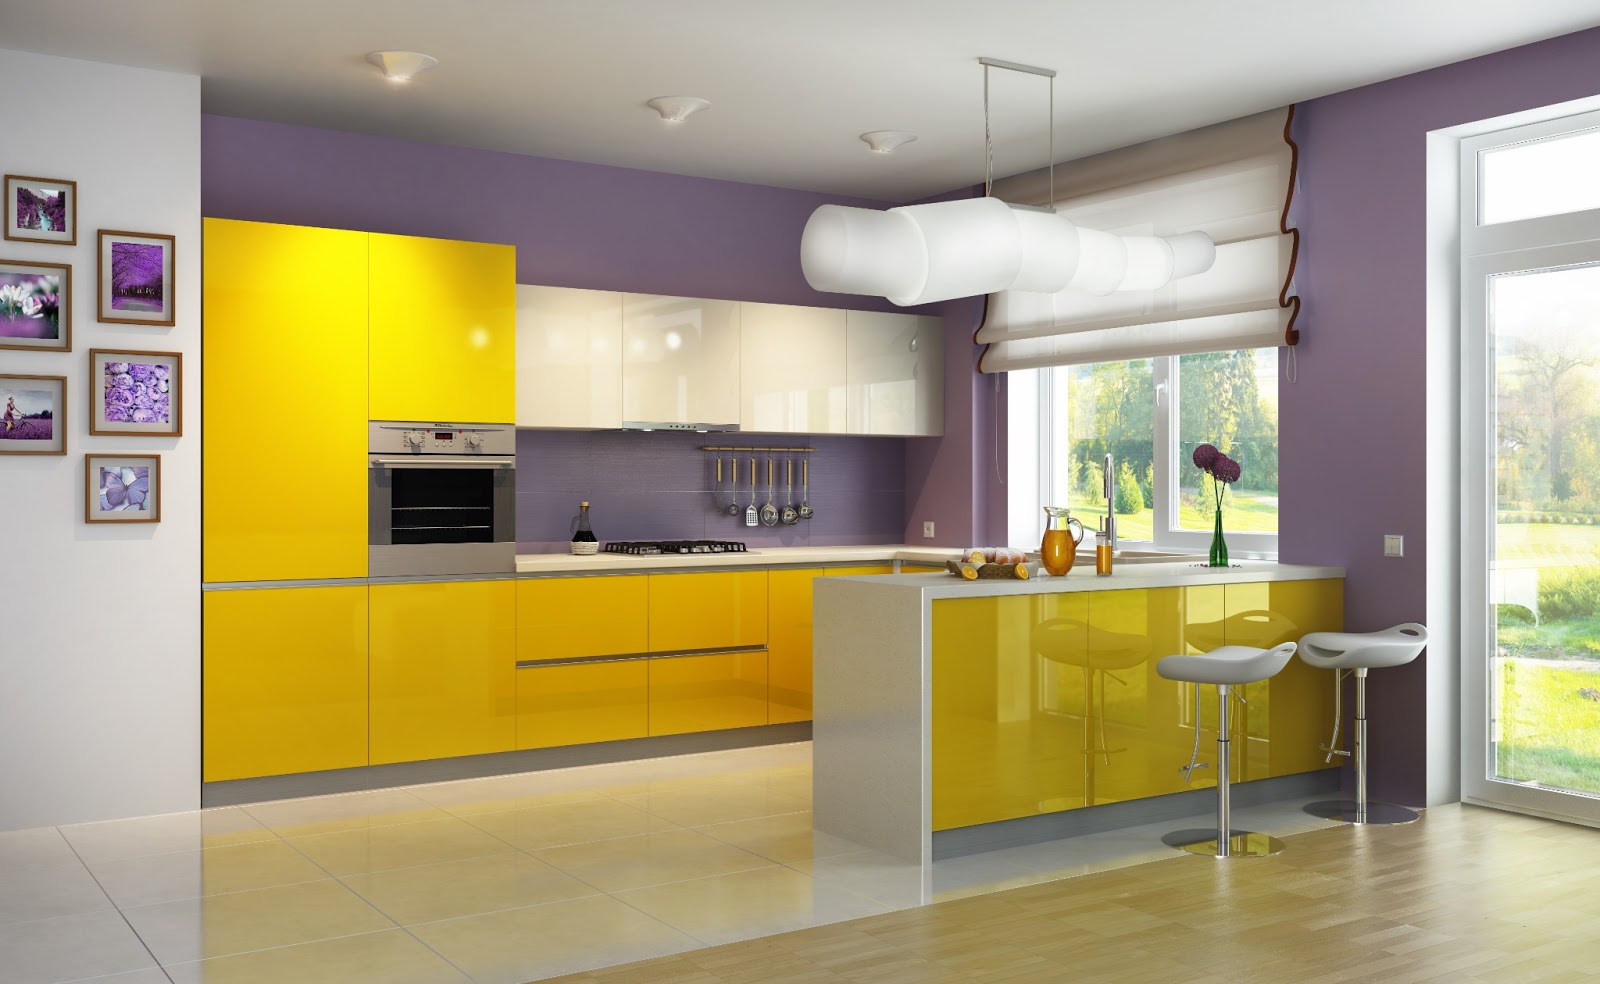
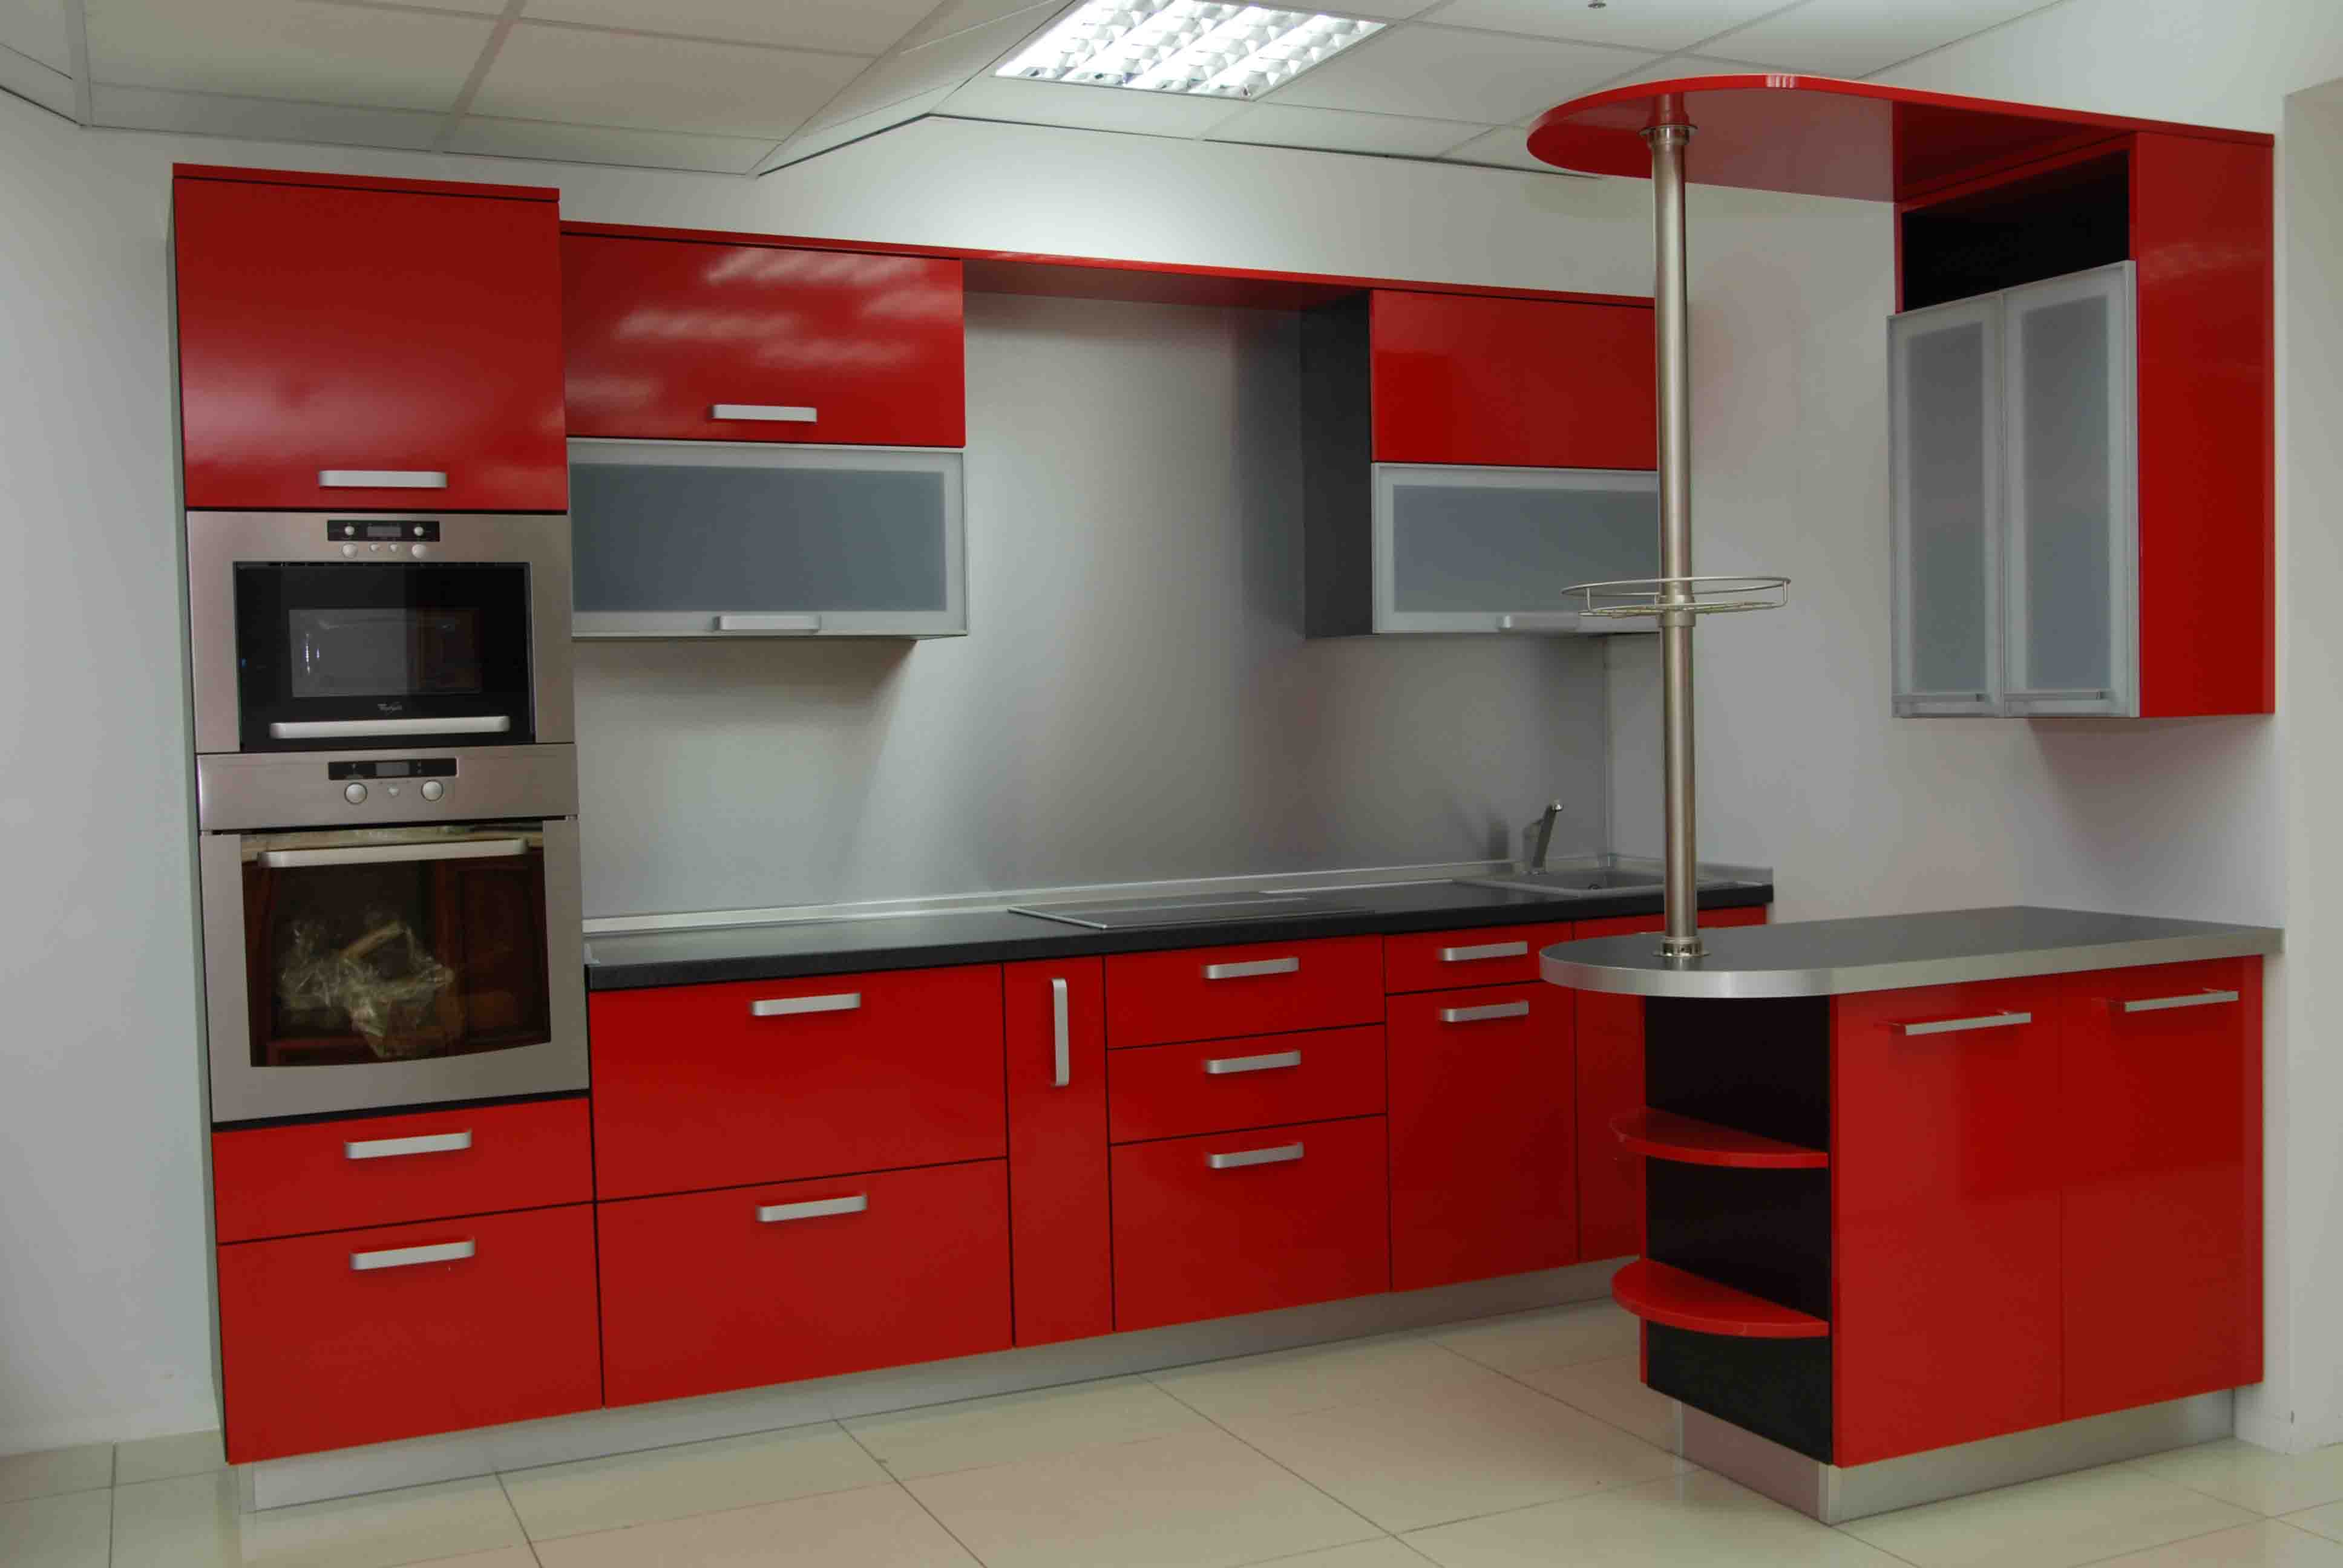
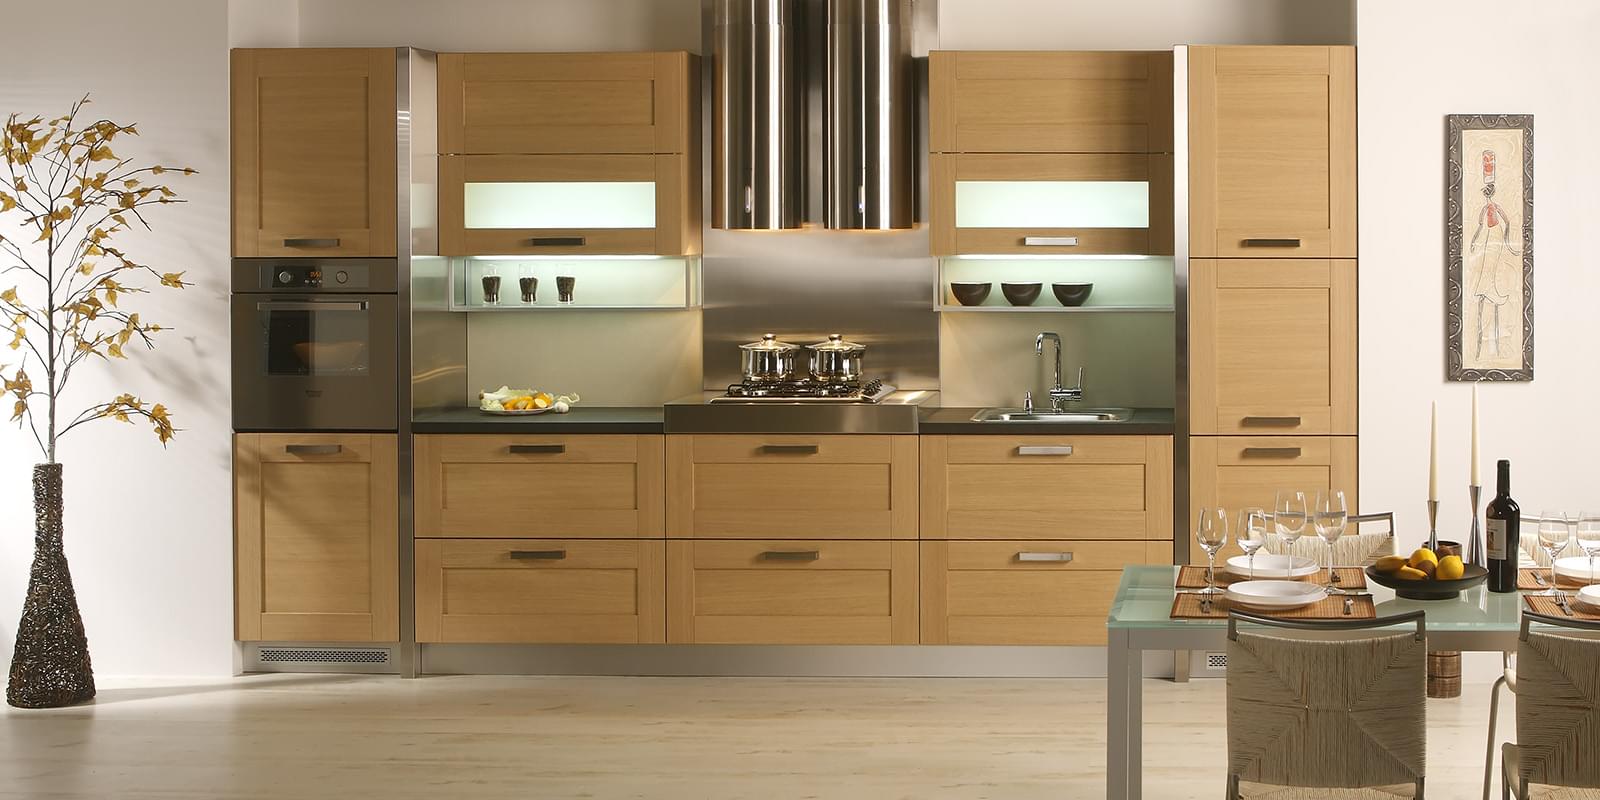
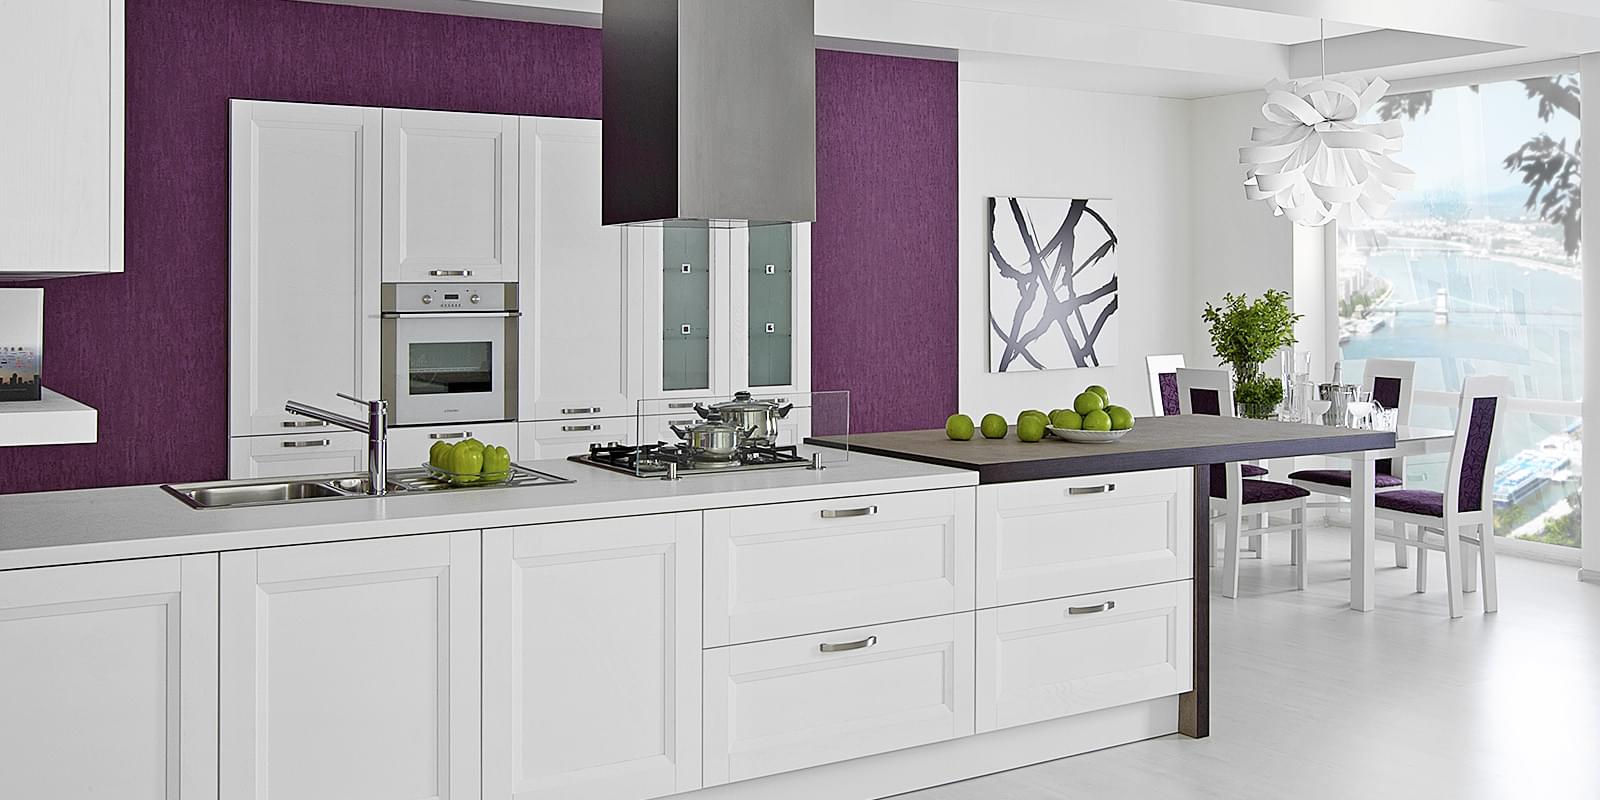
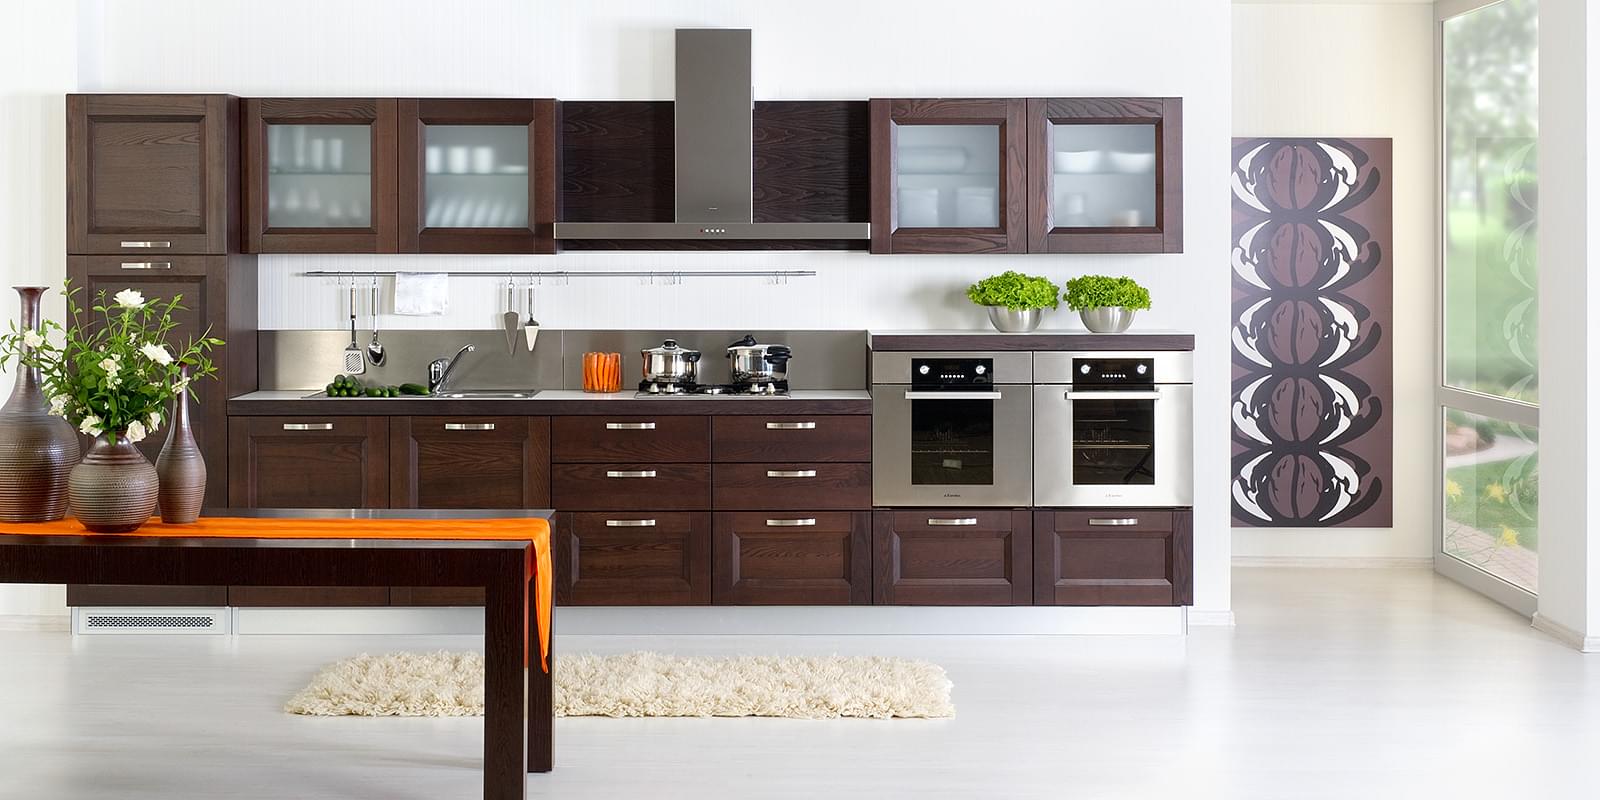
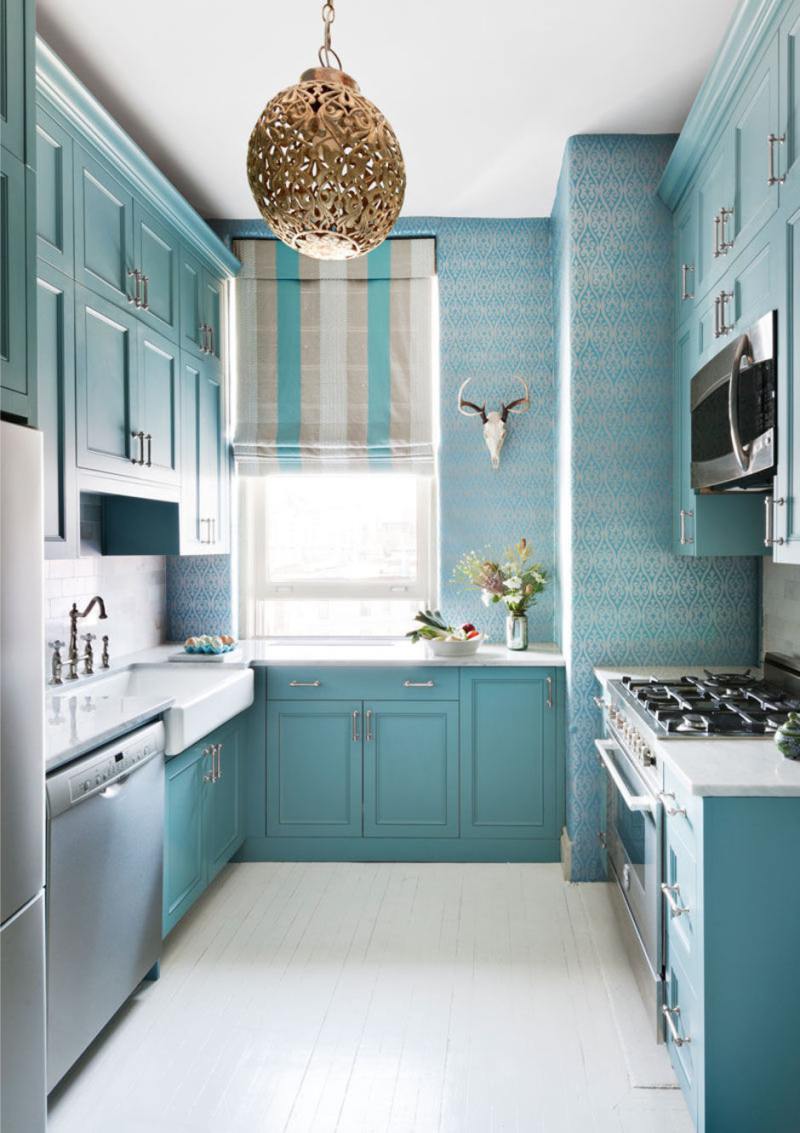
In the kitchen photo with your own hands you can see the selected specific color and type of handles, which can be different.
We collect bedside tables
We start the assembly from the coal bedside table where the washbasin is located. Pipes for runoff and water pass through it.
The depth of the bedside table is 50 cm, and the countertops are 60 cm. It turned out a small place near the wall of 5 cm. In front, the facades are supplemented with 1.8 cm, and for handles - 3 cm.
Installation of pedestals starts from the corner
In the angular nightstand 2 ties are arranged vertically, and the third is horizontal. A third is sawn together with the countertop in order to install a sink. Then you have to shorten the screw coupler.
According to this principle, we put each side table on 4 supports that can be adjusted. Subsequently, it is closed by a base, which is pushed inward.
The gap between the front edge of the nightstand and the base is 5.5 cm. The front legs of the nightstand are recessed by 5.5 cm. If all the nightstands are assembled on the first side, we put them along the level and grab them with ties.
Particle board surface
The plank, which repeats the appearance of the mating surface, connects the countertops in corner kitchen not only in one place. The window sill does not allow the connection to diverge. And the bedside table, where the joint is located, which makes it possible to screw a self-tapping screw through the cover into the windowsill and into the surface of the bedside table.
Drawers
The dimensions of the drawers, as well as continuous protrusion and the implementation of soft closing with finishing. You can purchase a kit that cannot be changed or order a cut of segments from the full part - the bottom of the box and its back side.
And to reduce costs, you can make boxes of laminated chipboard. Then we use the guides of the hidden installation only if they are released by the same manufacturers. Then be sure to start planning with the selection of guides.
When repairing a kitchen with your own hands kitchen set will consist of two nightstands with drawers, 4 pieces each. The lowest, 24 cm deep is made to store large dishes. And others are the same in height and have a capacity of up to 11cm.
Volume bottom drawer
This is the nightstand where the cooking surface is placed. Links are located under the very first box. They do not block the movement of air required for the operation of gas burners. The distance between the first drawer and the surface of the nightstand is 6 mm.
The position of the ties on the nightstand
When assembling drawers, pay attention to the additive quantity, because in the same company with different guides, a different value for assembly is possible.Put glue in the hole and hammer in a dowel from beech, which we will saw off to a level with a plane. Then we make marks with an awl for subsequent drilling.
Drilling steps:
- marking a new hole
- correct hole for the guide
When we finish these actions of the drawers, you can fix the guides.
Wall cabinet for dishes
Custom canopies made entirely of metal and plastic are used in the repair of a kitchen with their own hands. Manufacturers of plastic lockers allow filling with a margin and more, but there have been cases of collapse. Because of this, it is better to take all-metal.
All-metal adjustable suspension
If the cabinet is straight, then the calculation is to take away the width of the body from 0.3 or 0.4 cm. And for a corner cabinet, the width is dependent on the thickness. If the side is made of MDF, where the thickness is 1.6 mm, then you can use the expression: side thickness = hole size + 0.1 cm. Installation of a series of hinged has its beginning with the installation of an angular cabinet. But first you need to fix the plate for mounting.
Installation of wall cabinets
On both sides of the hood are on the cabinet. When assembling them, use dowels to secure the bottom. Then all the add-ons modify the external cabinet, but it remains durable.
Kitchen without facades
Under the windowsill, you can create a small compartment. The heating battery was covered with a facade in the form of a frame and covered with a rattan inside, which is easy and fastens, and paint is also well applied to it.
Facade
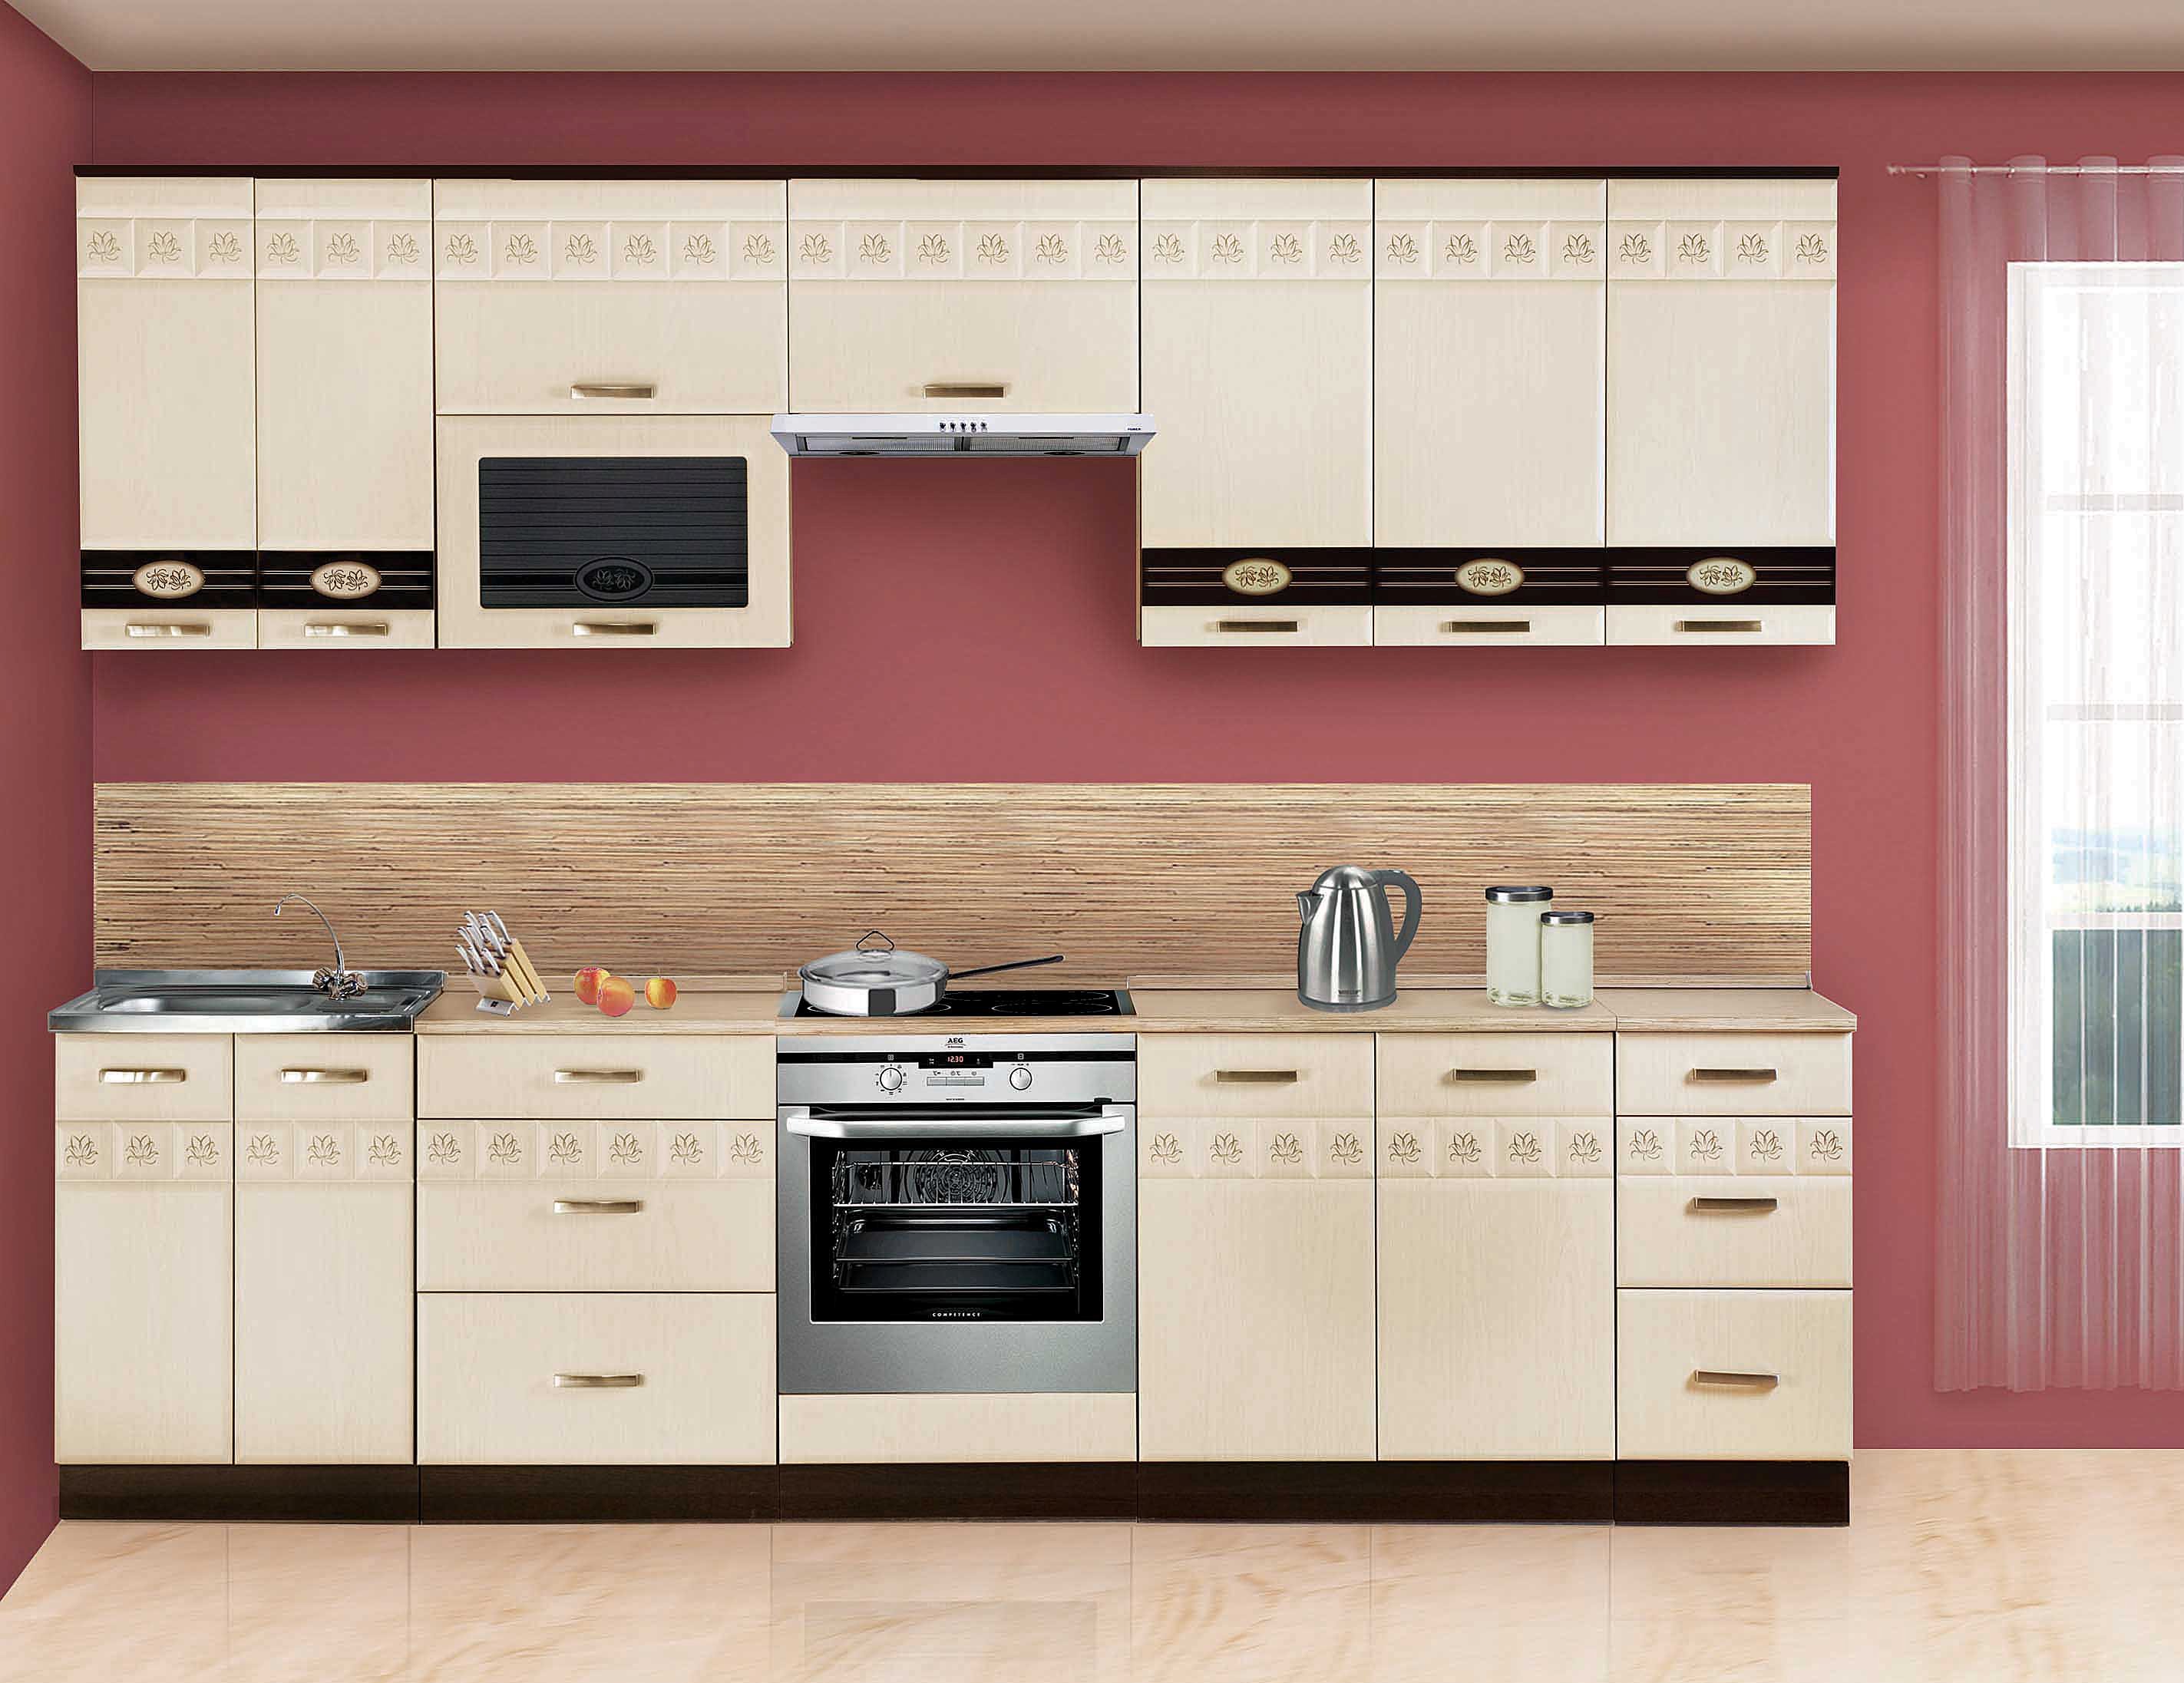
Also, for an idea for a kitchen with your own hands, you can make a kitchen set using MDF facades covered with a film, is the most economical, as well as a huge assortment of color schemes for decorating a kitchen with your own hands. And the loops are set using the bar, where it is, pressing on the wallpaper loop immediately.


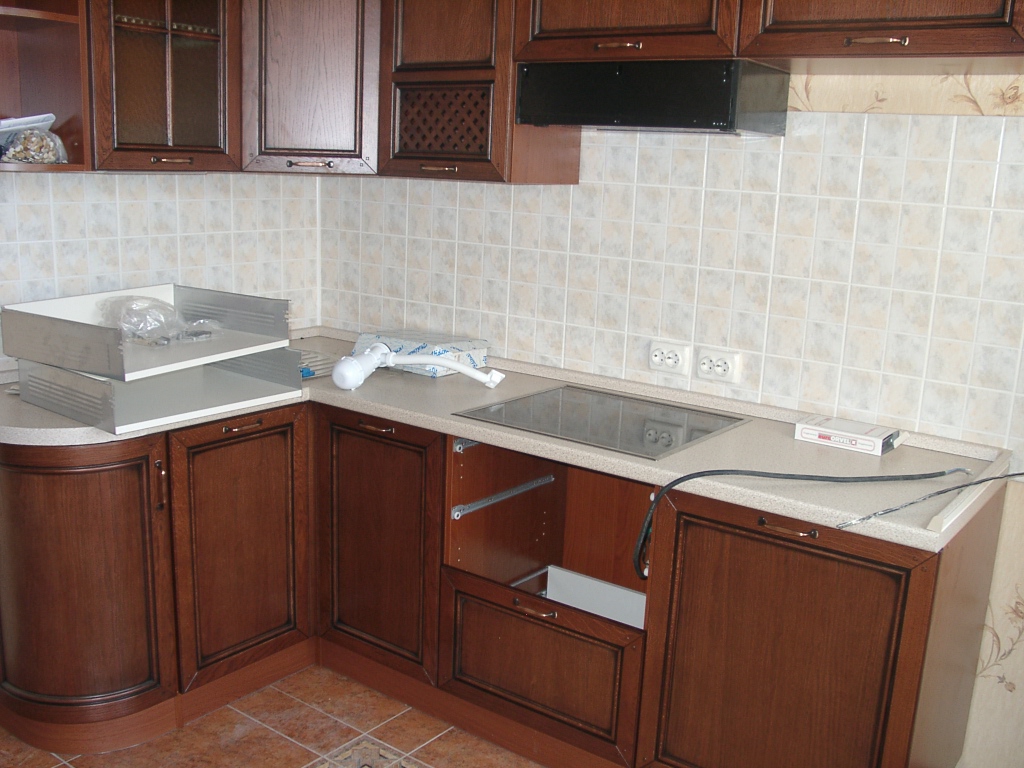

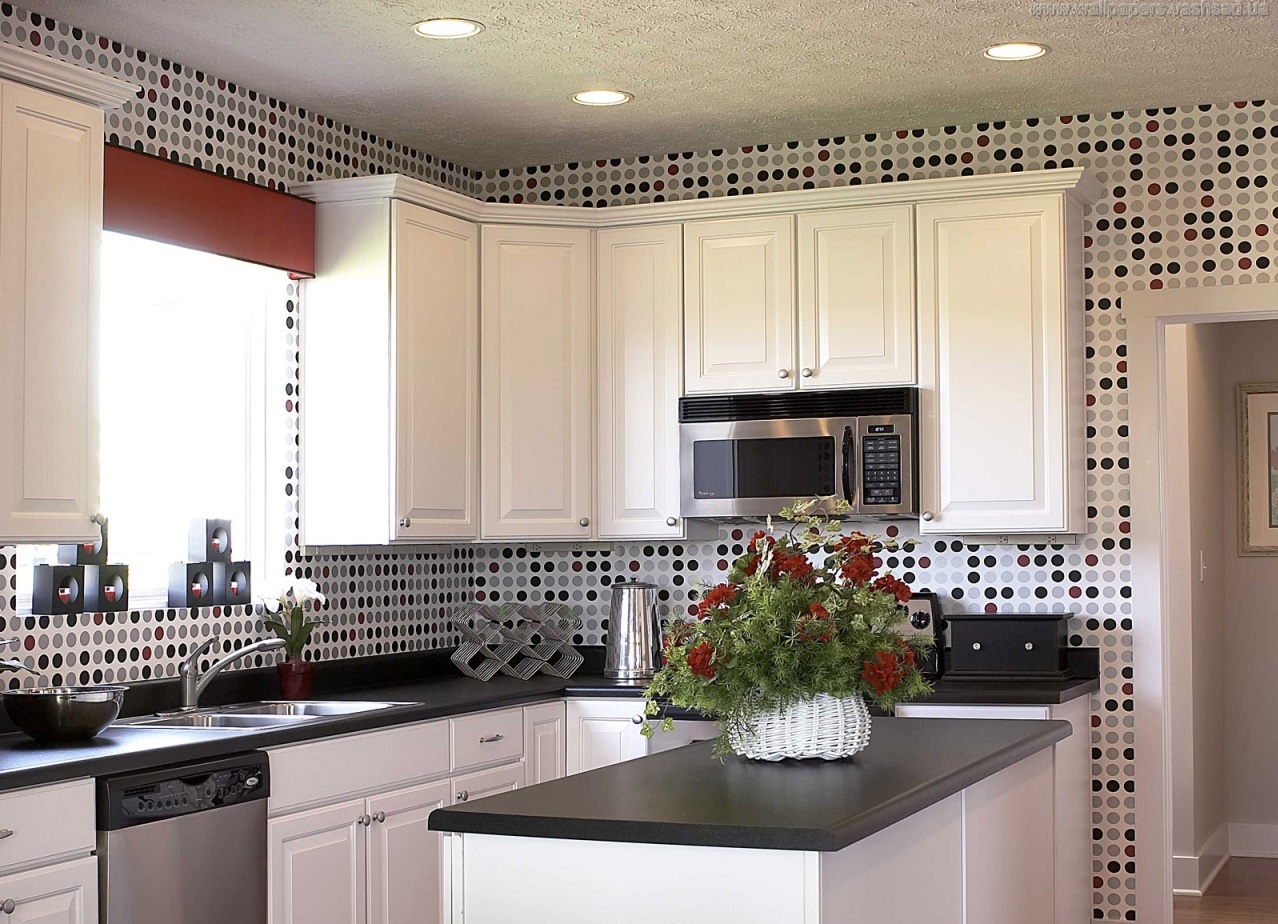
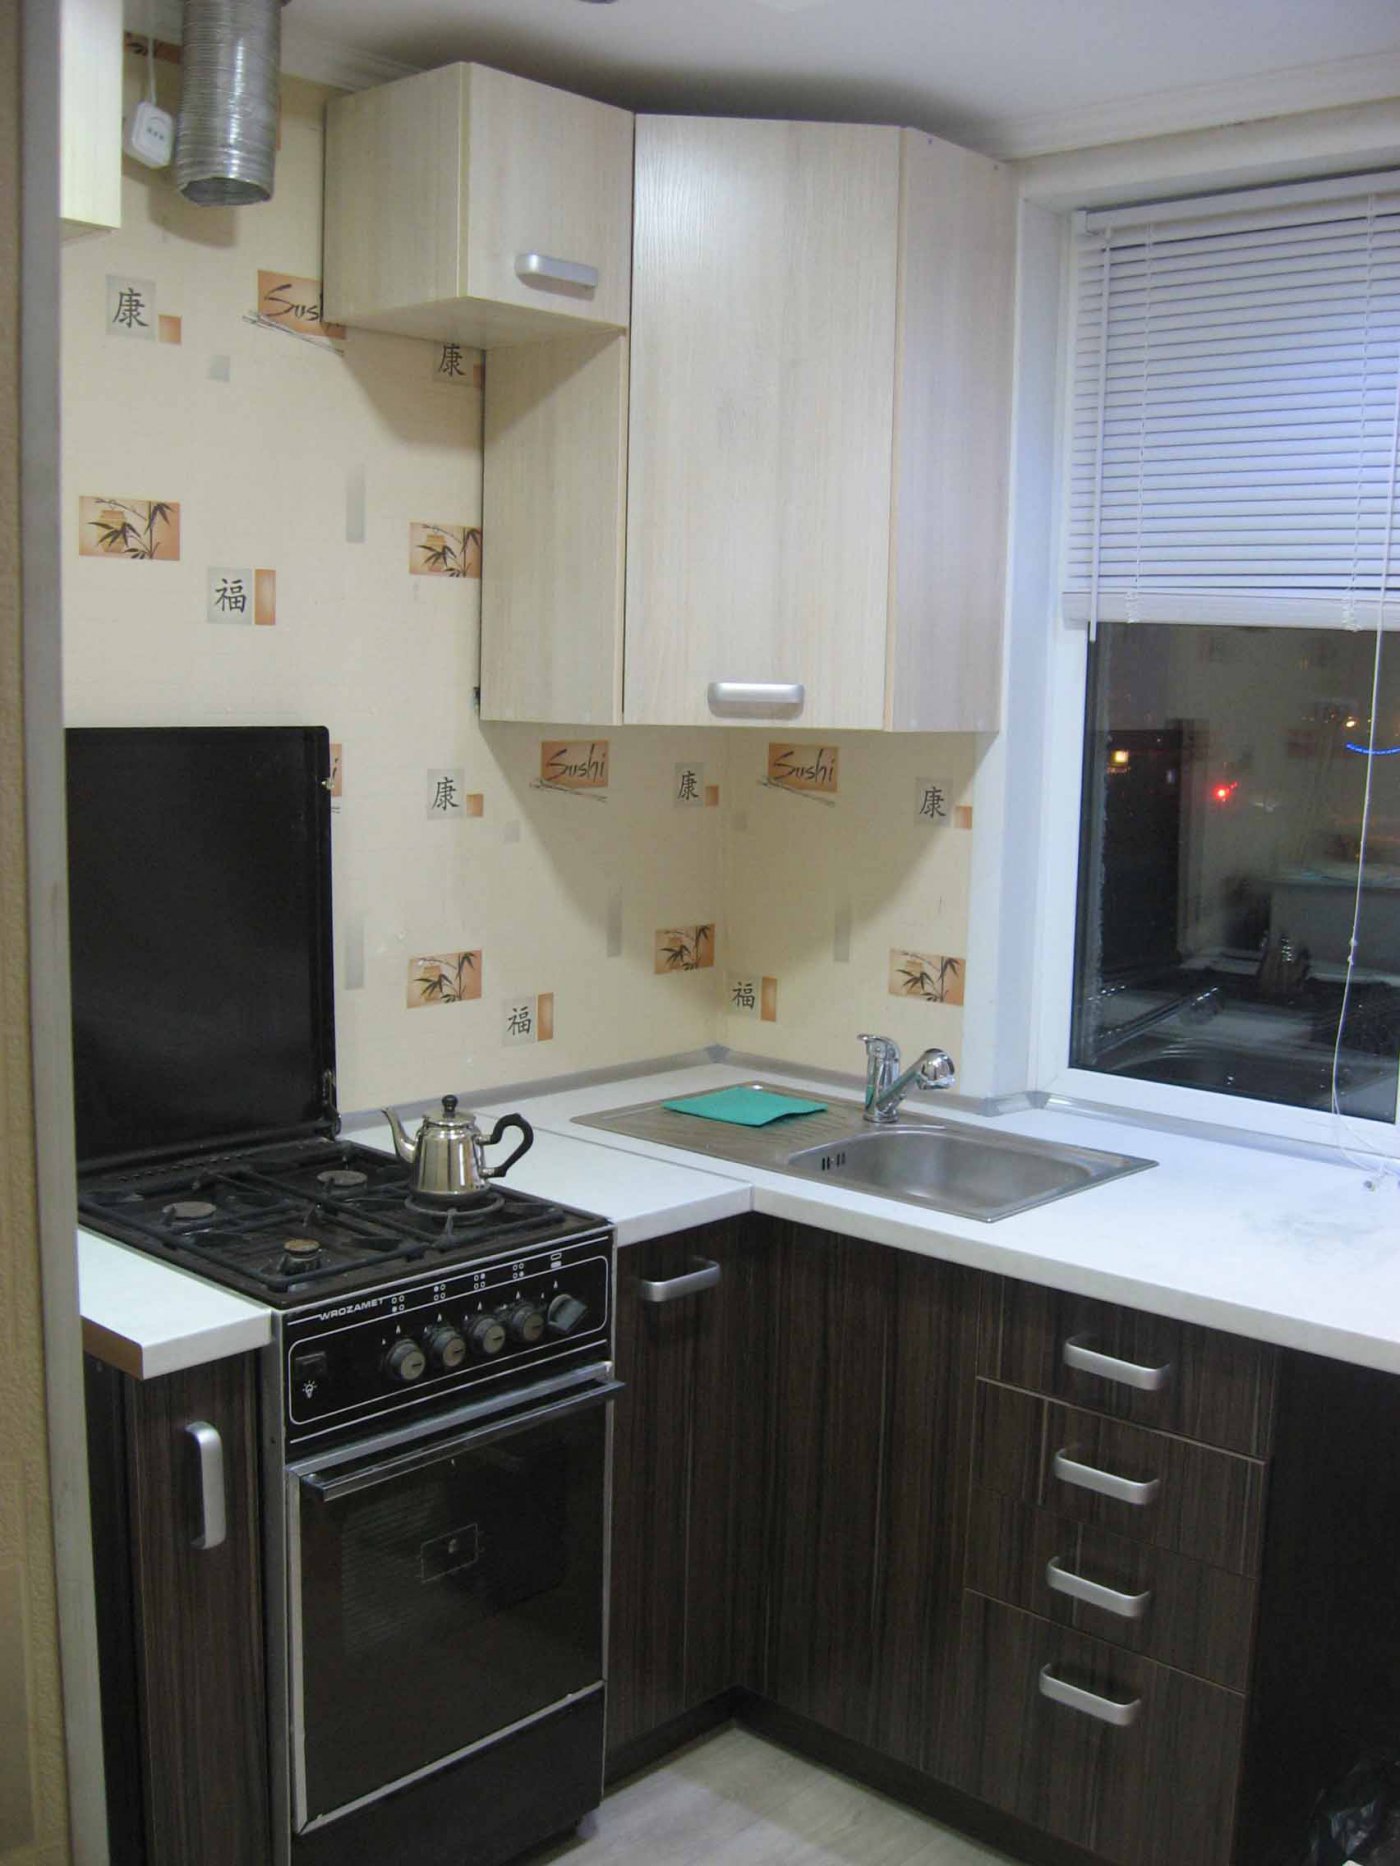
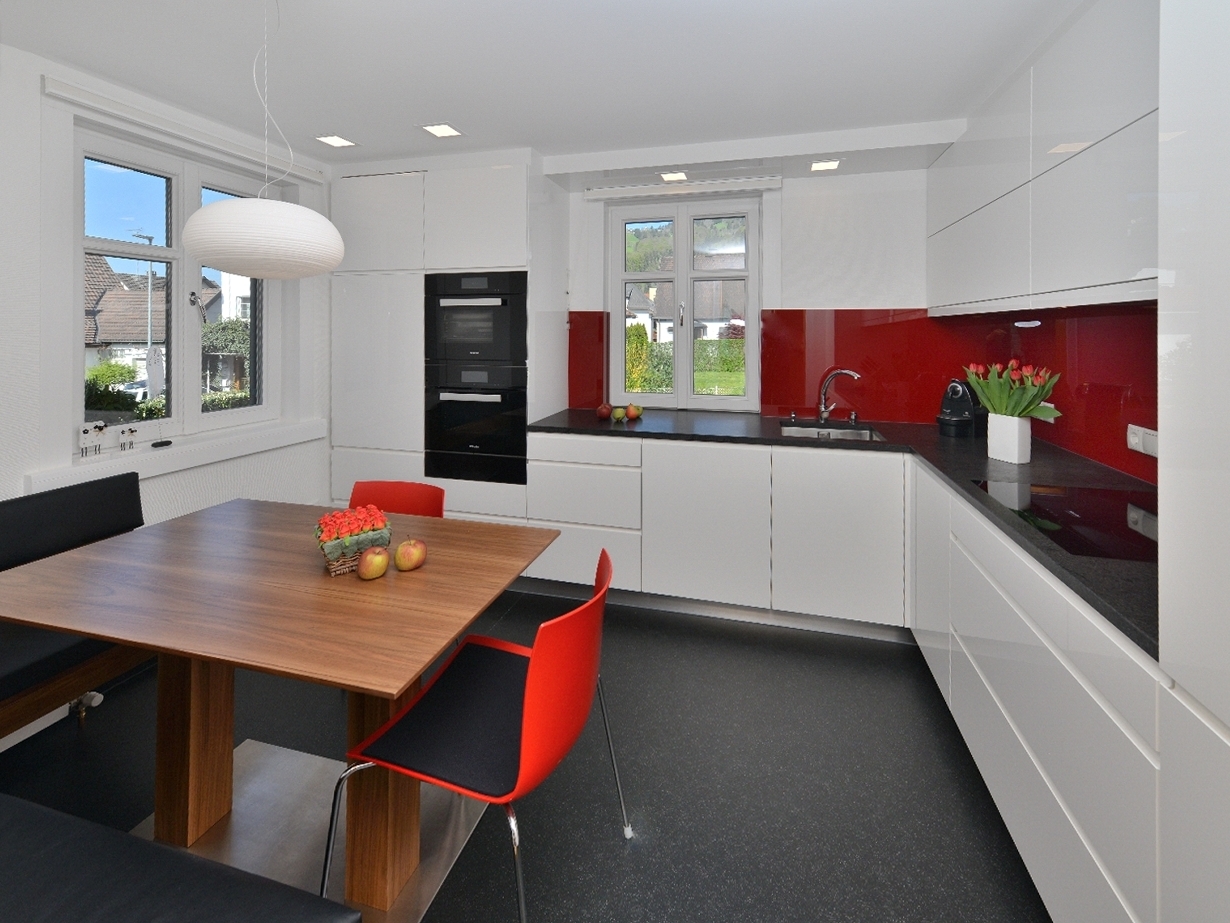
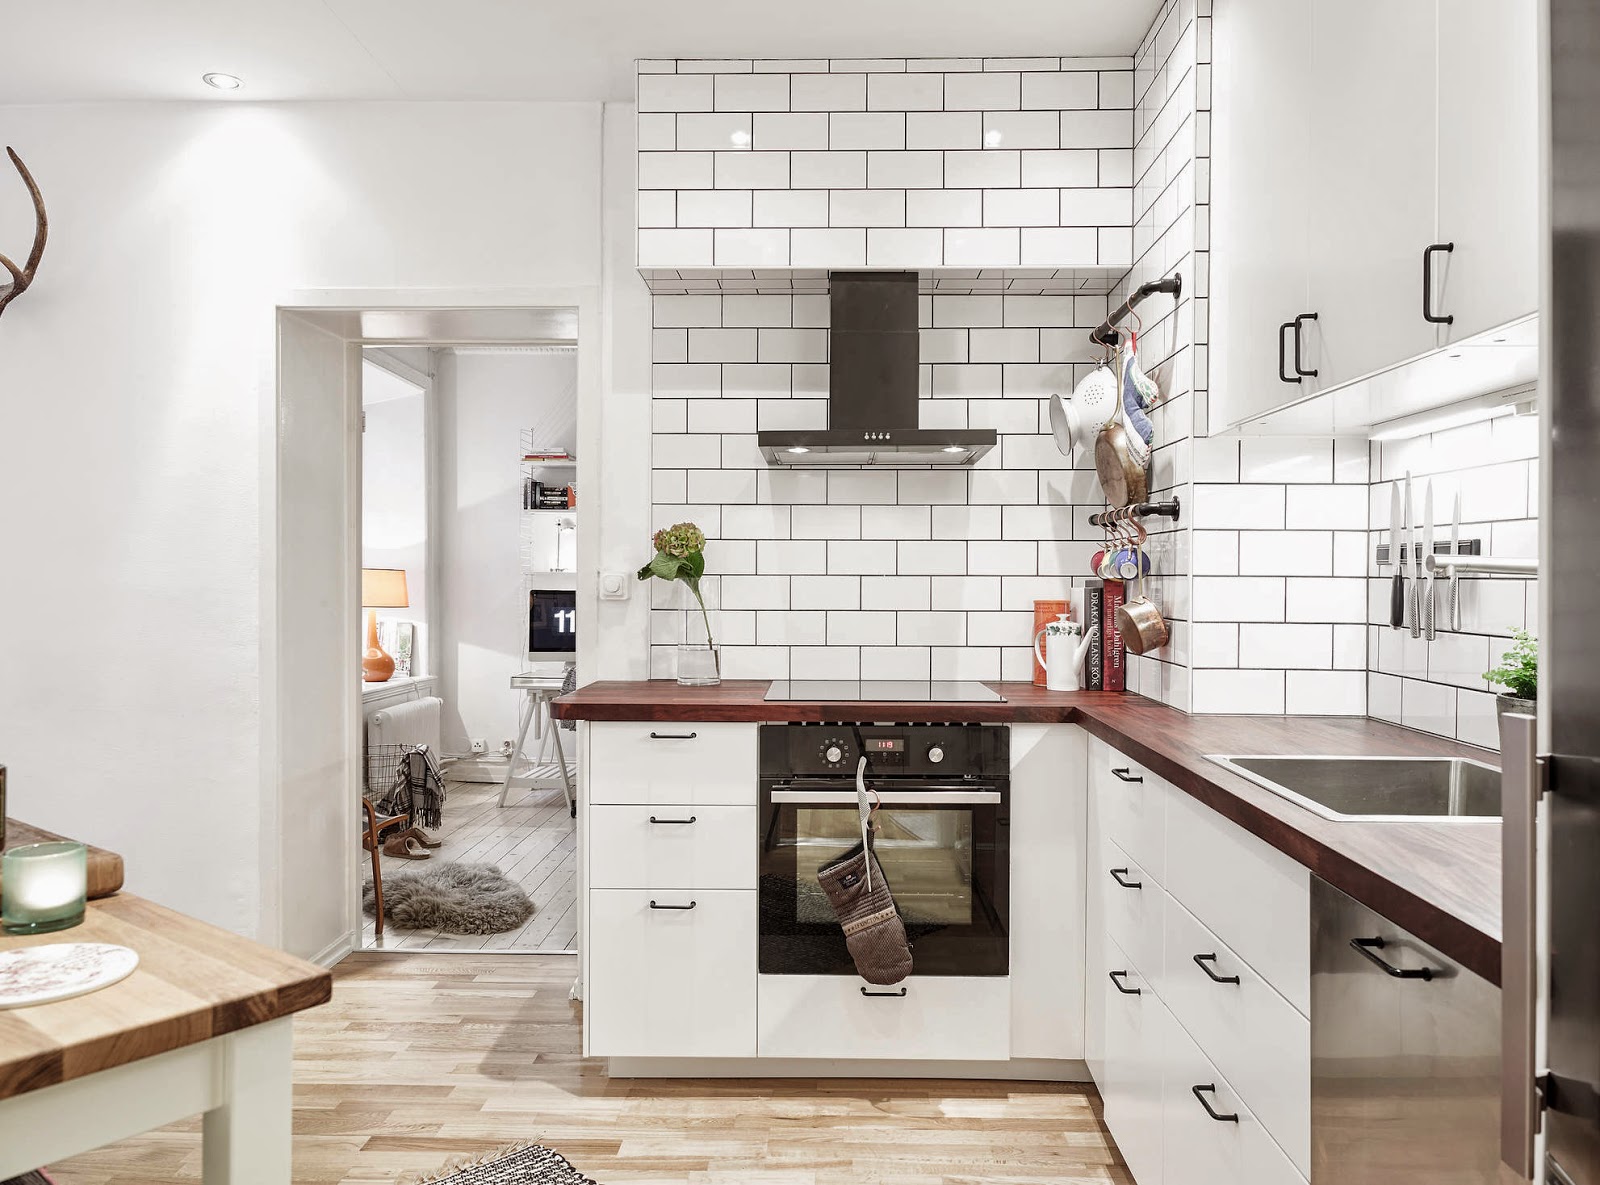
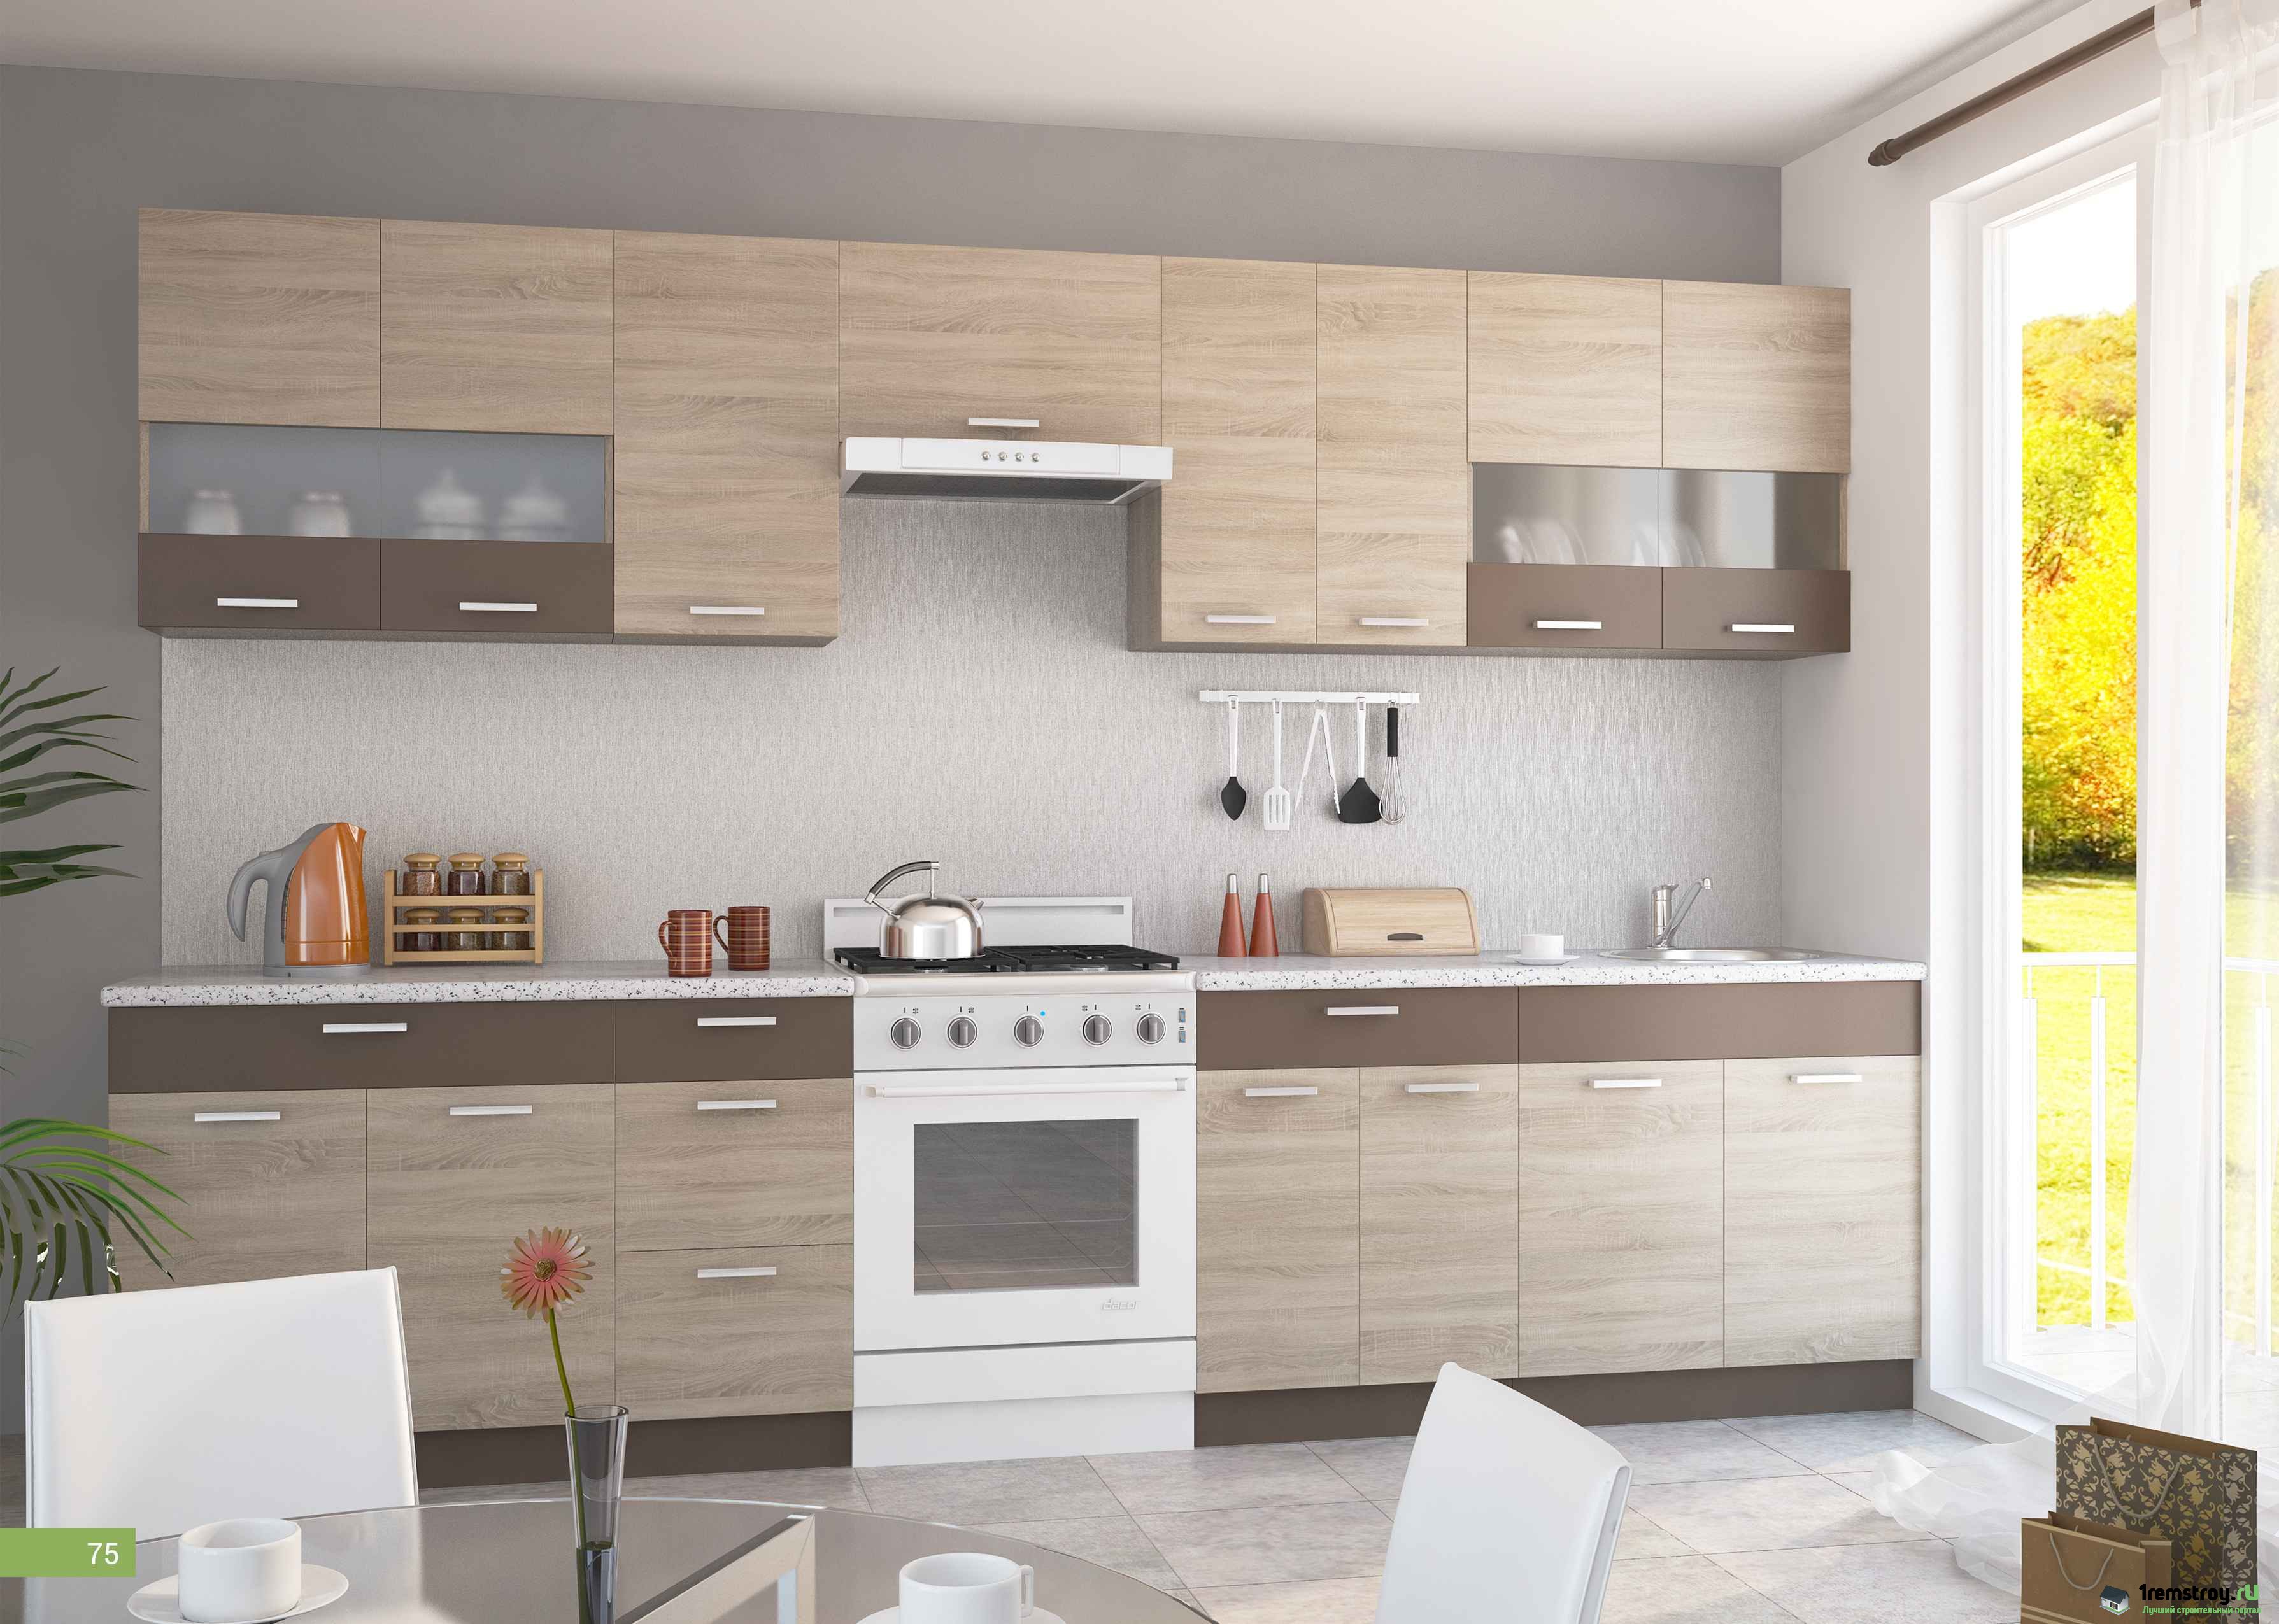
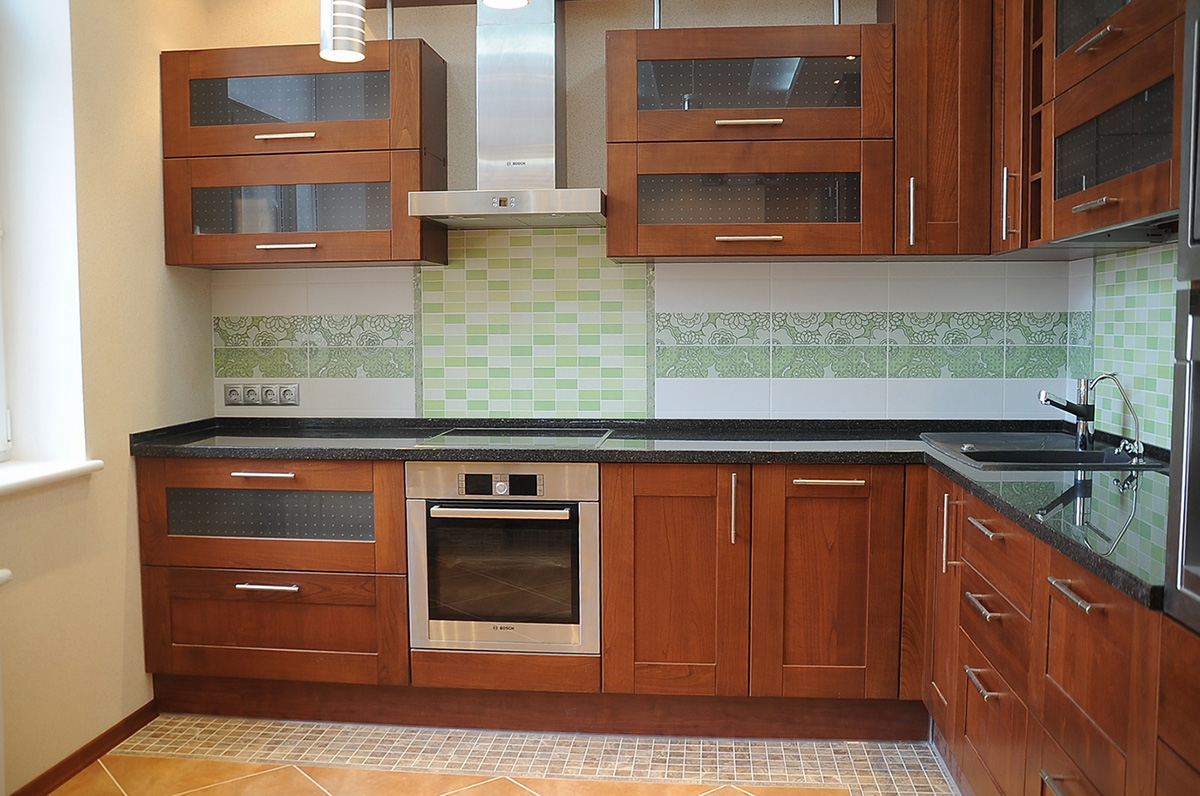
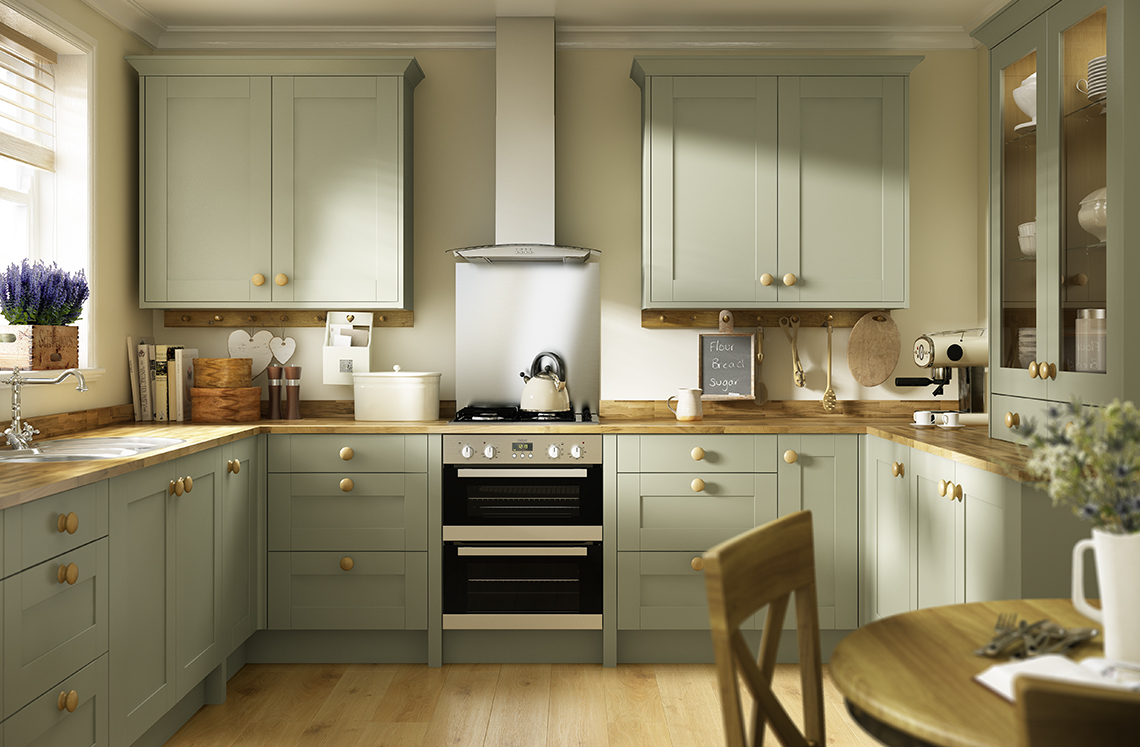
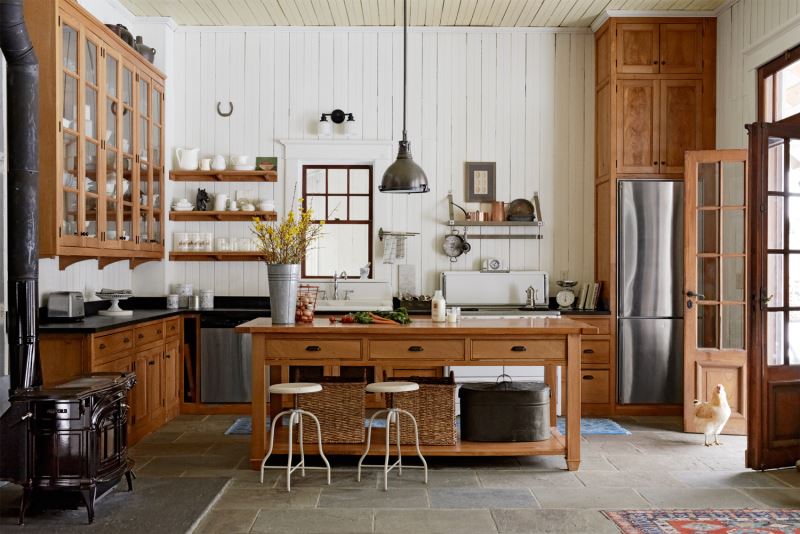
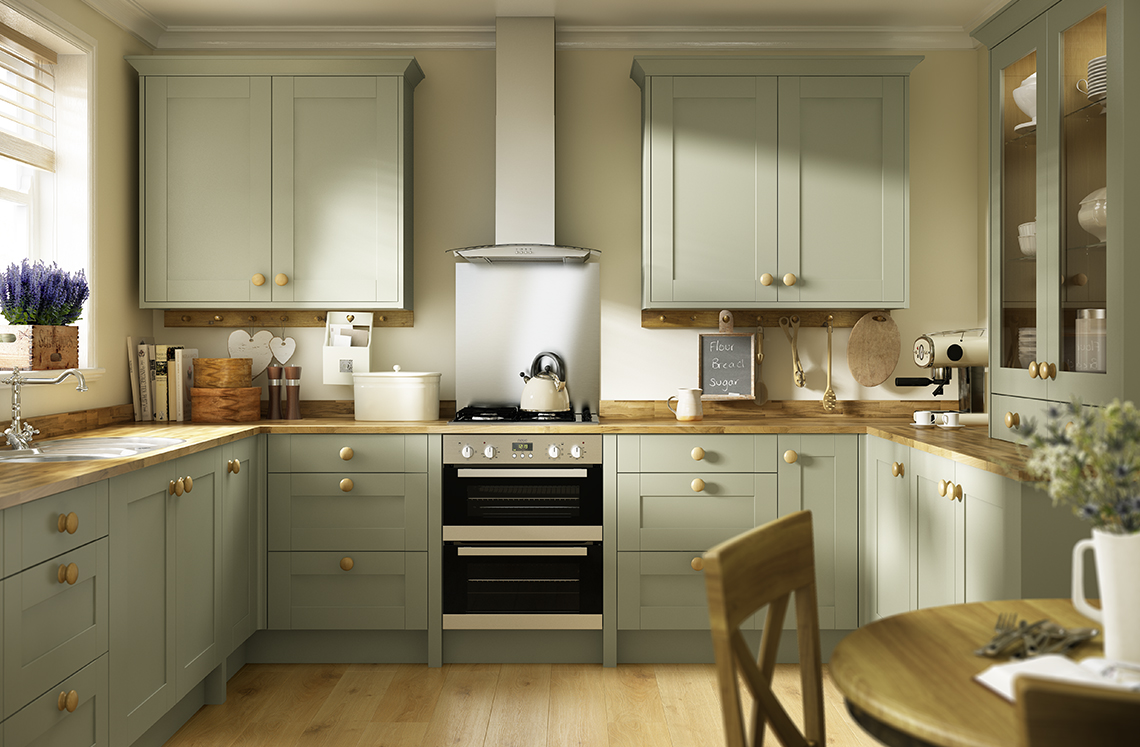
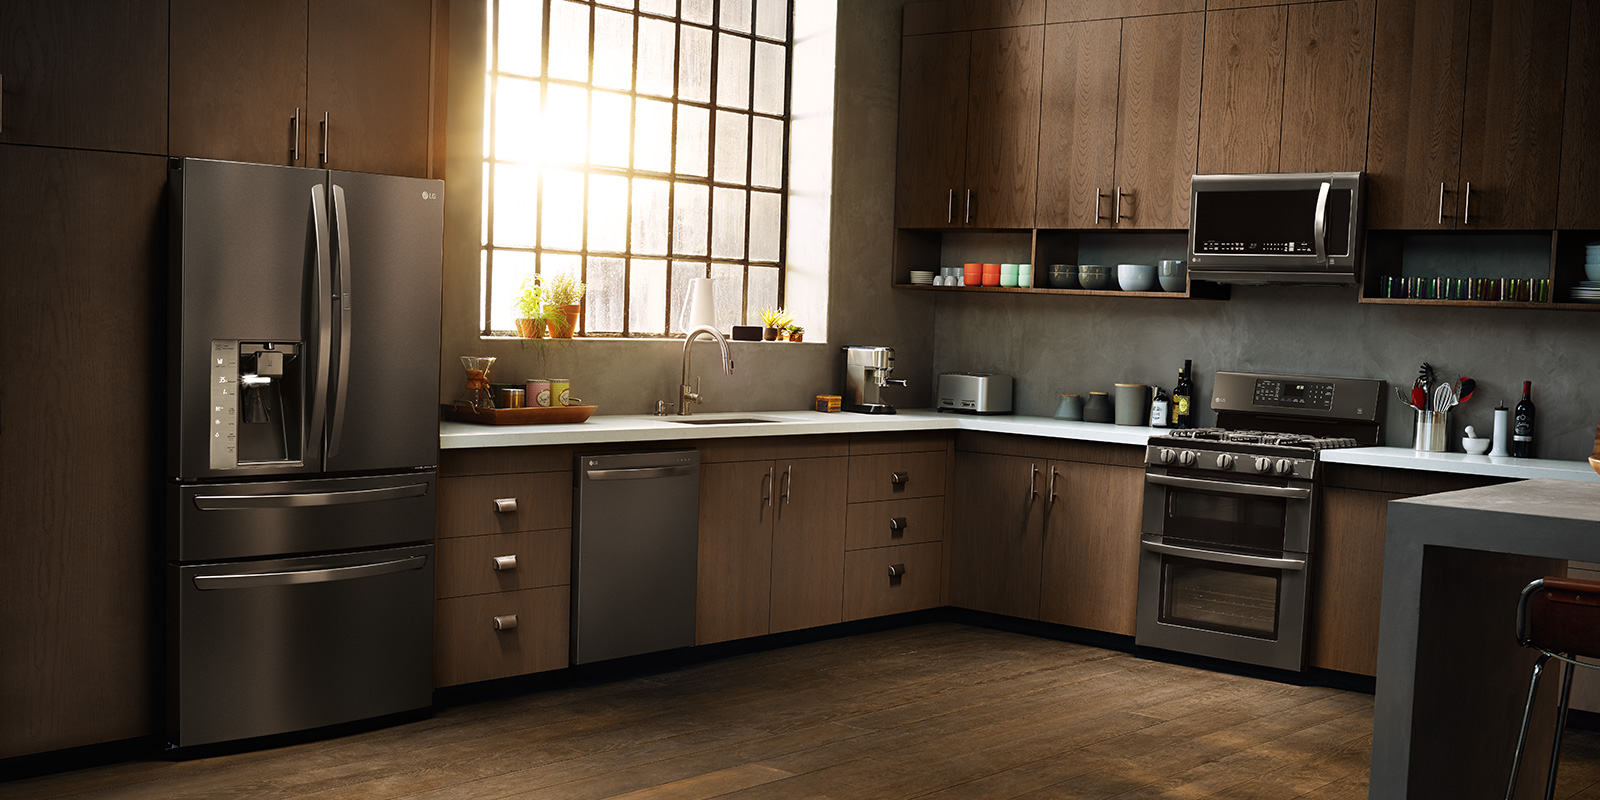
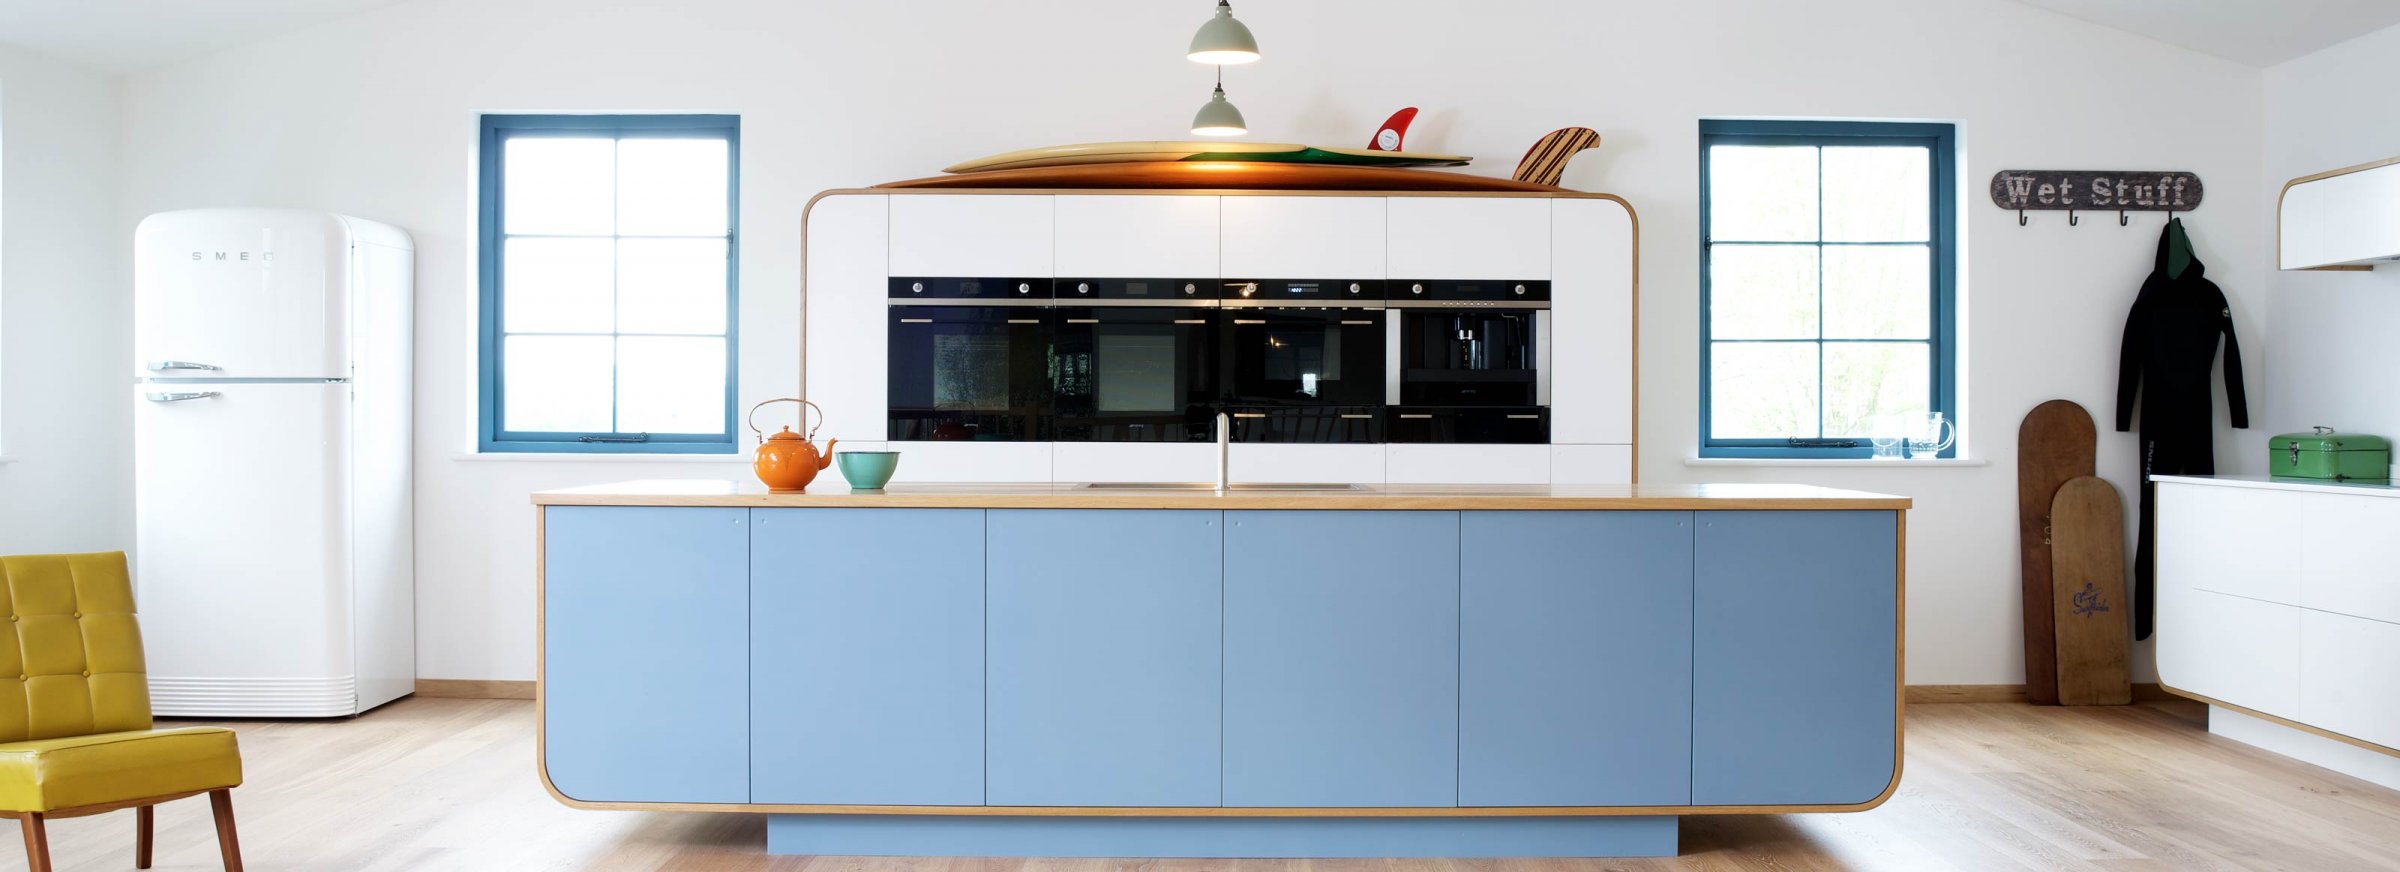
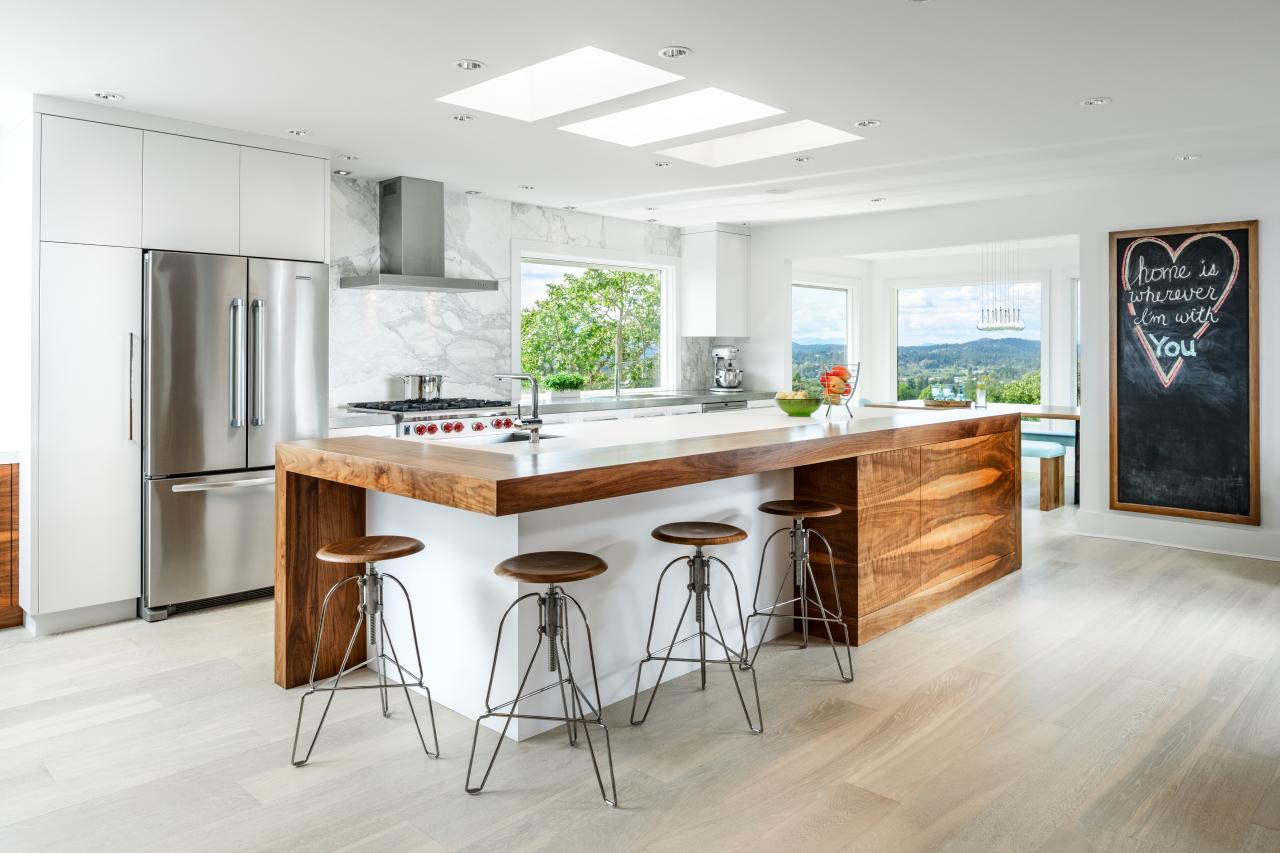

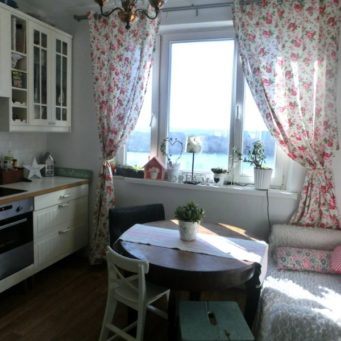
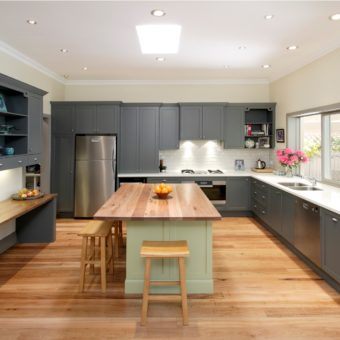
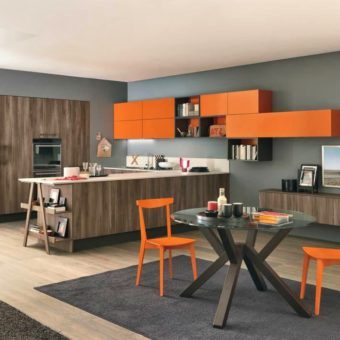
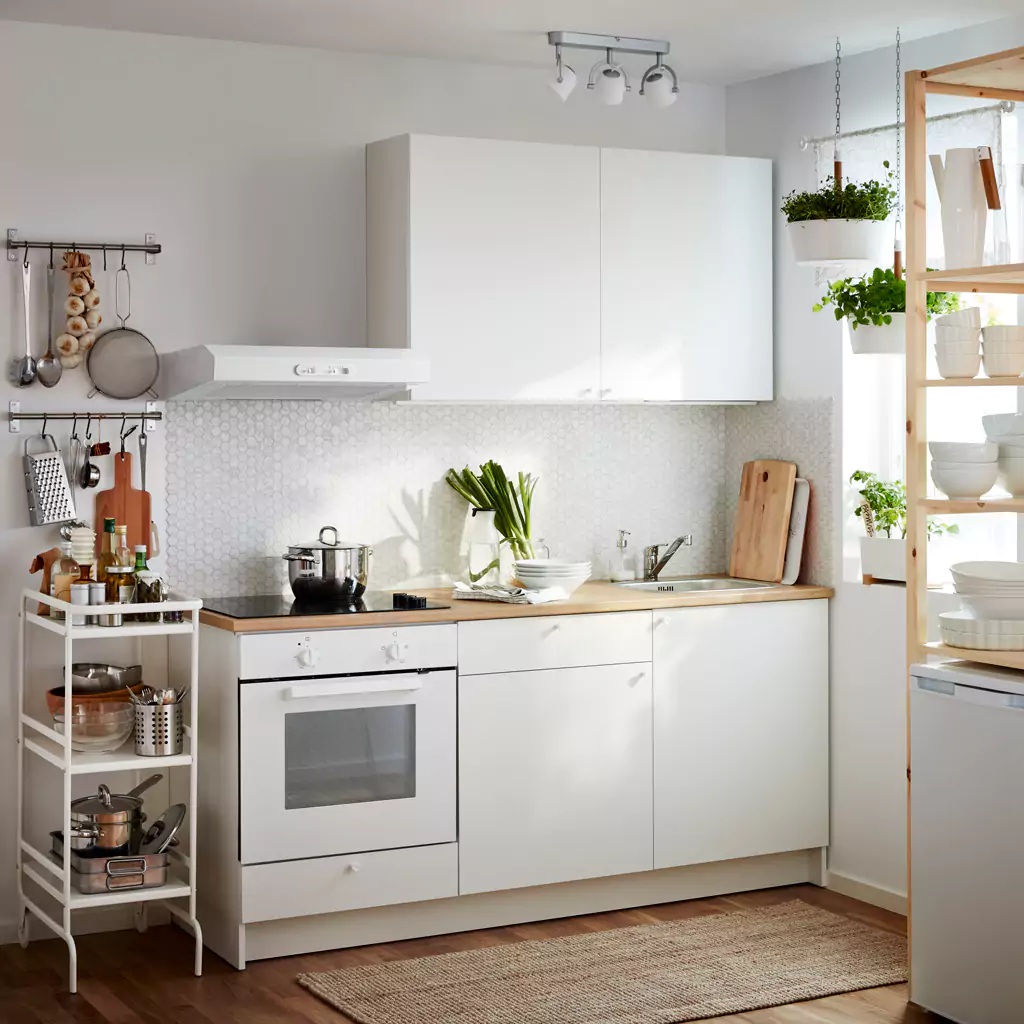
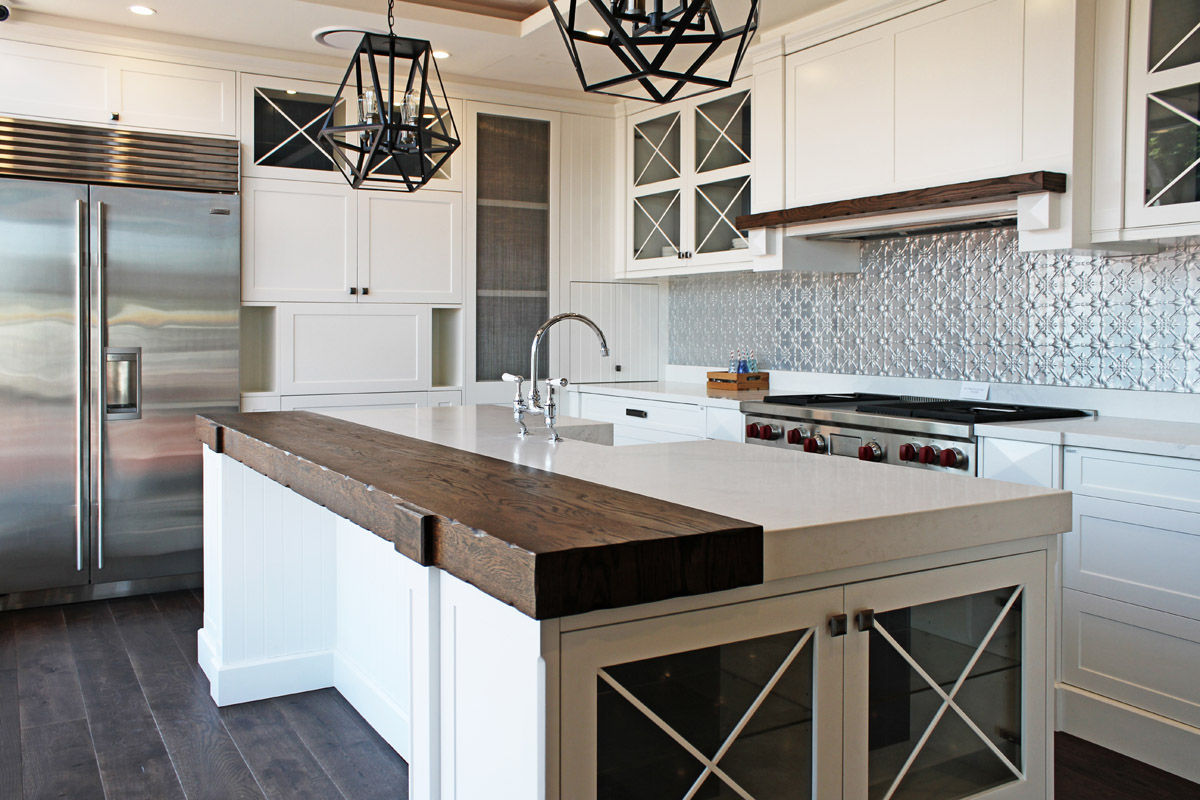
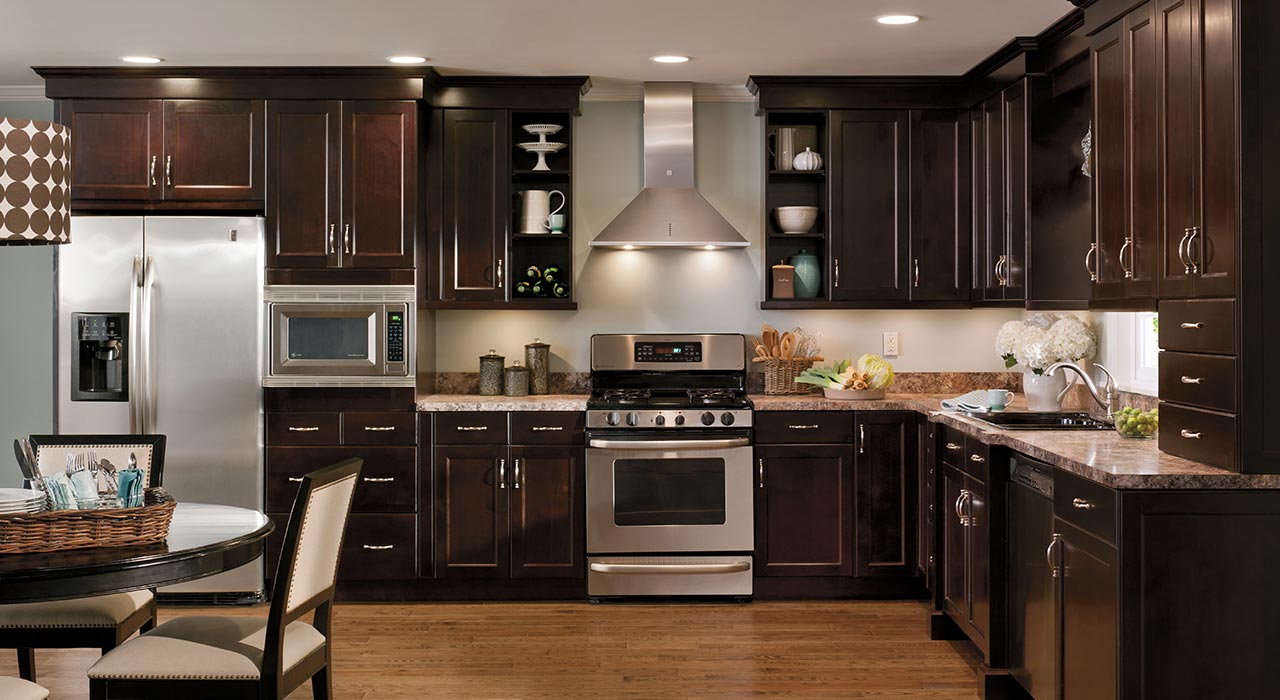
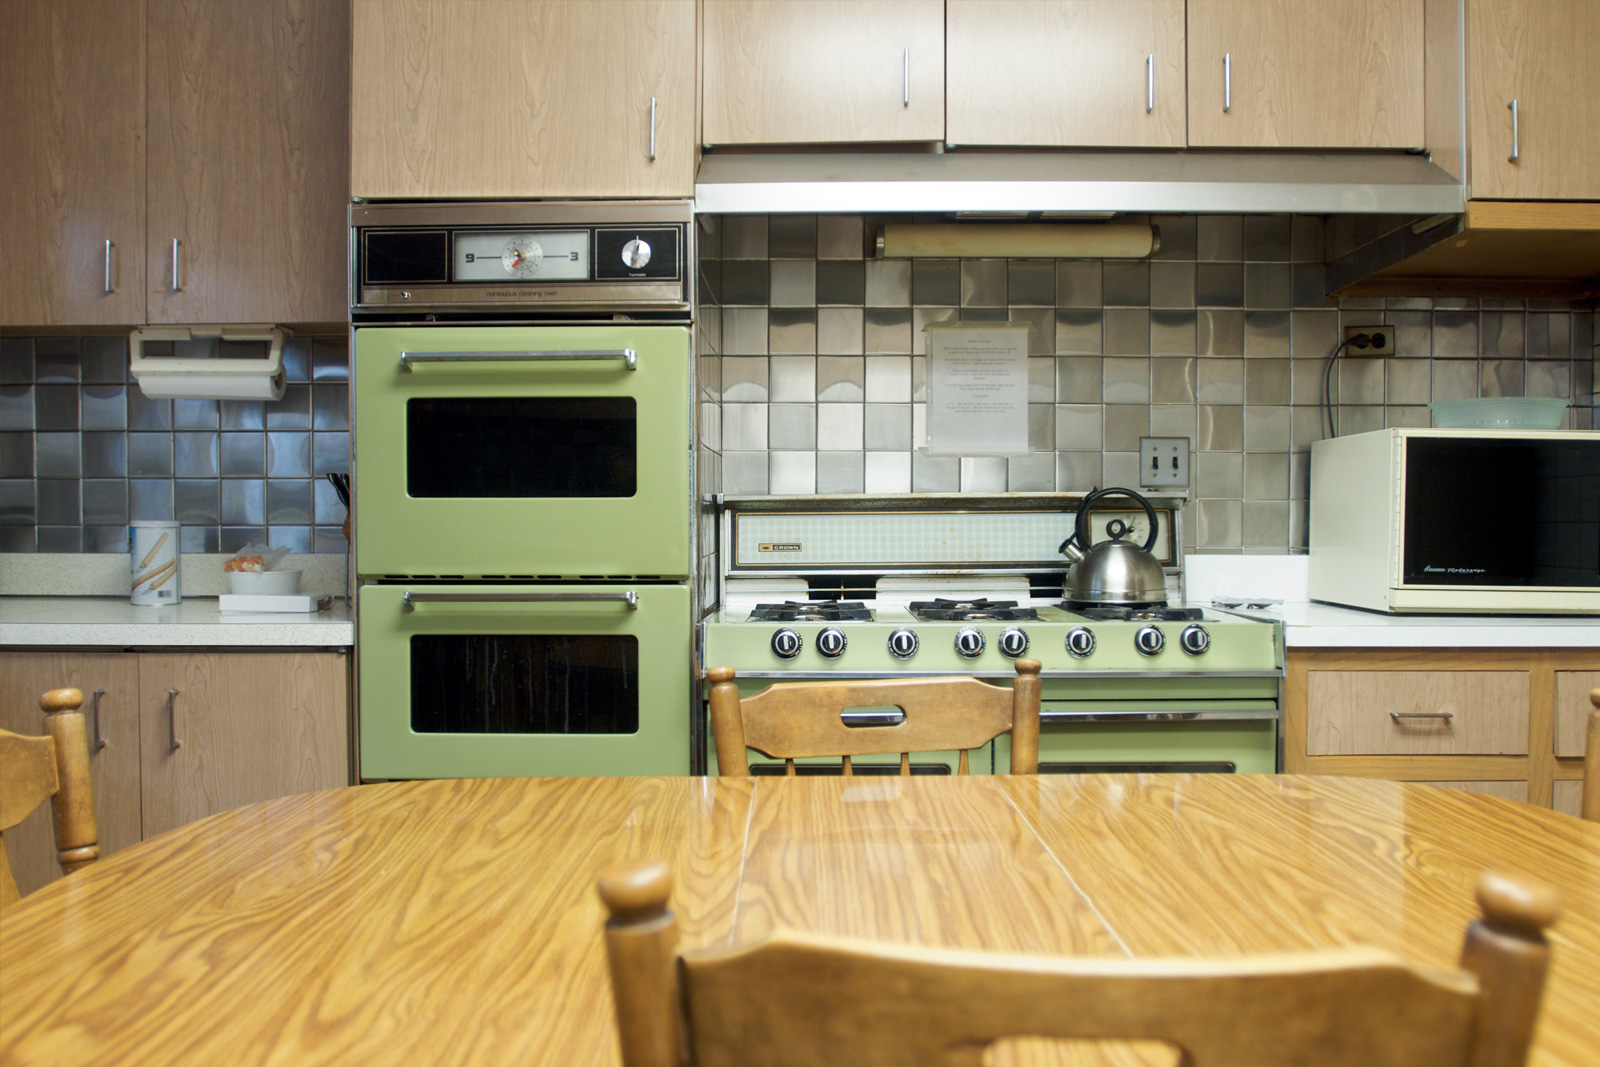
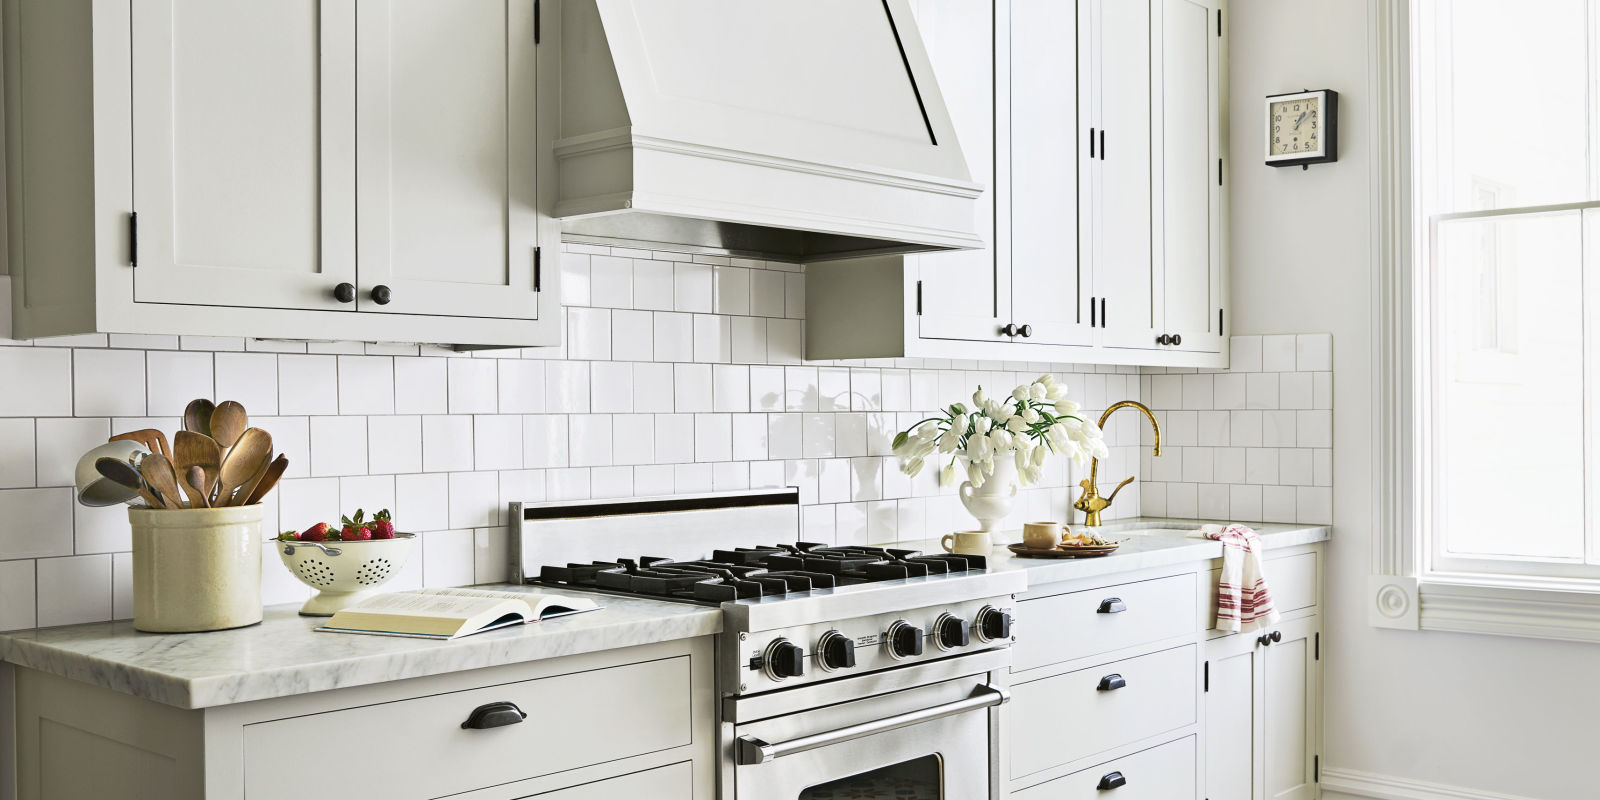
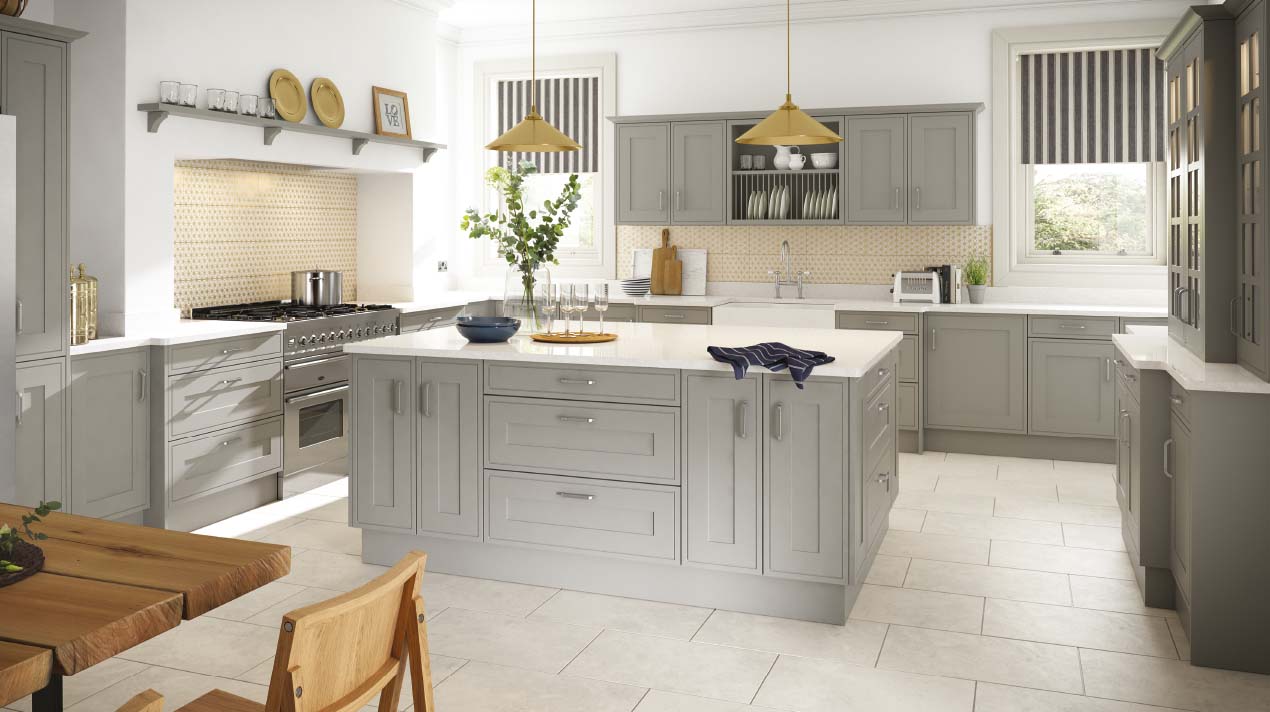
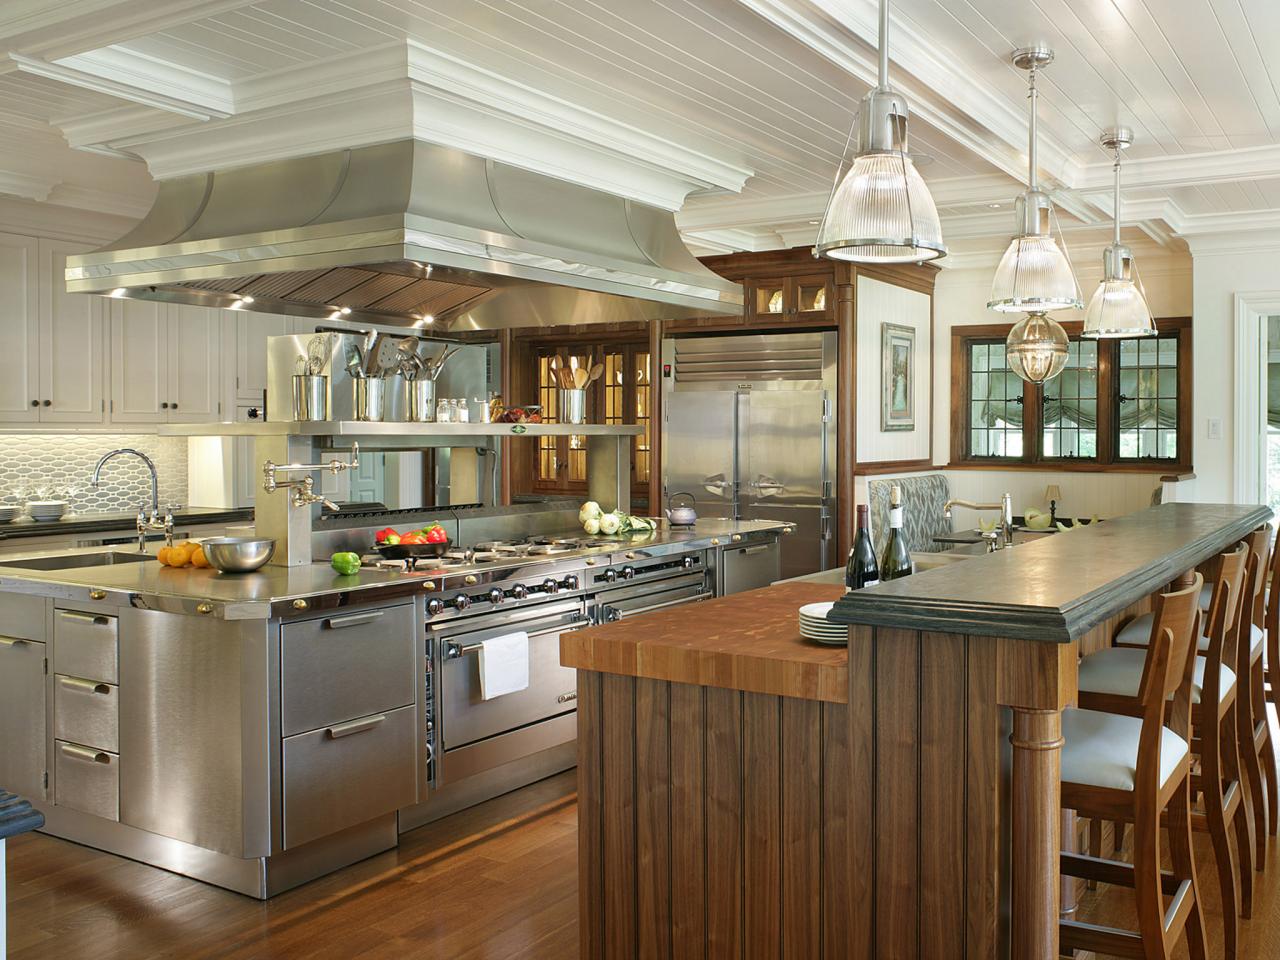
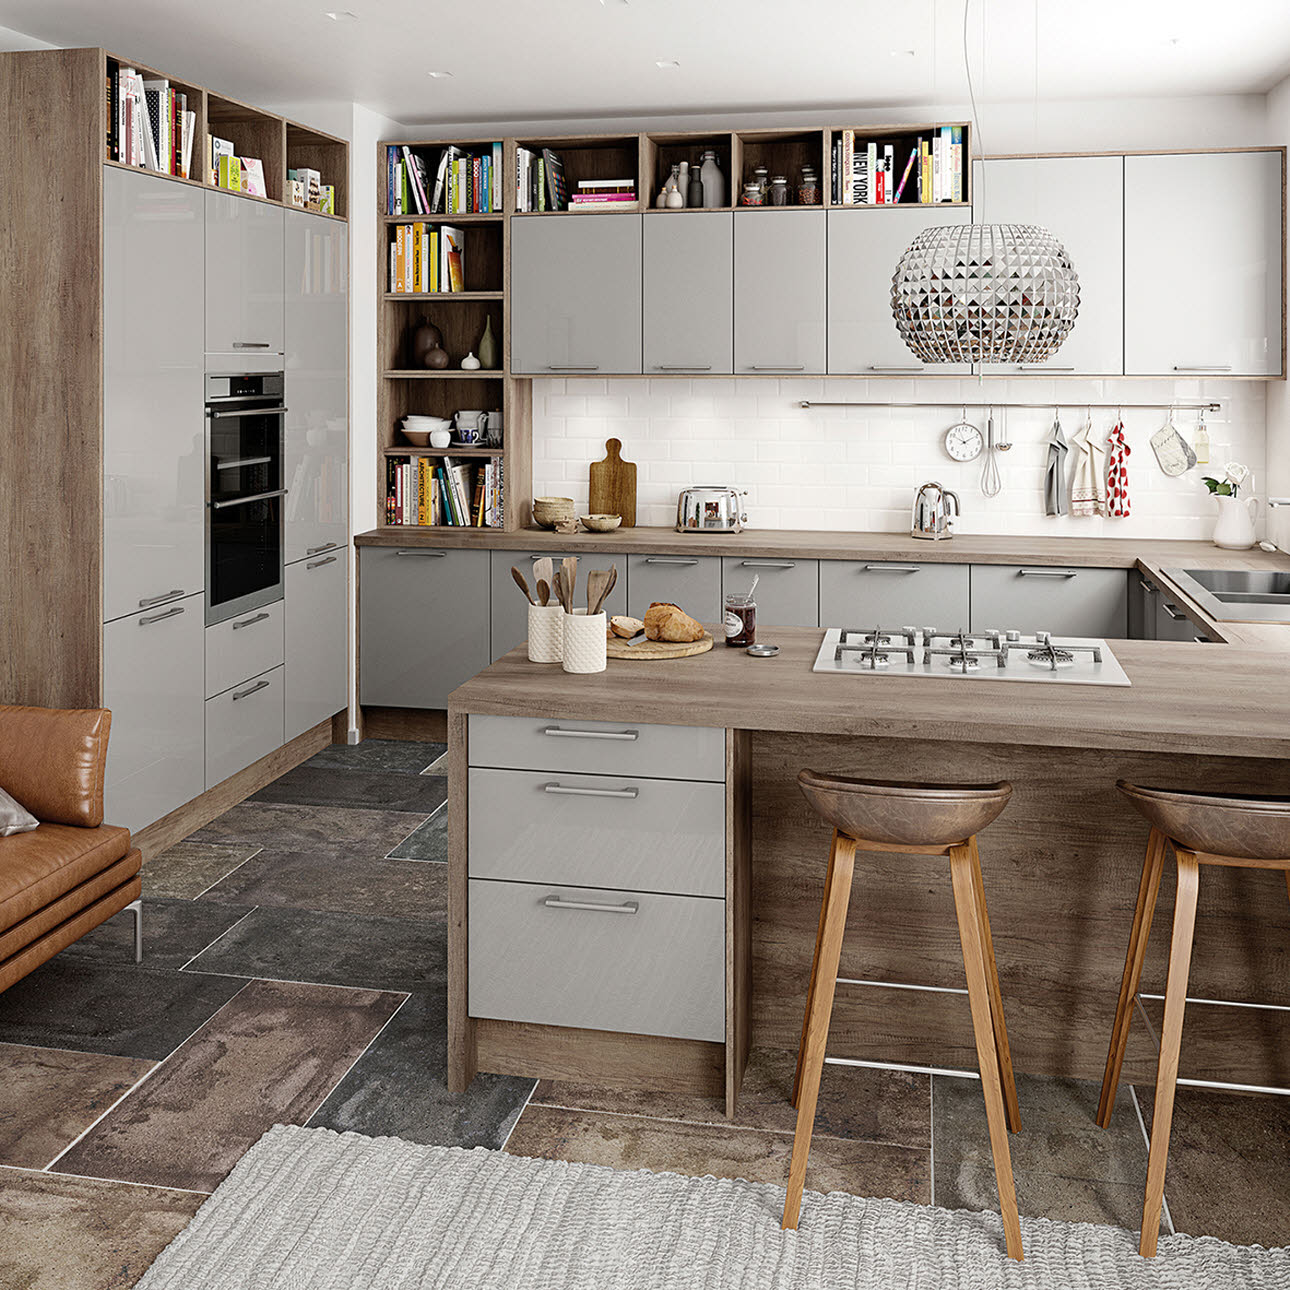
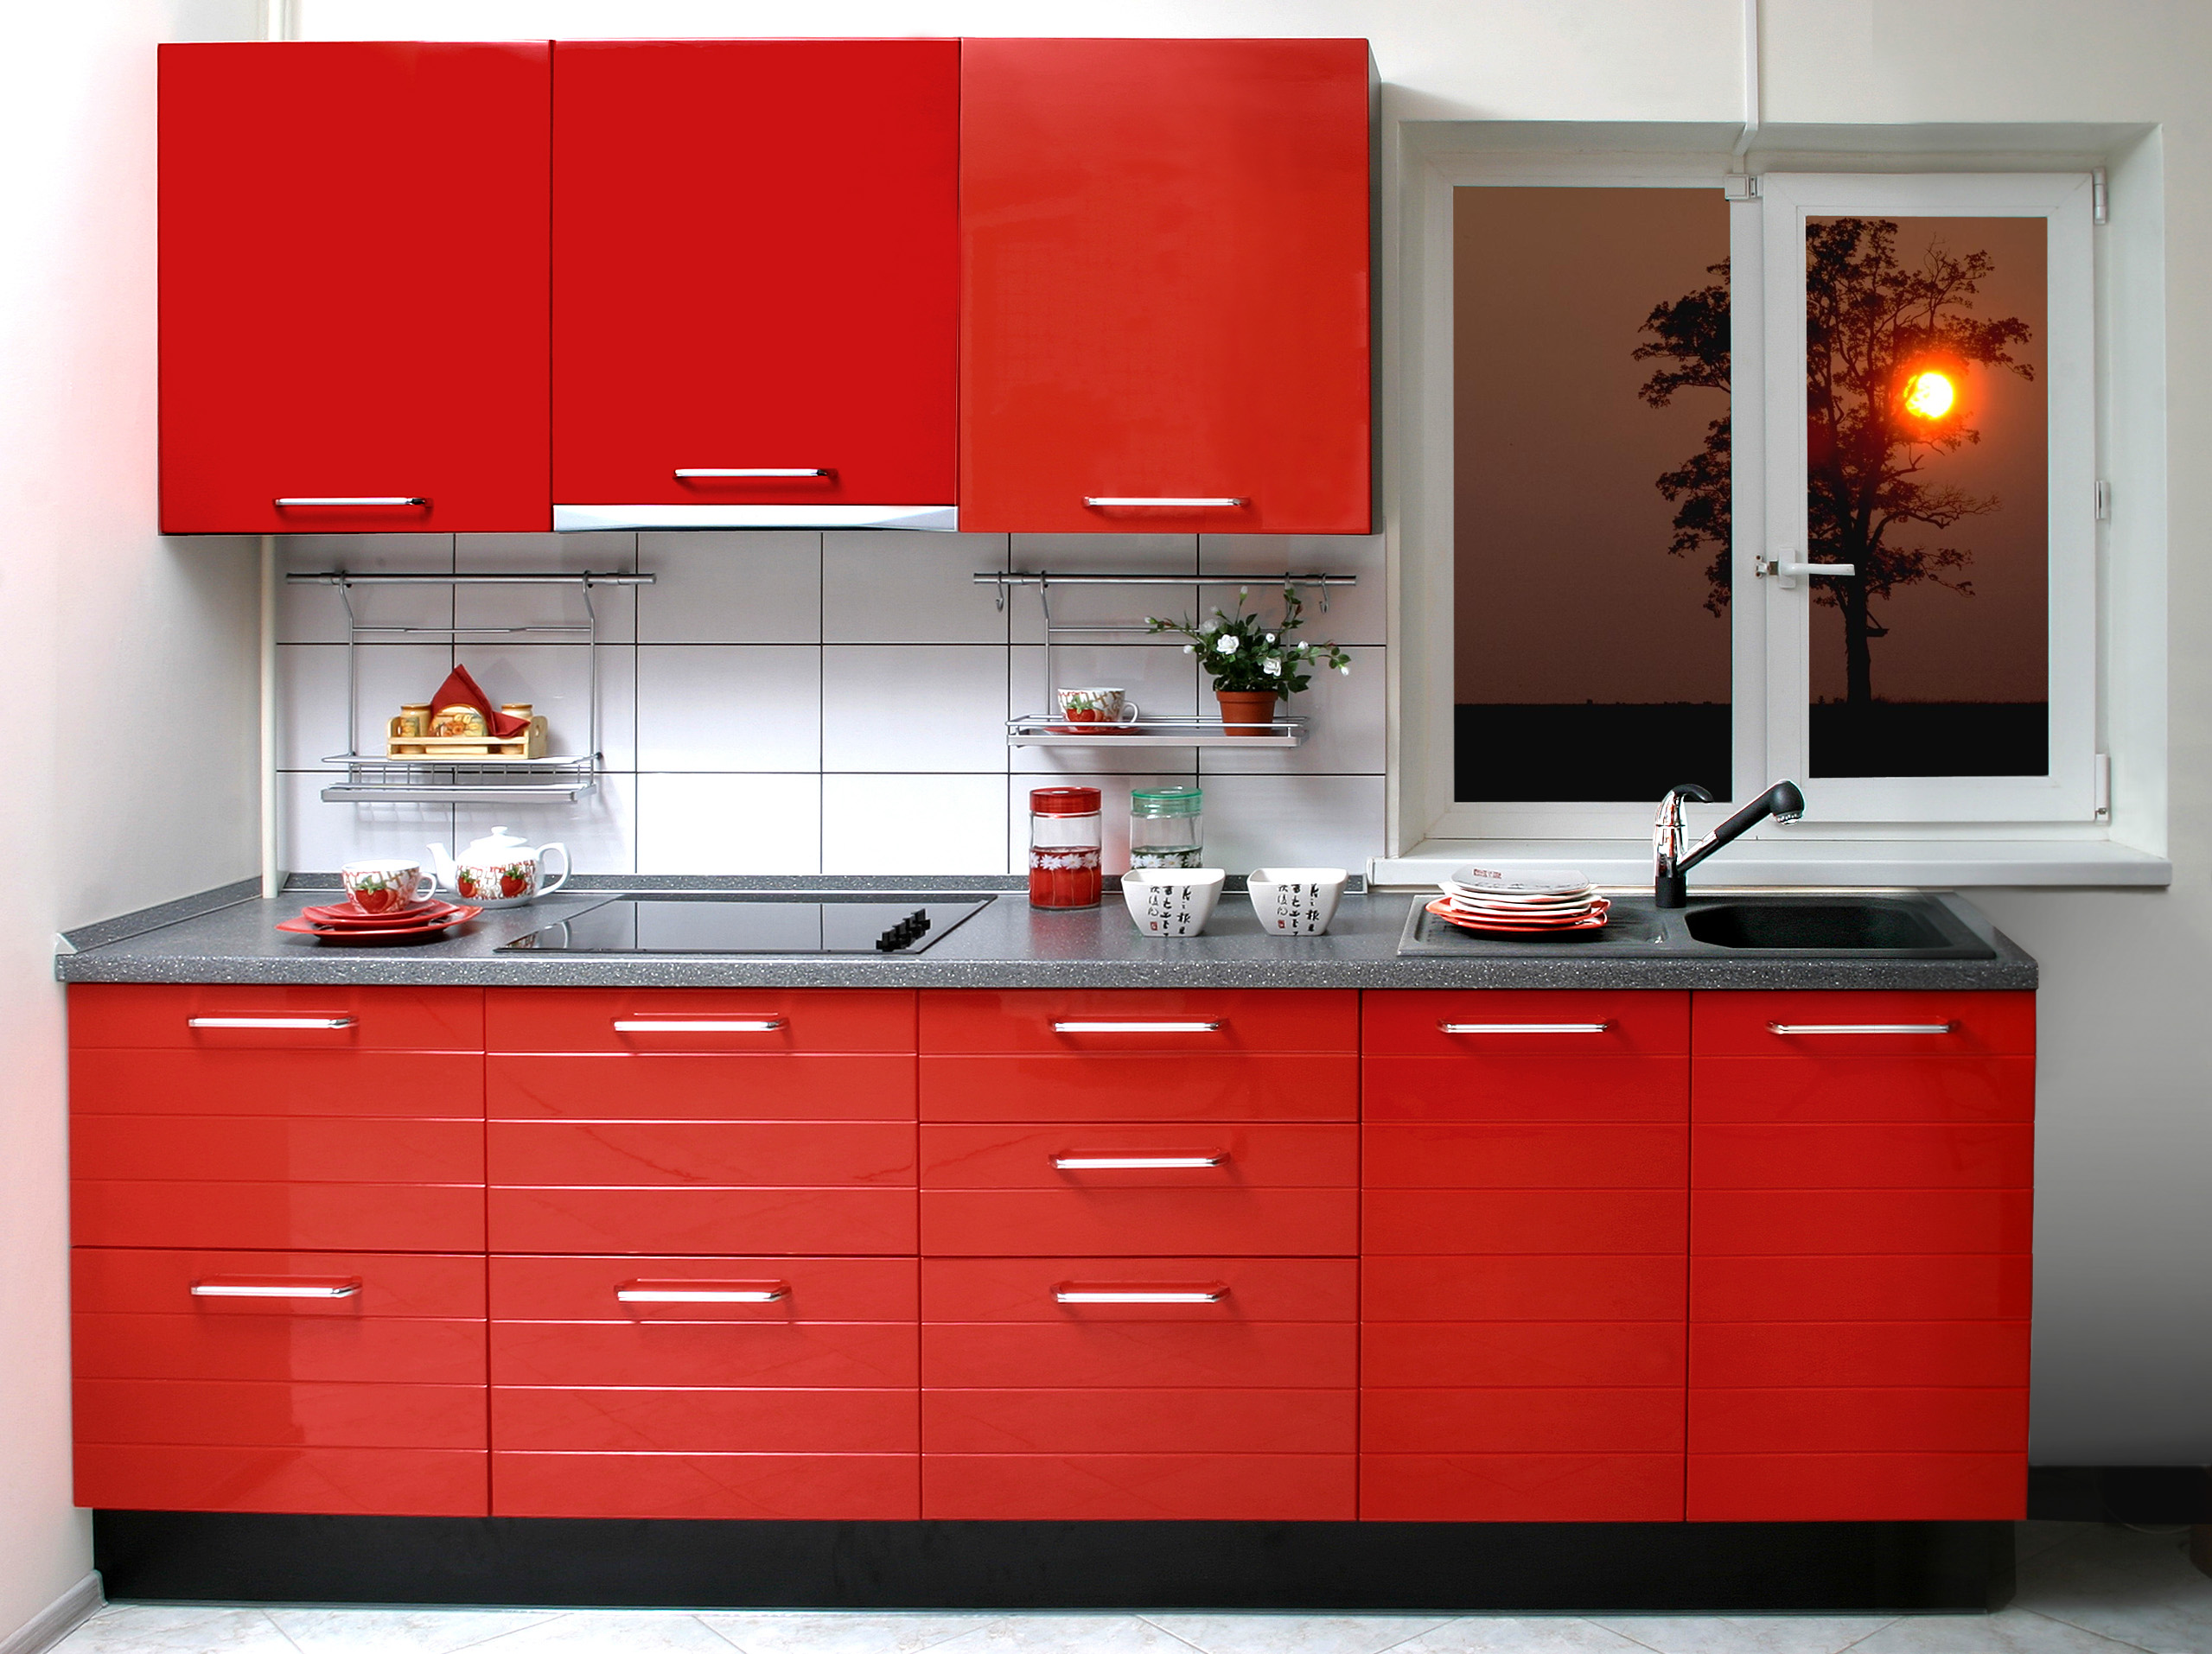
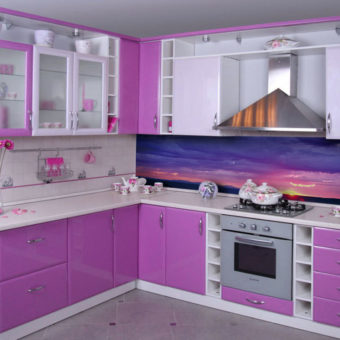
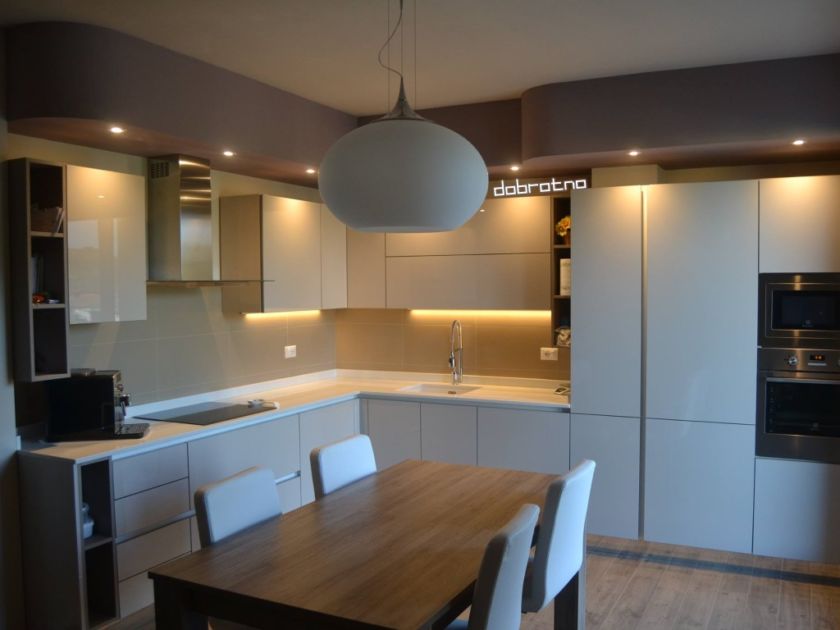
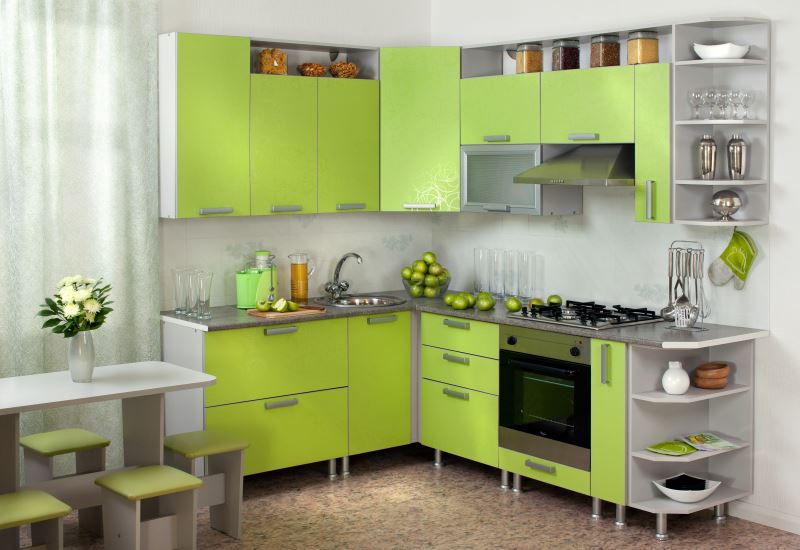
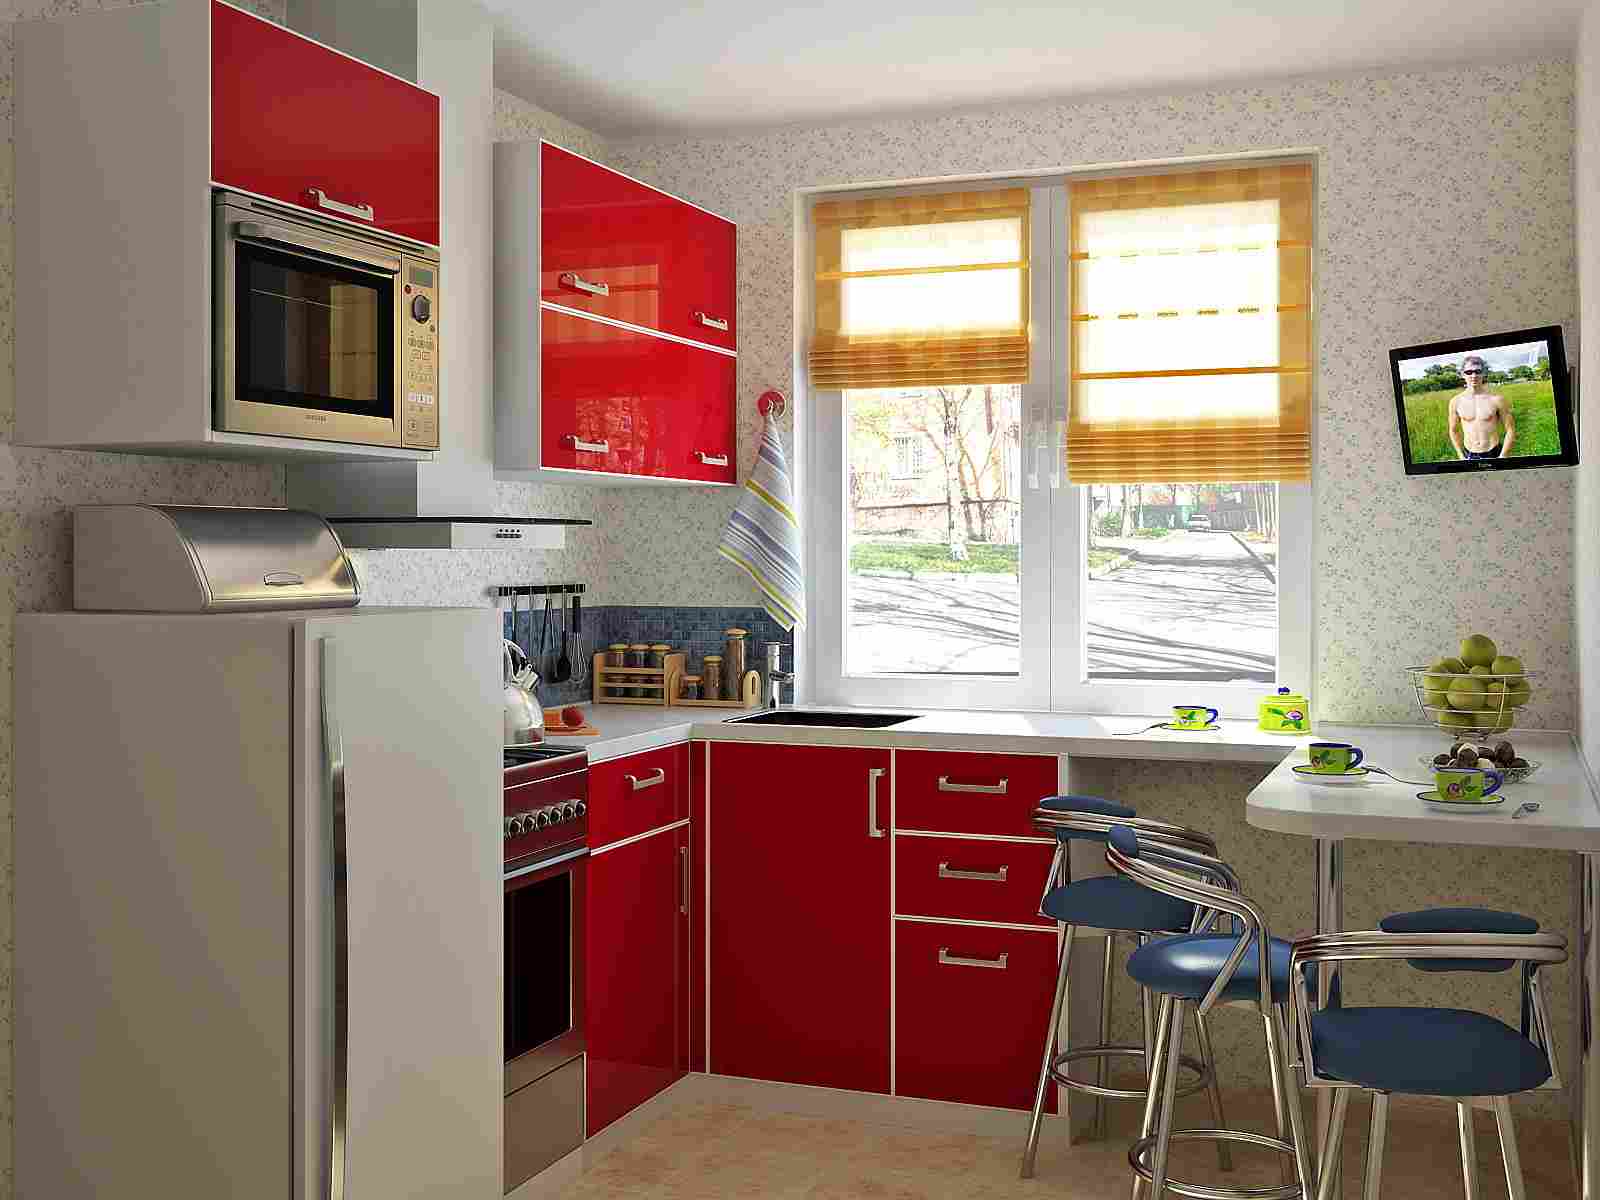
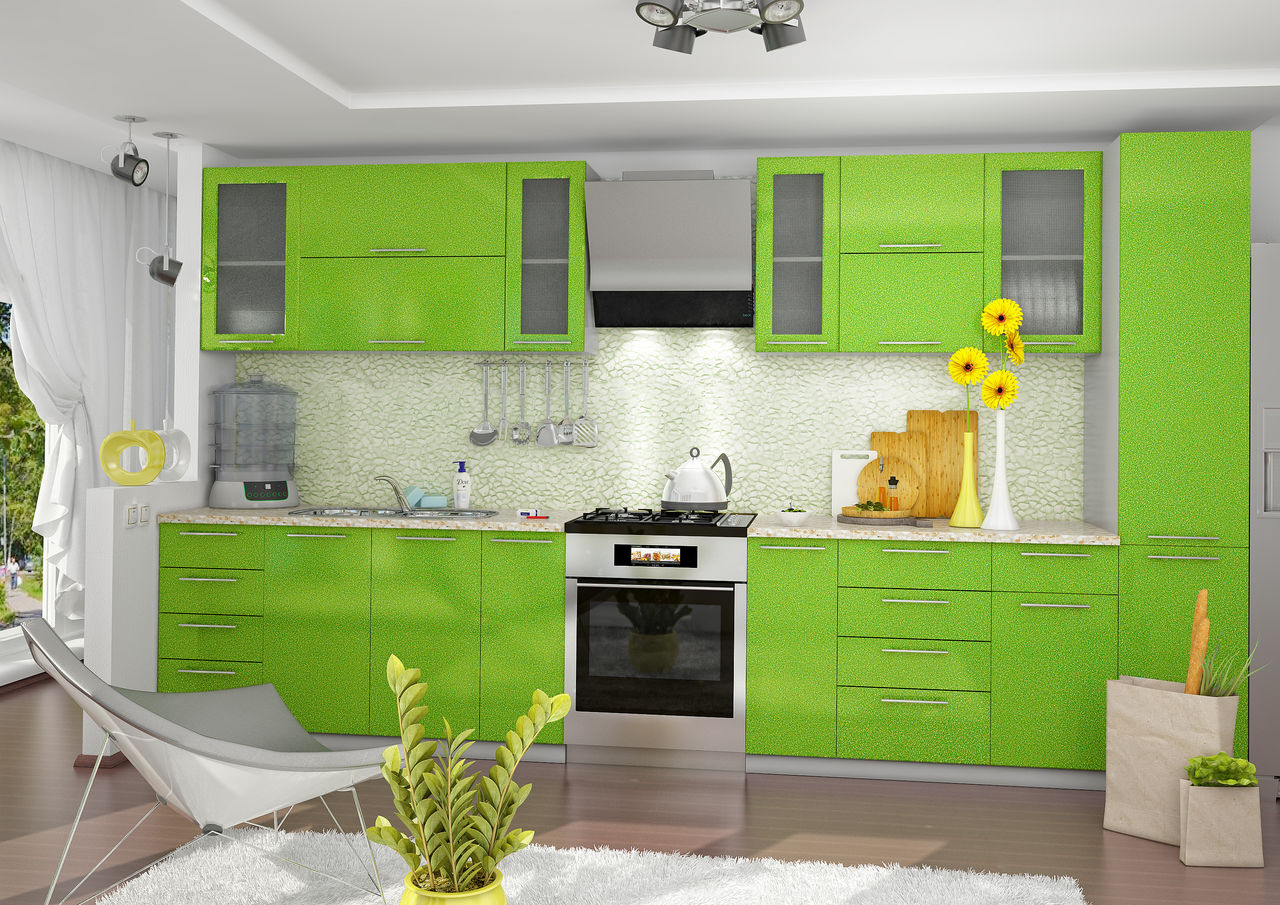
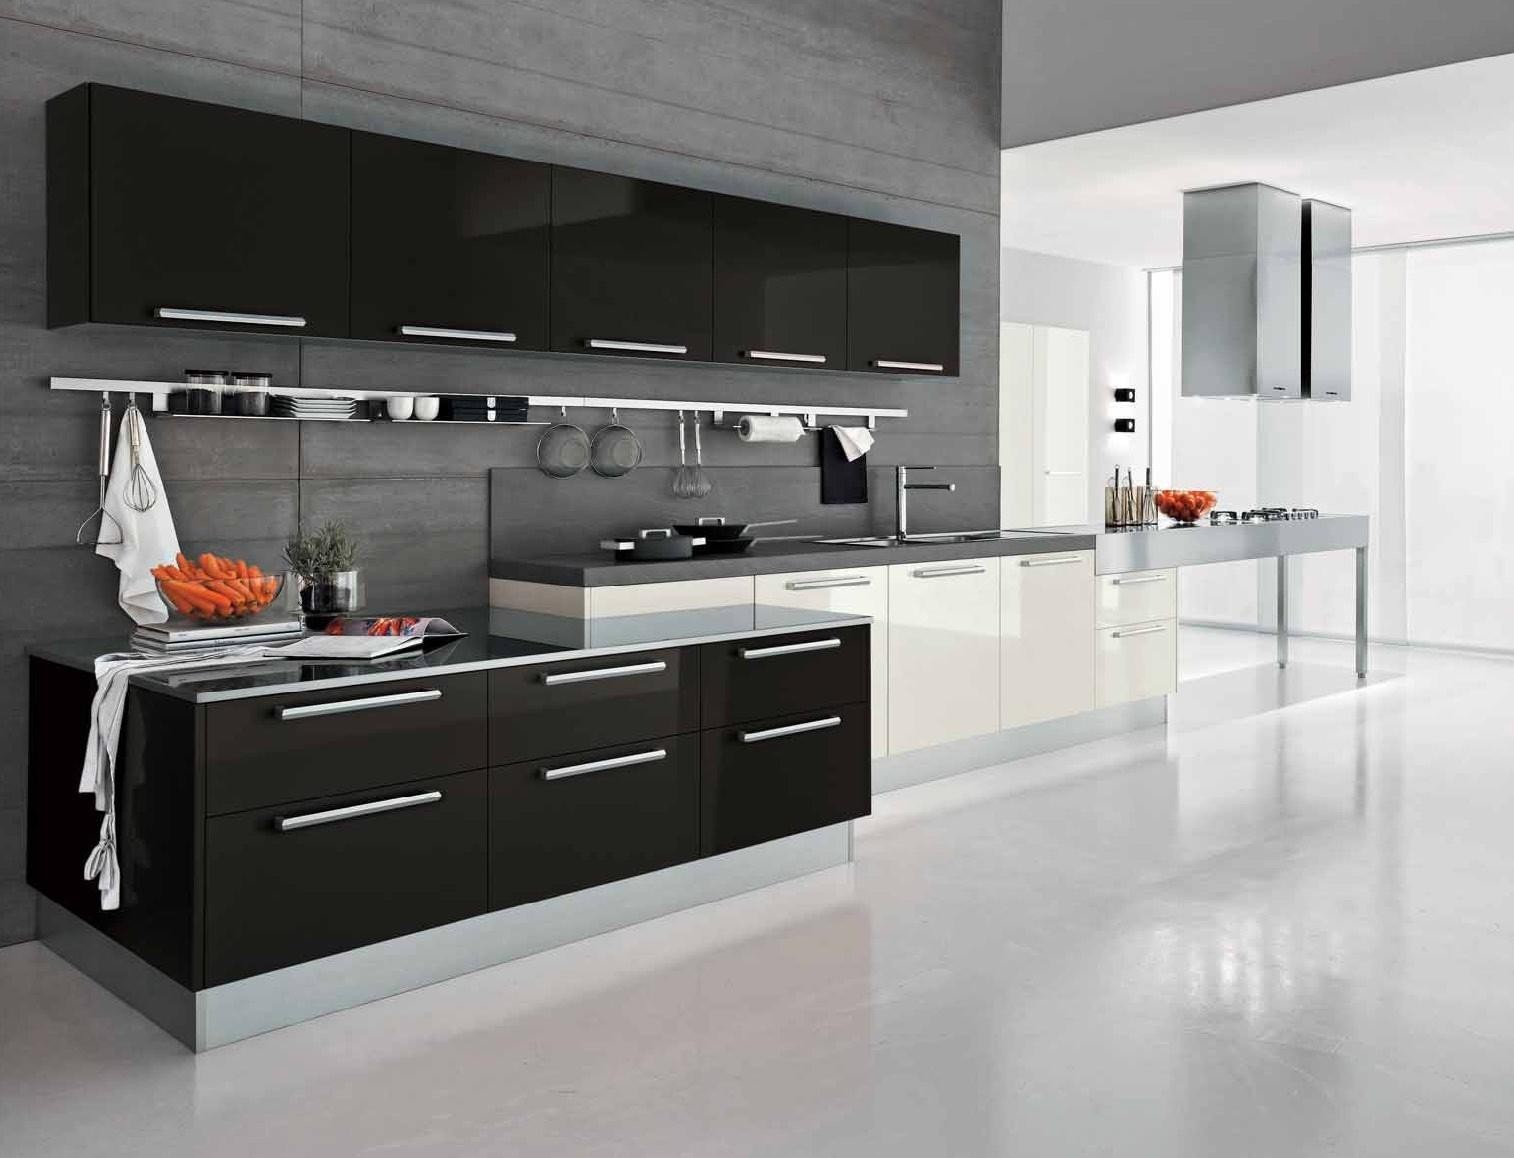
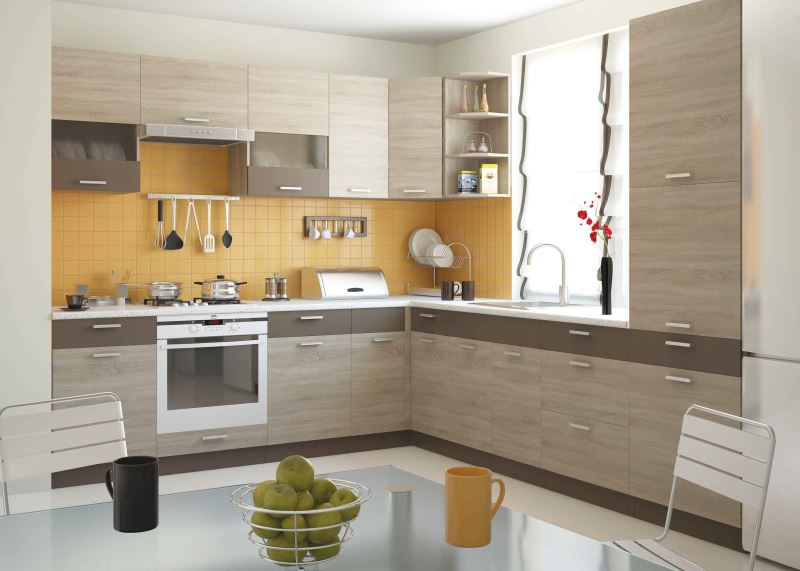
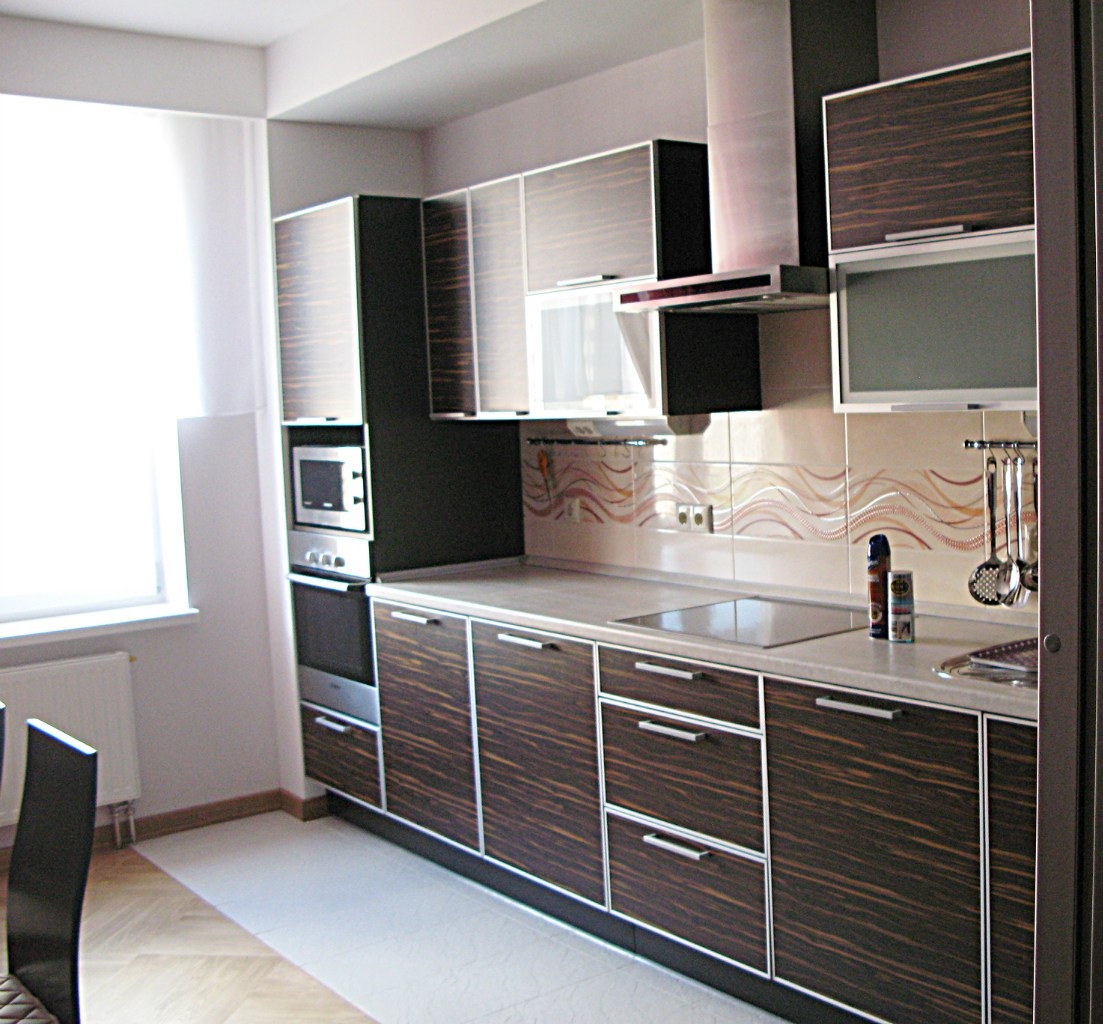

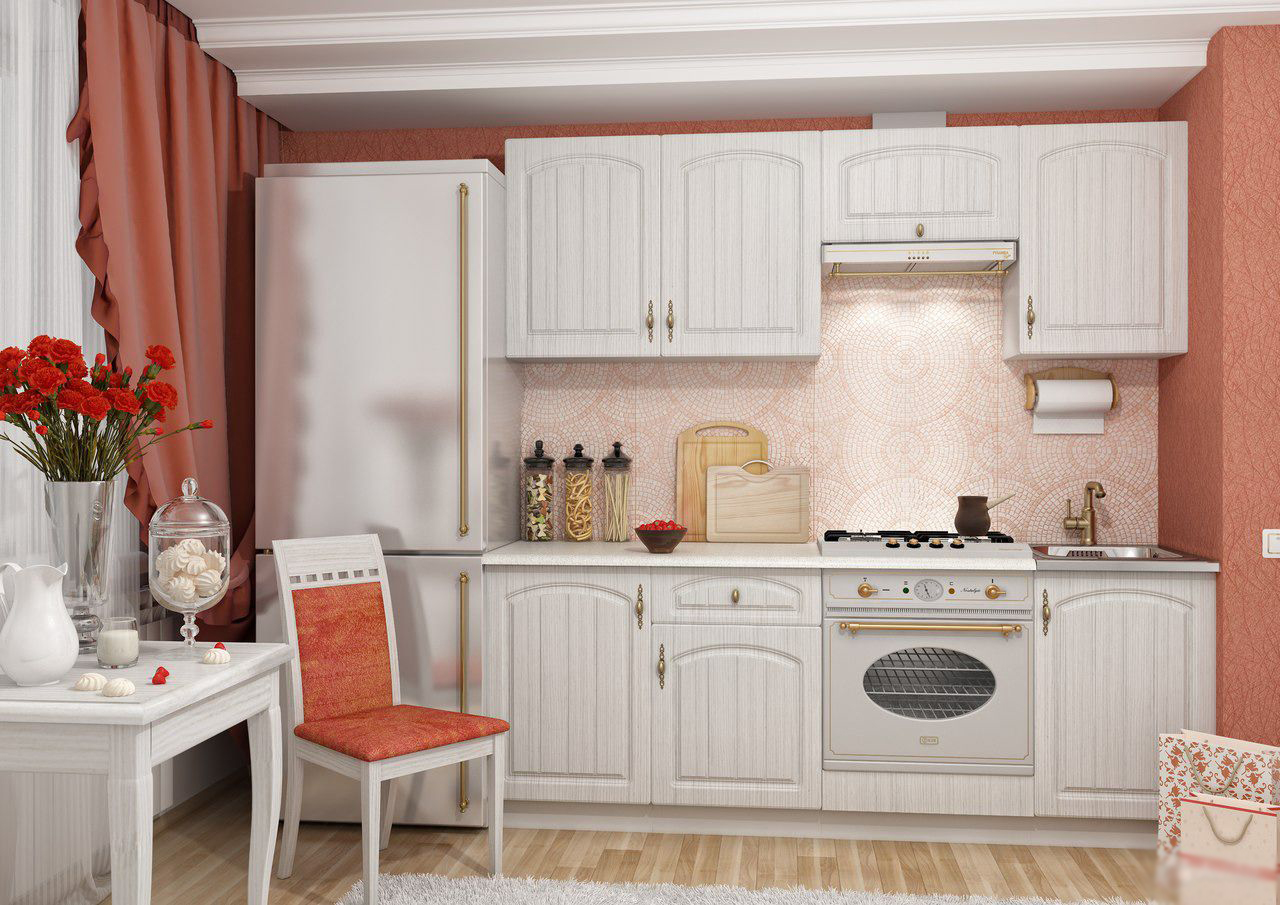
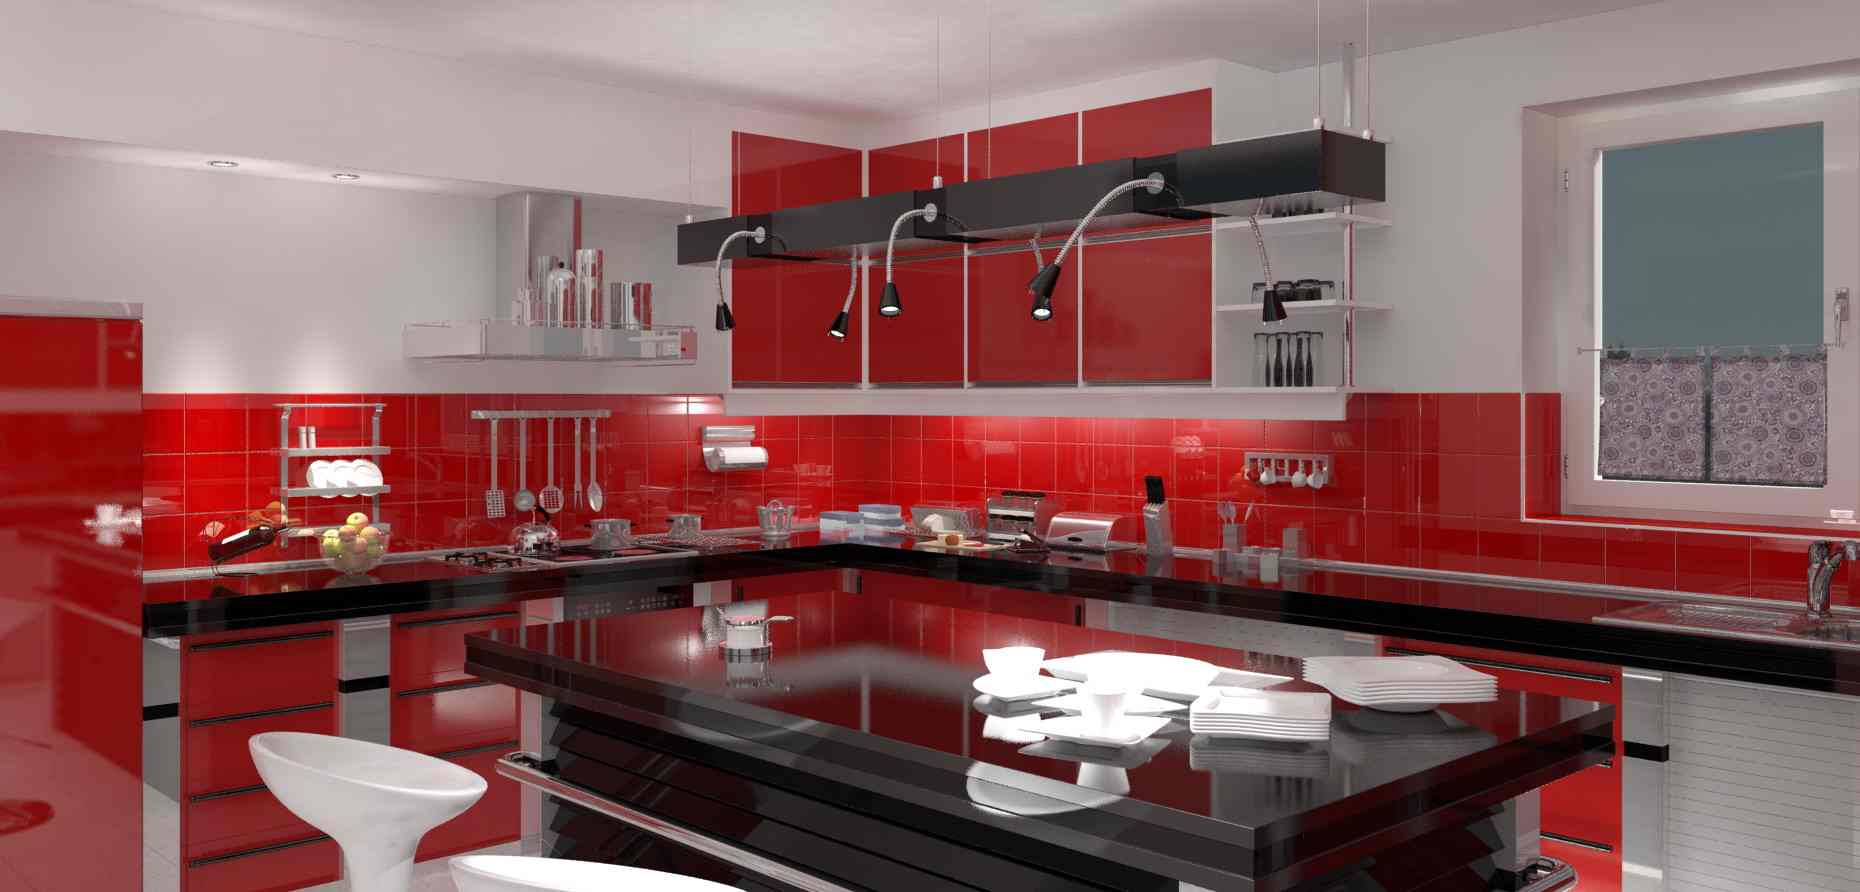

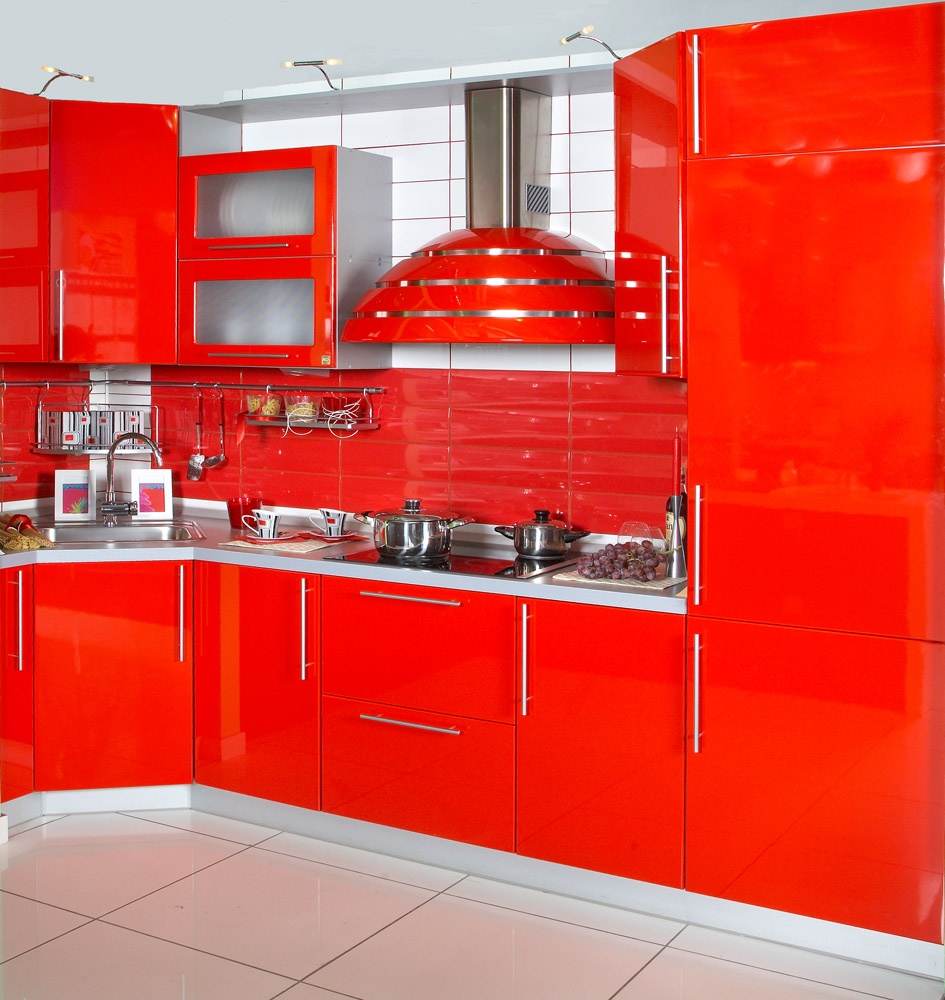

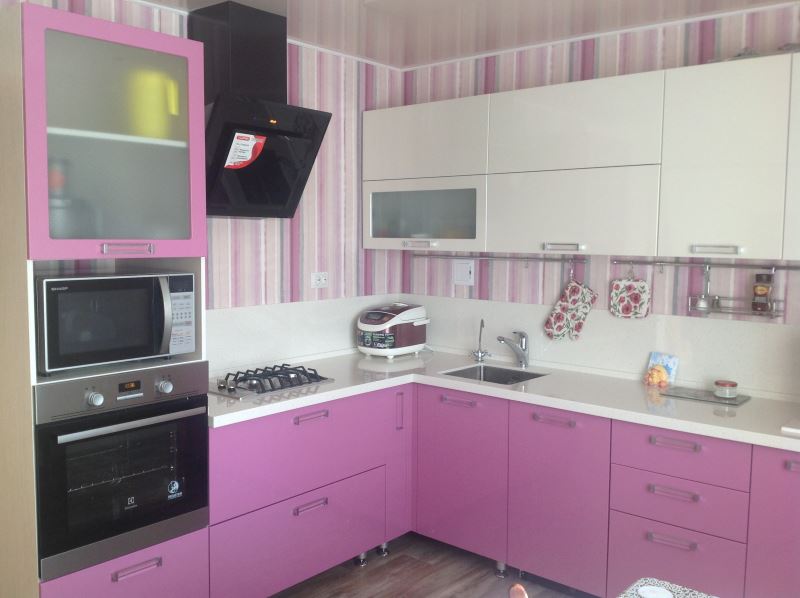
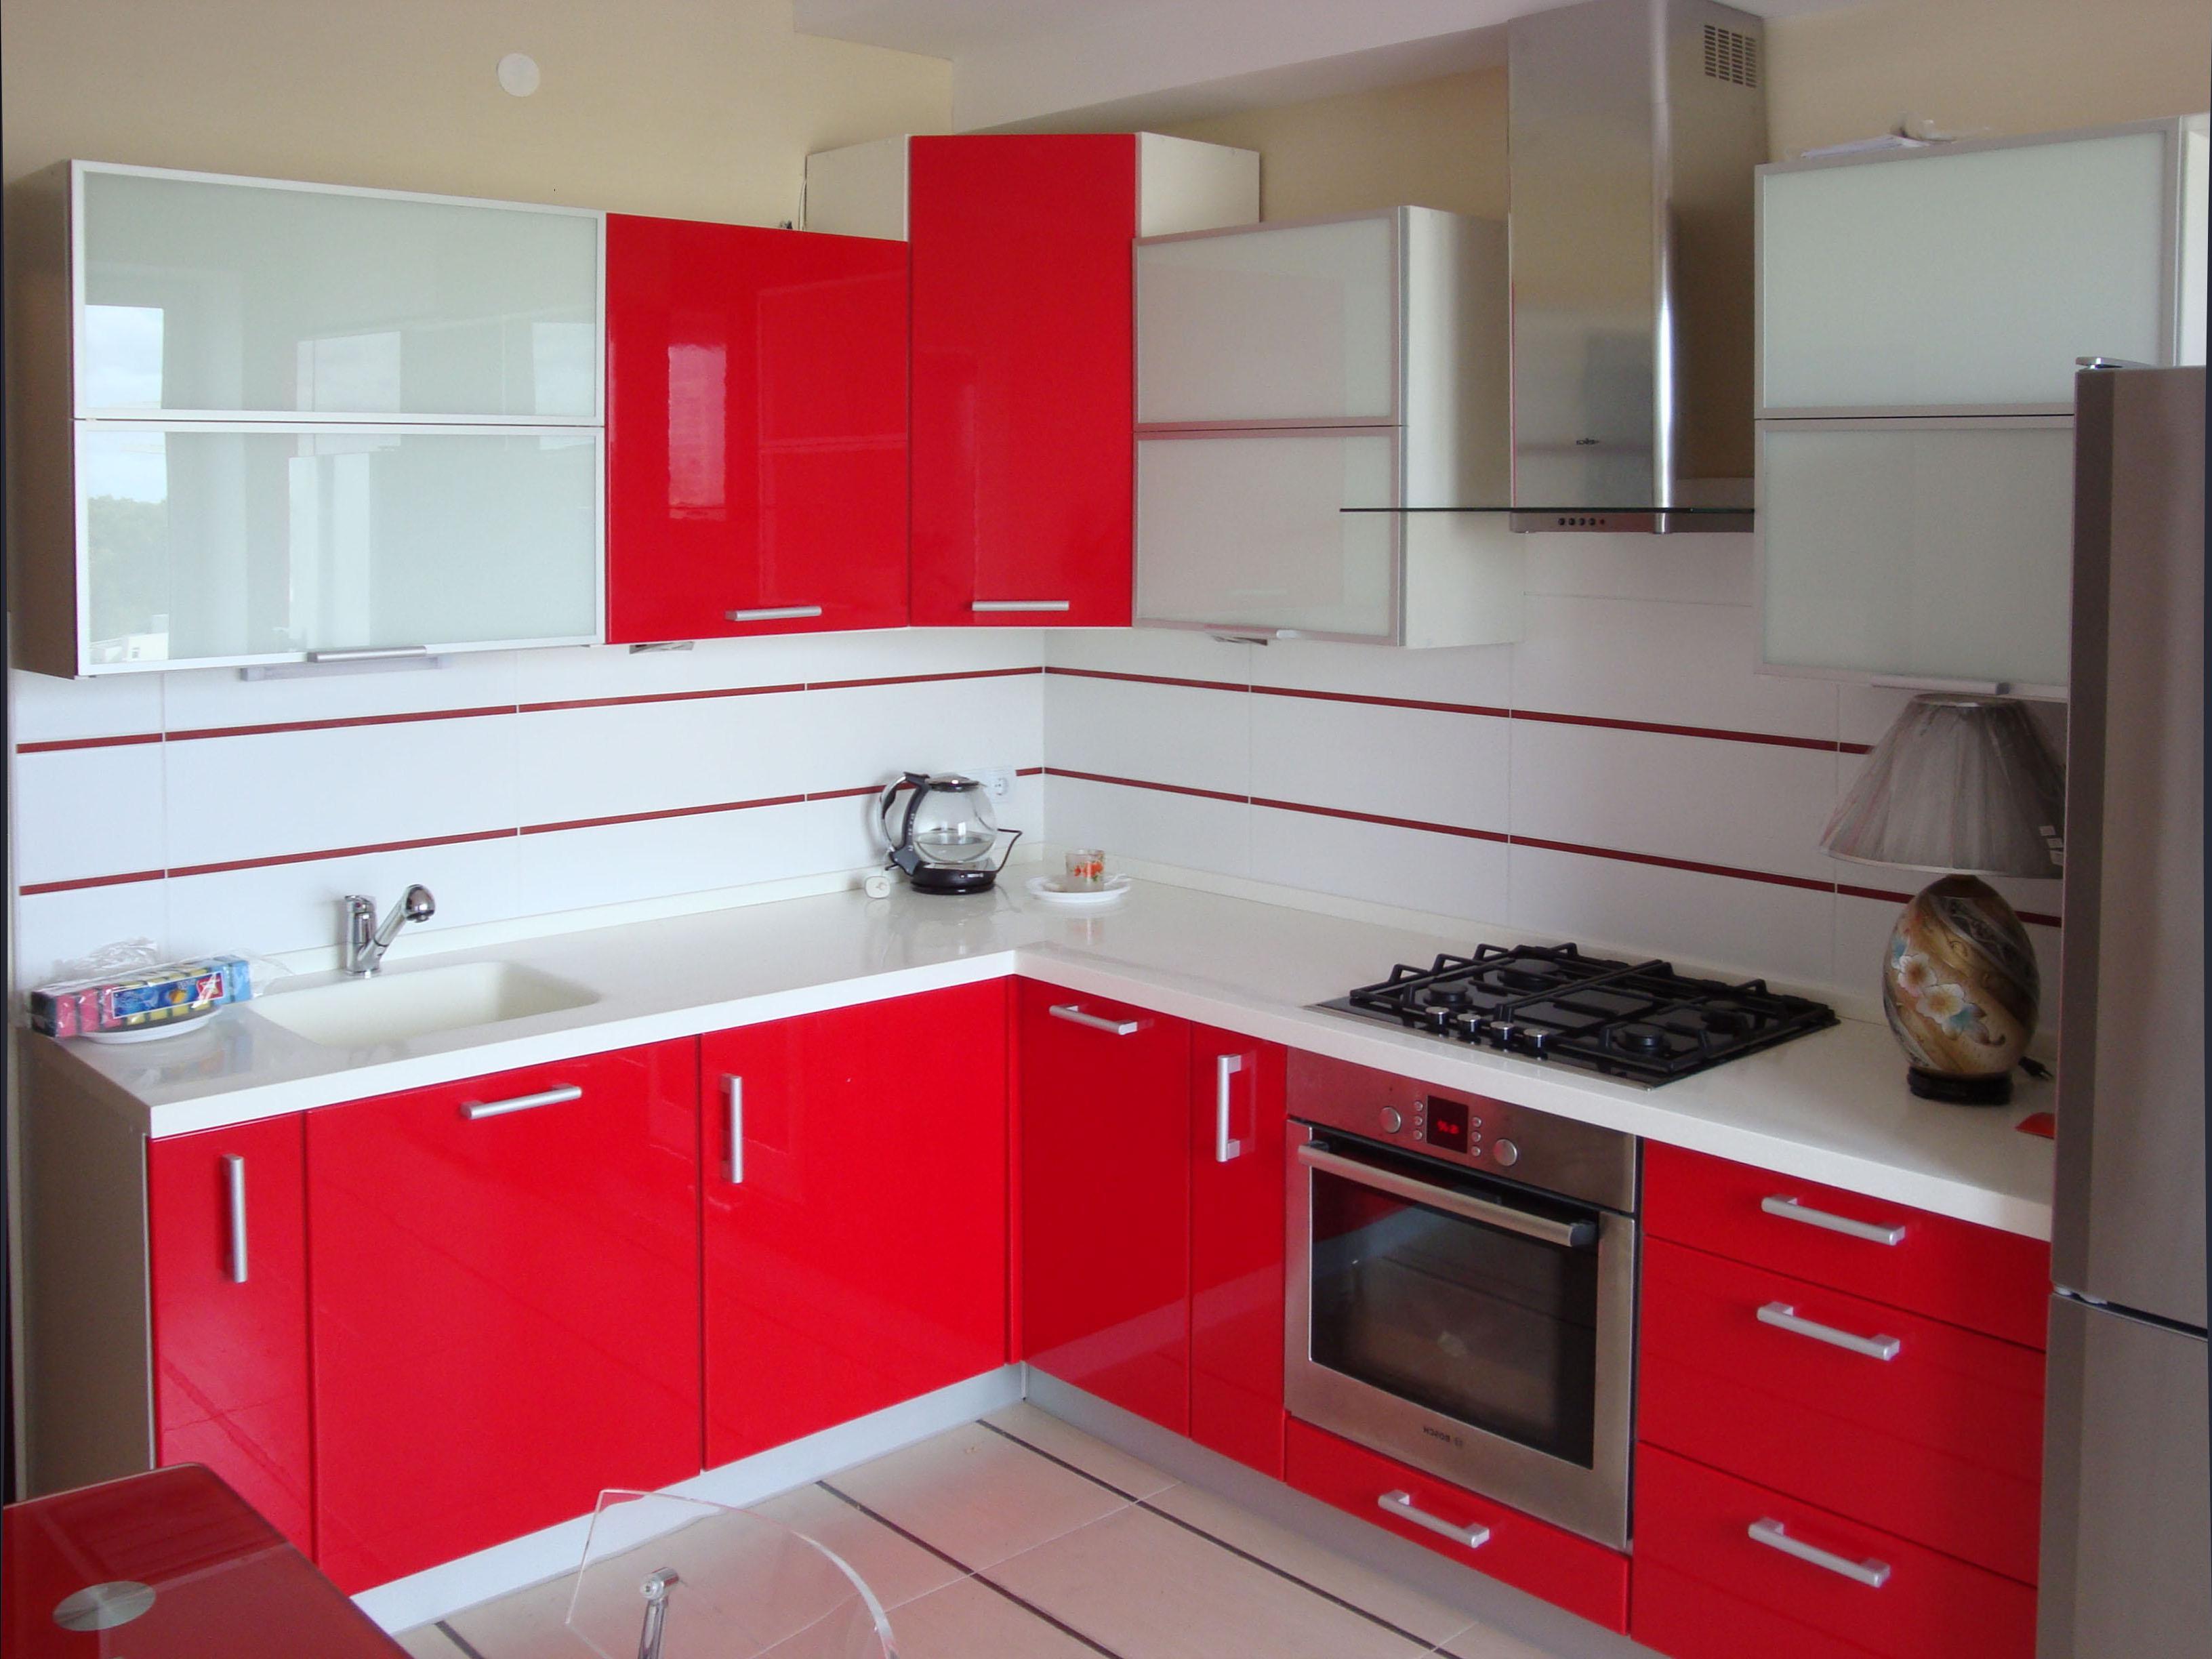
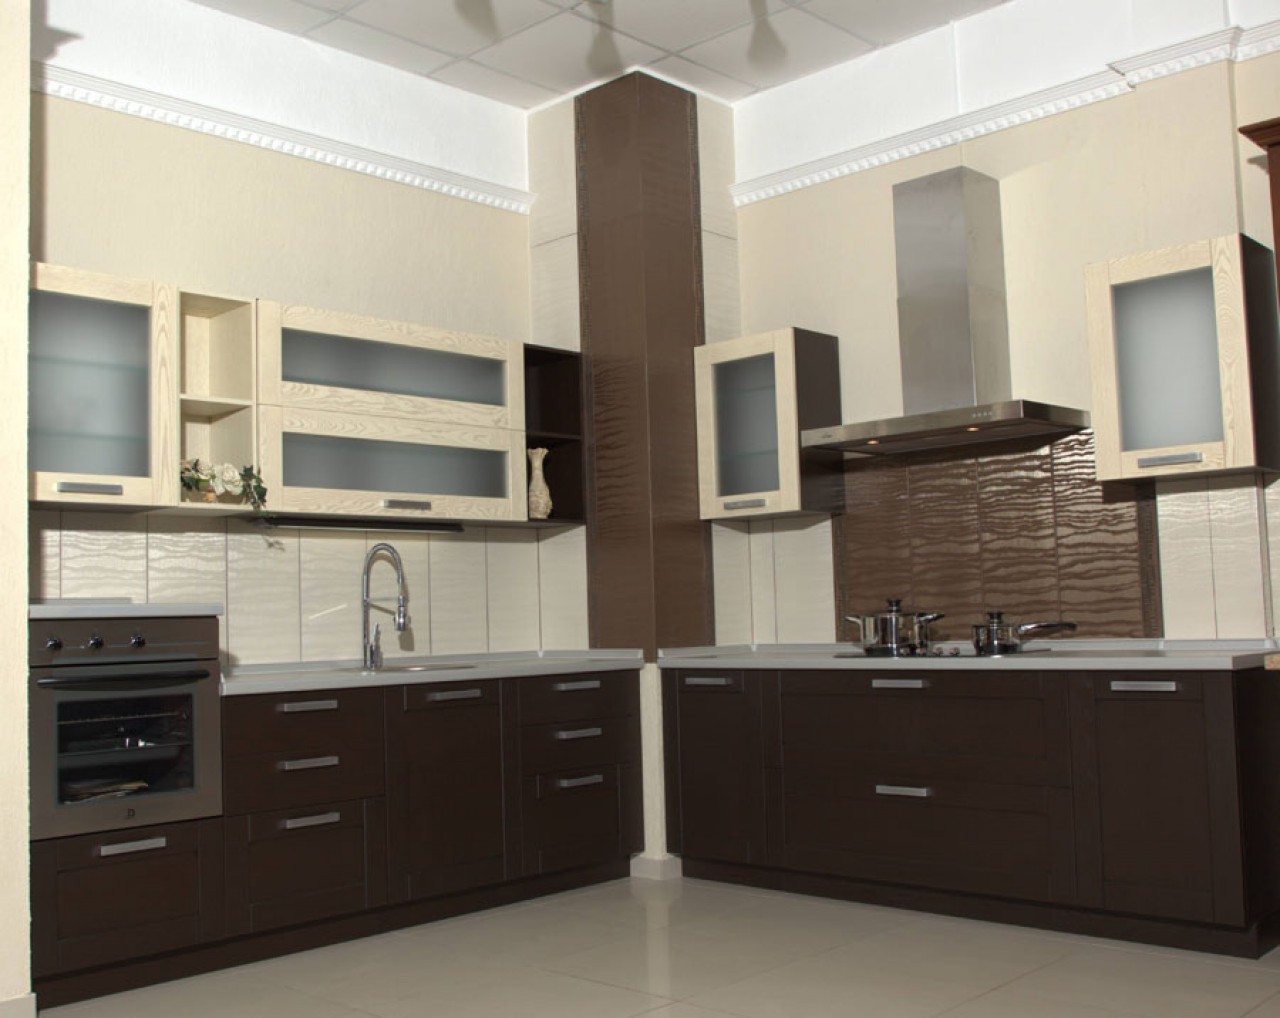
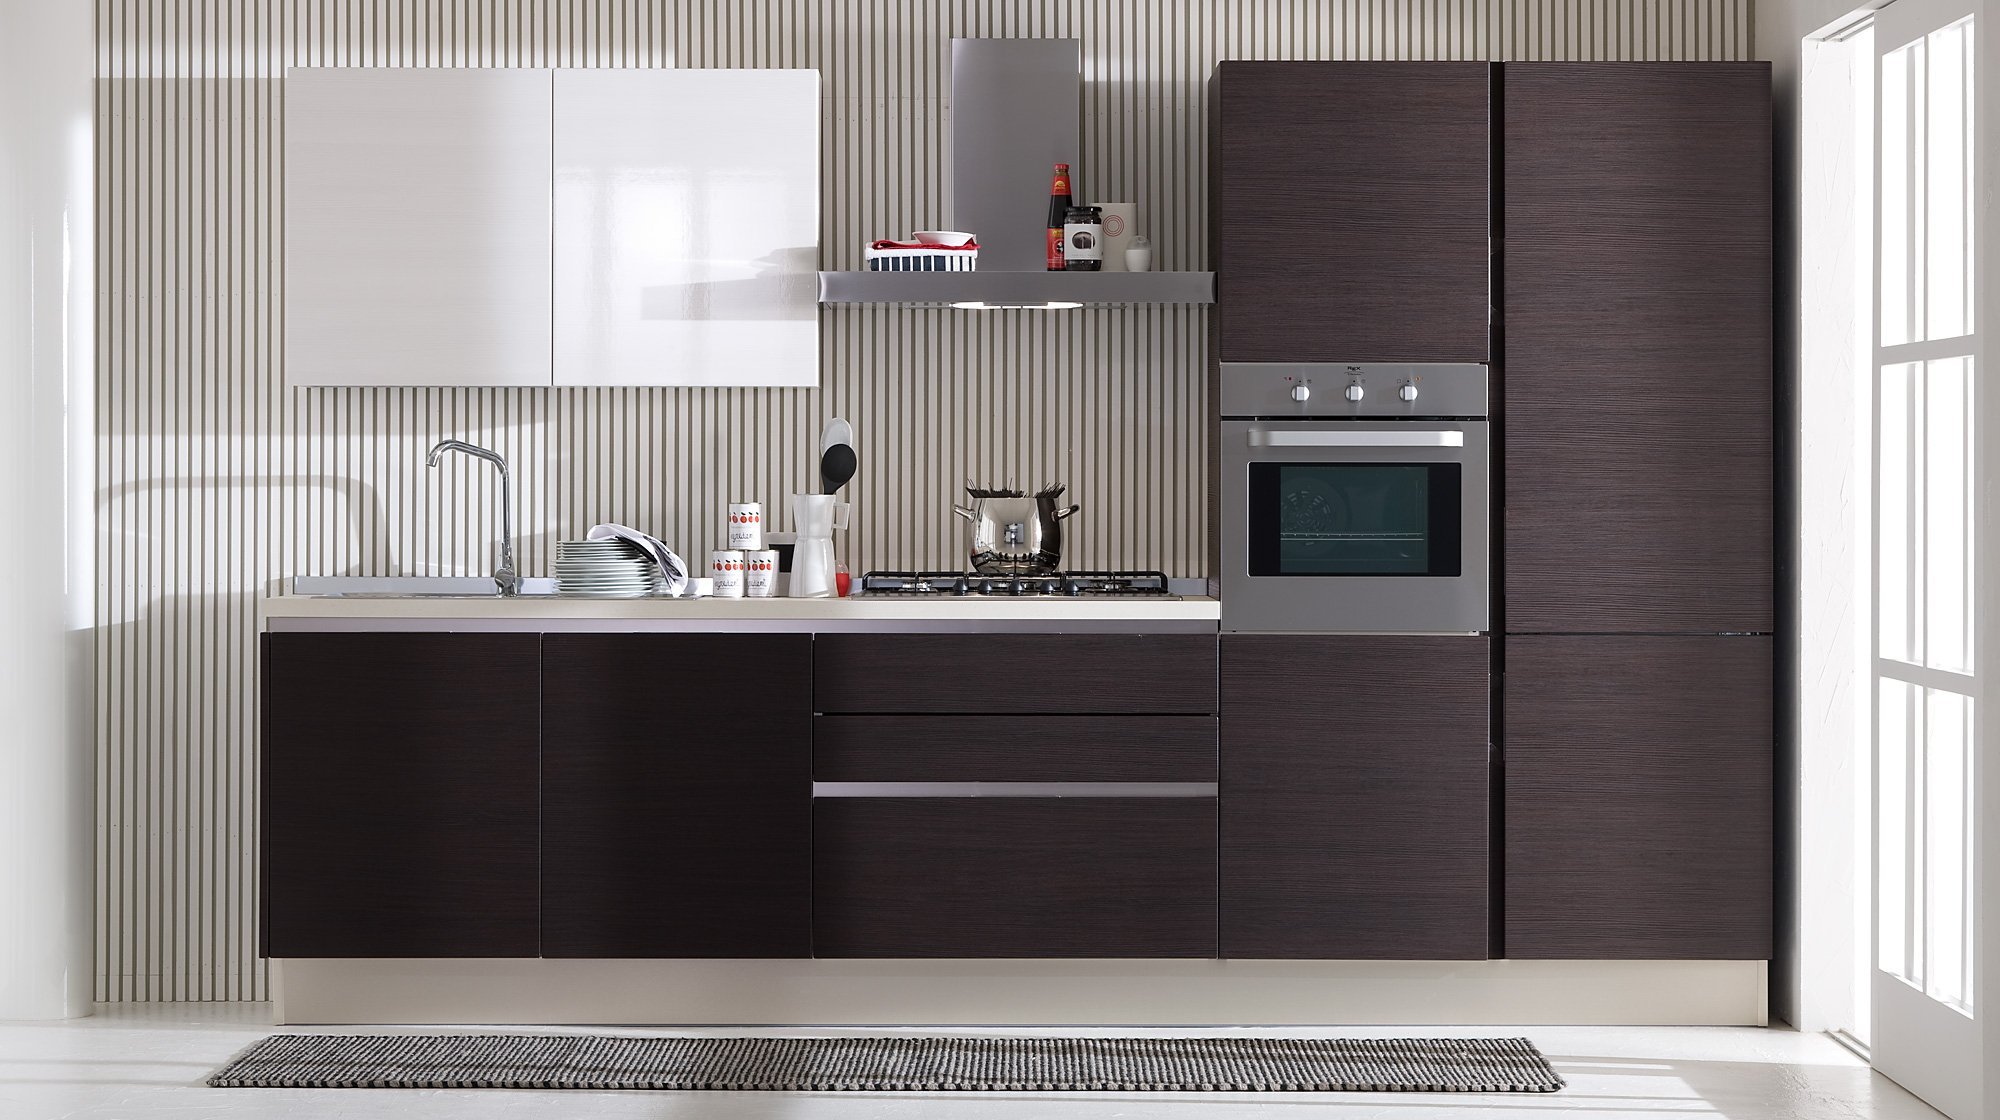
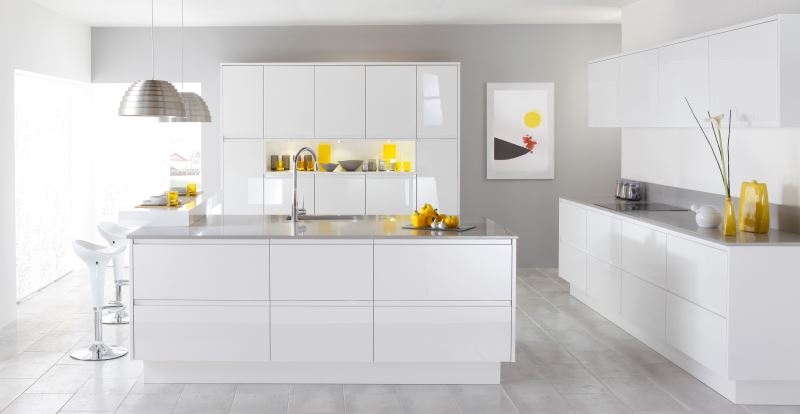
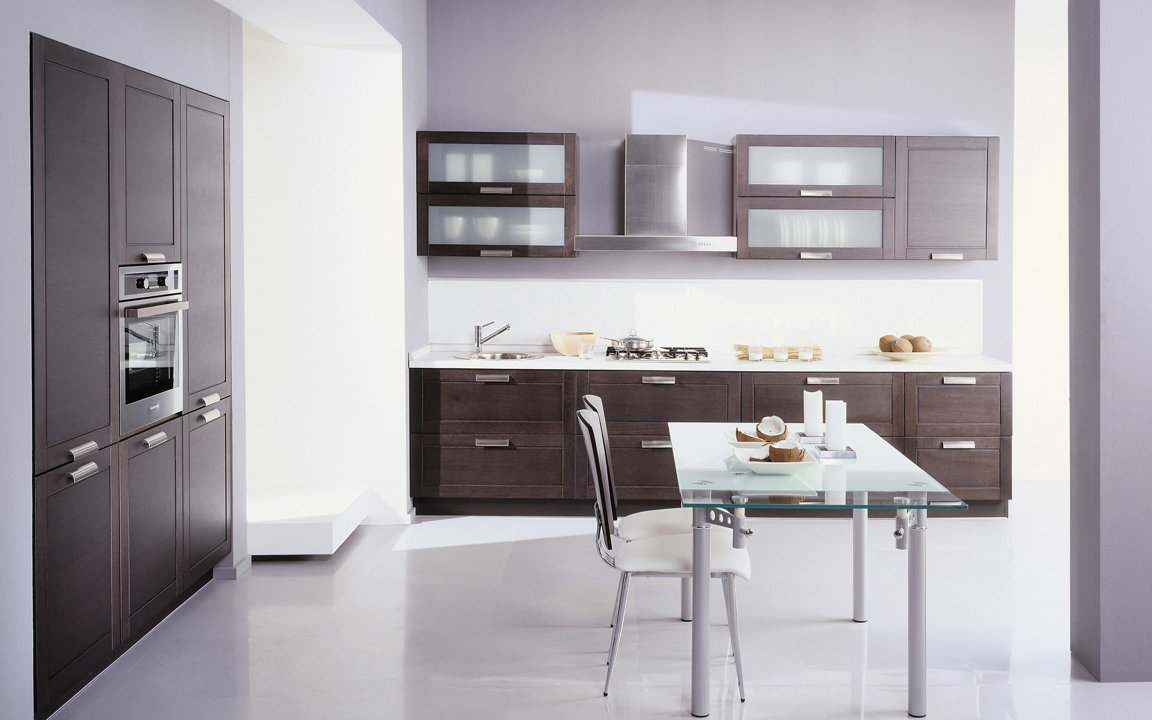
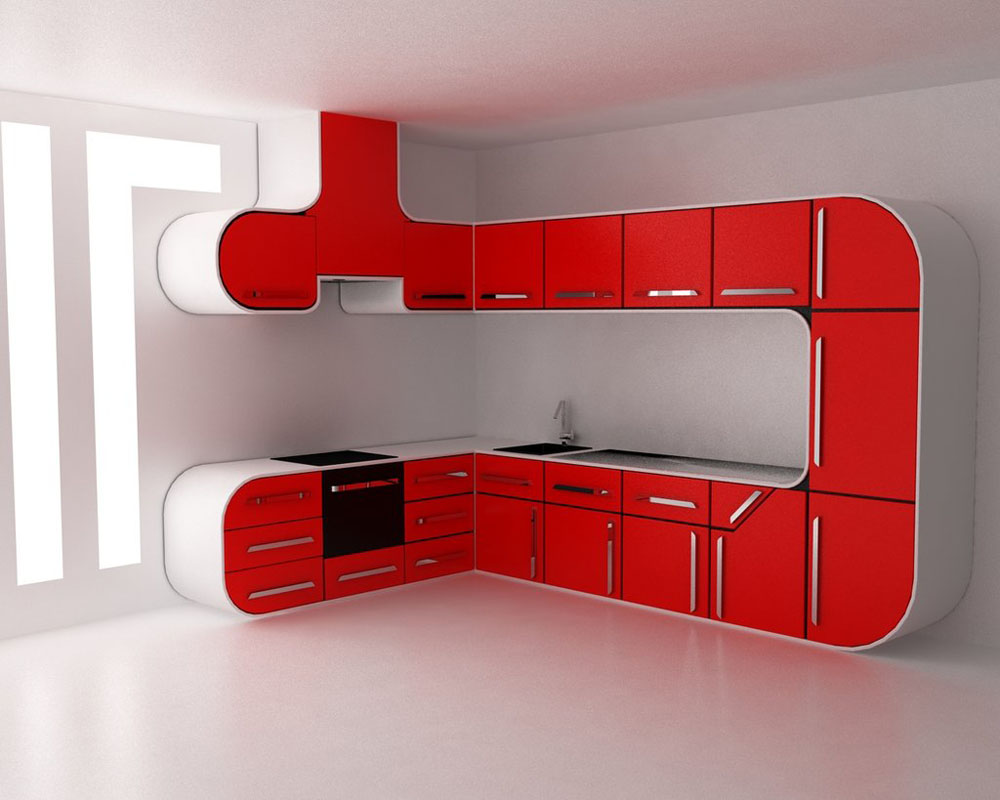
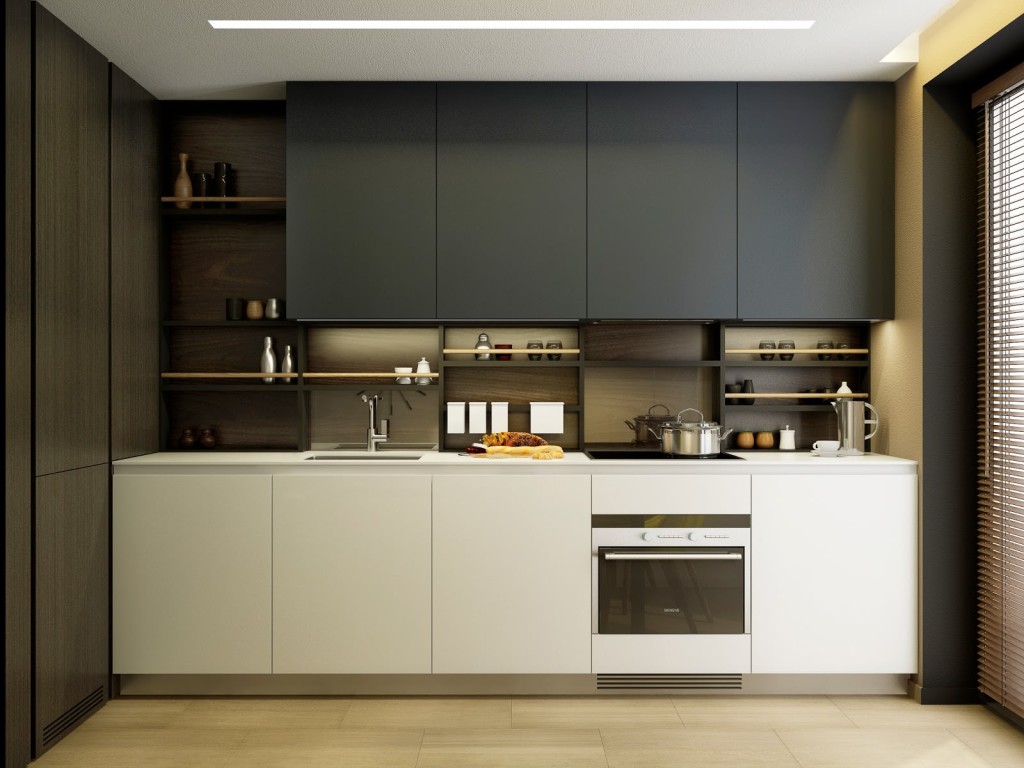
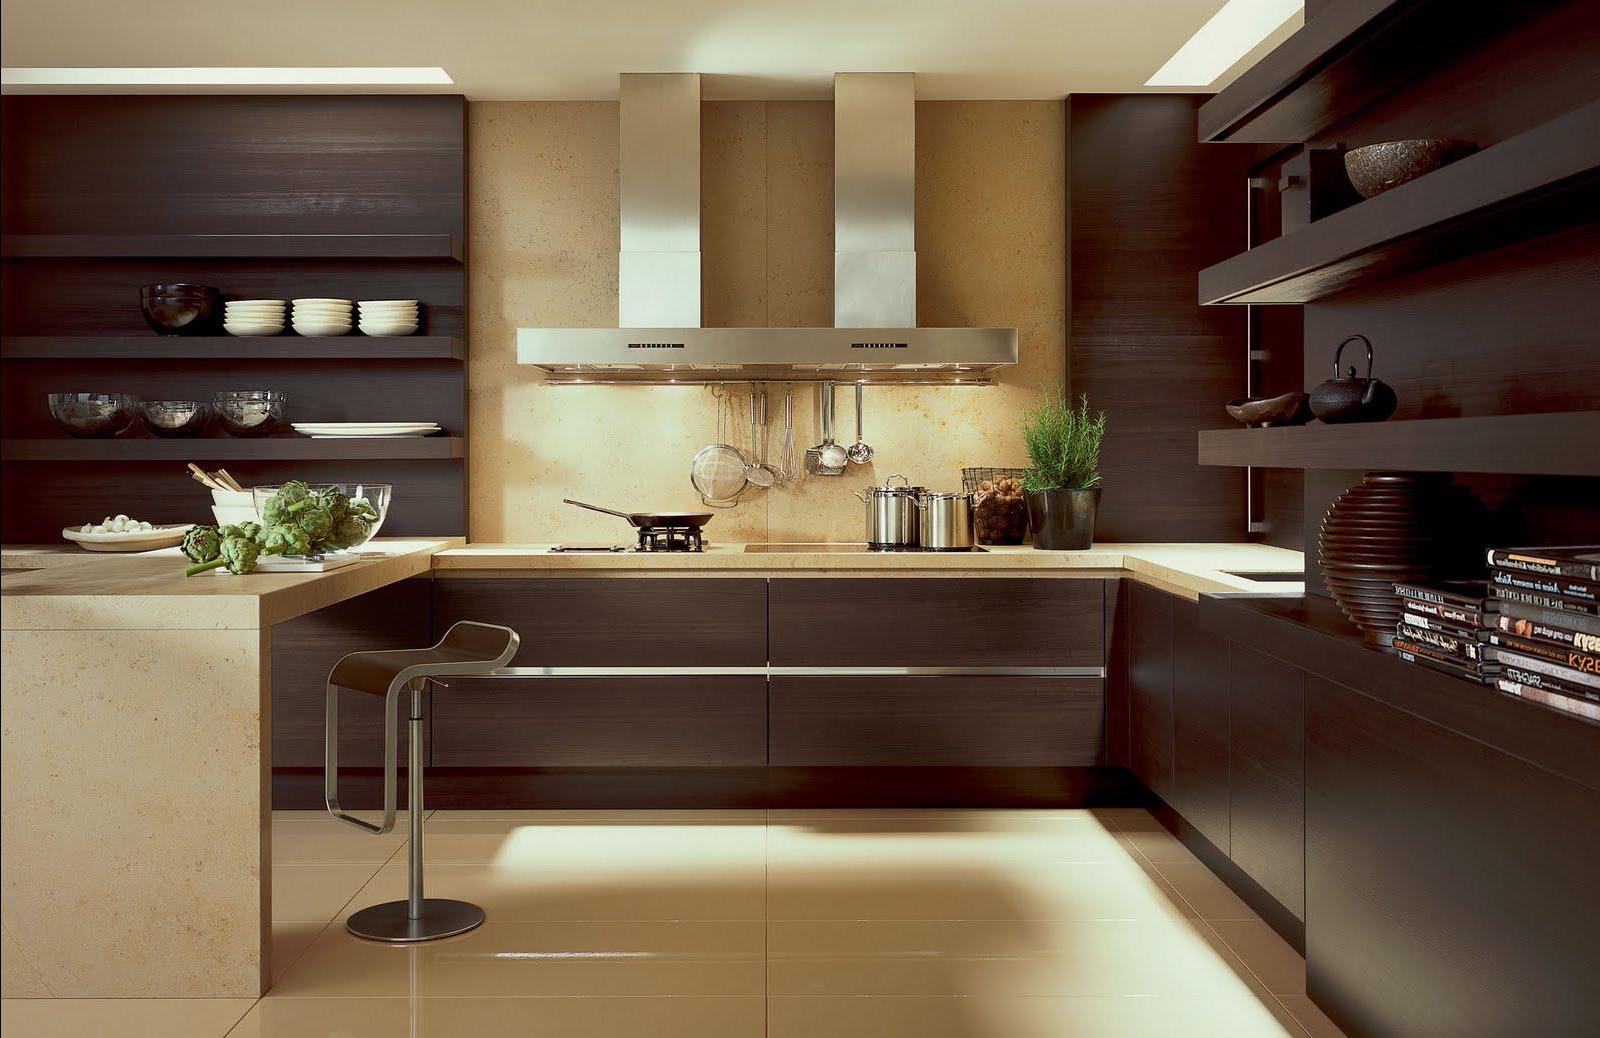
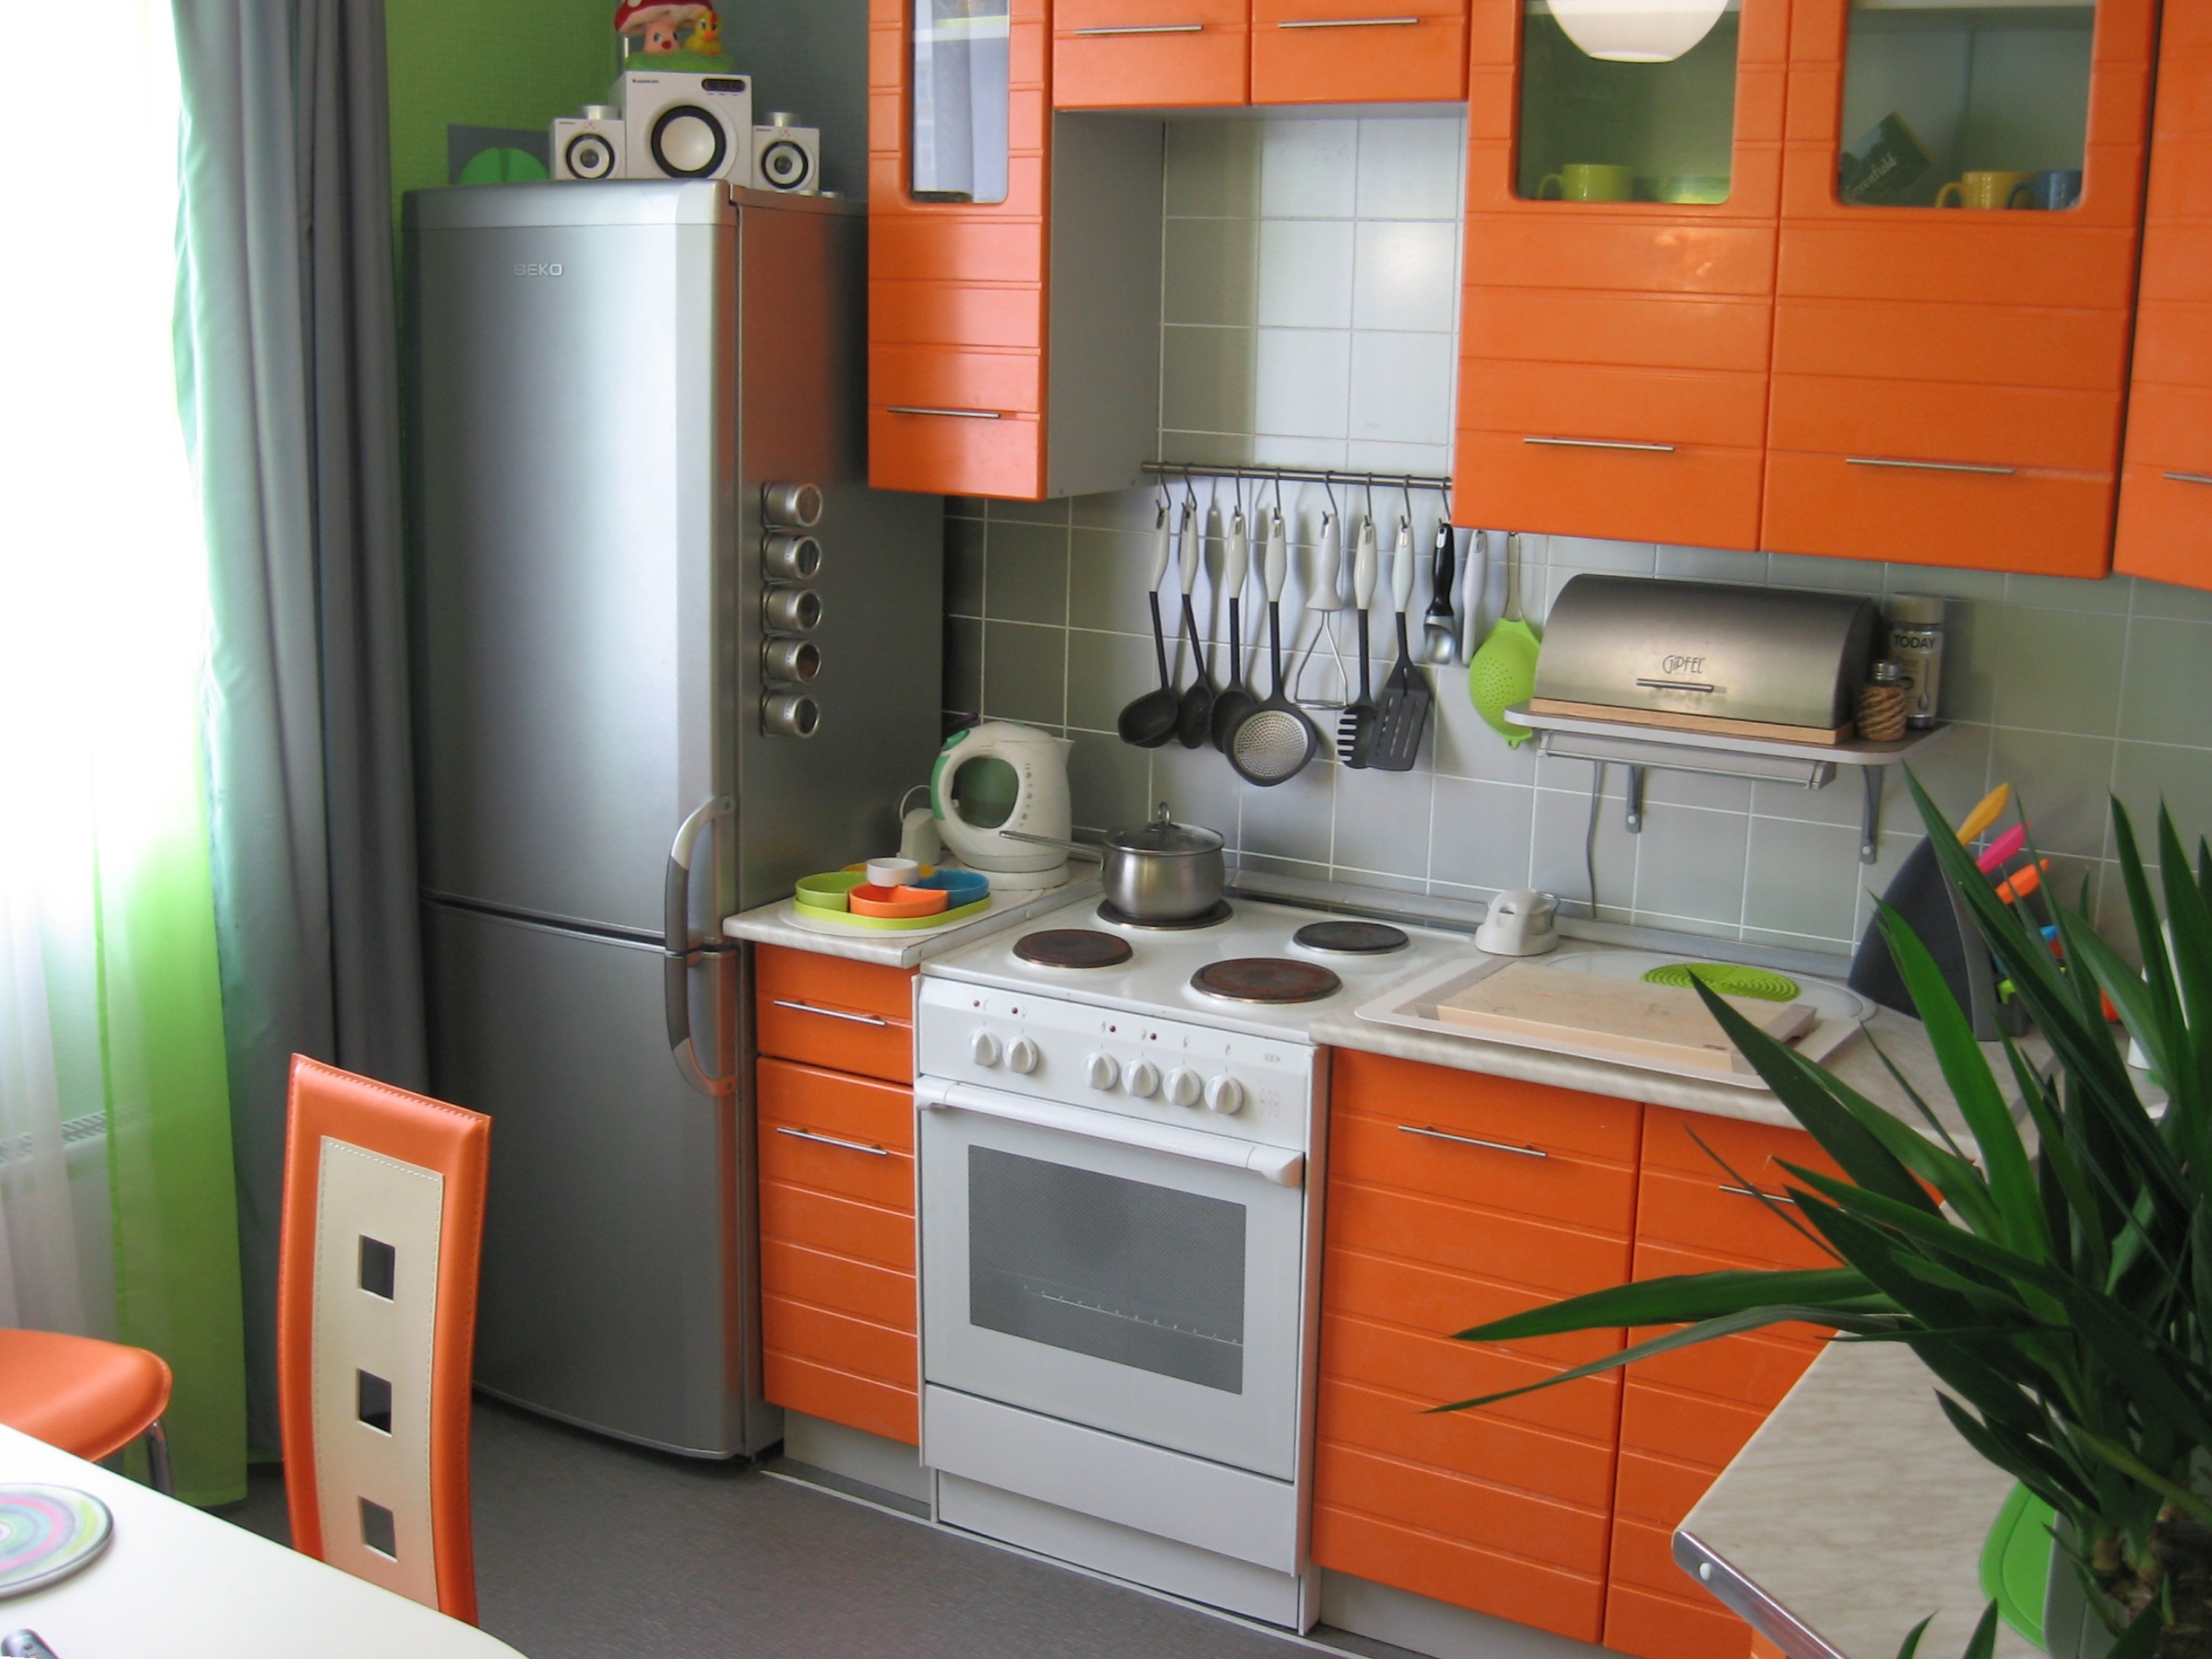
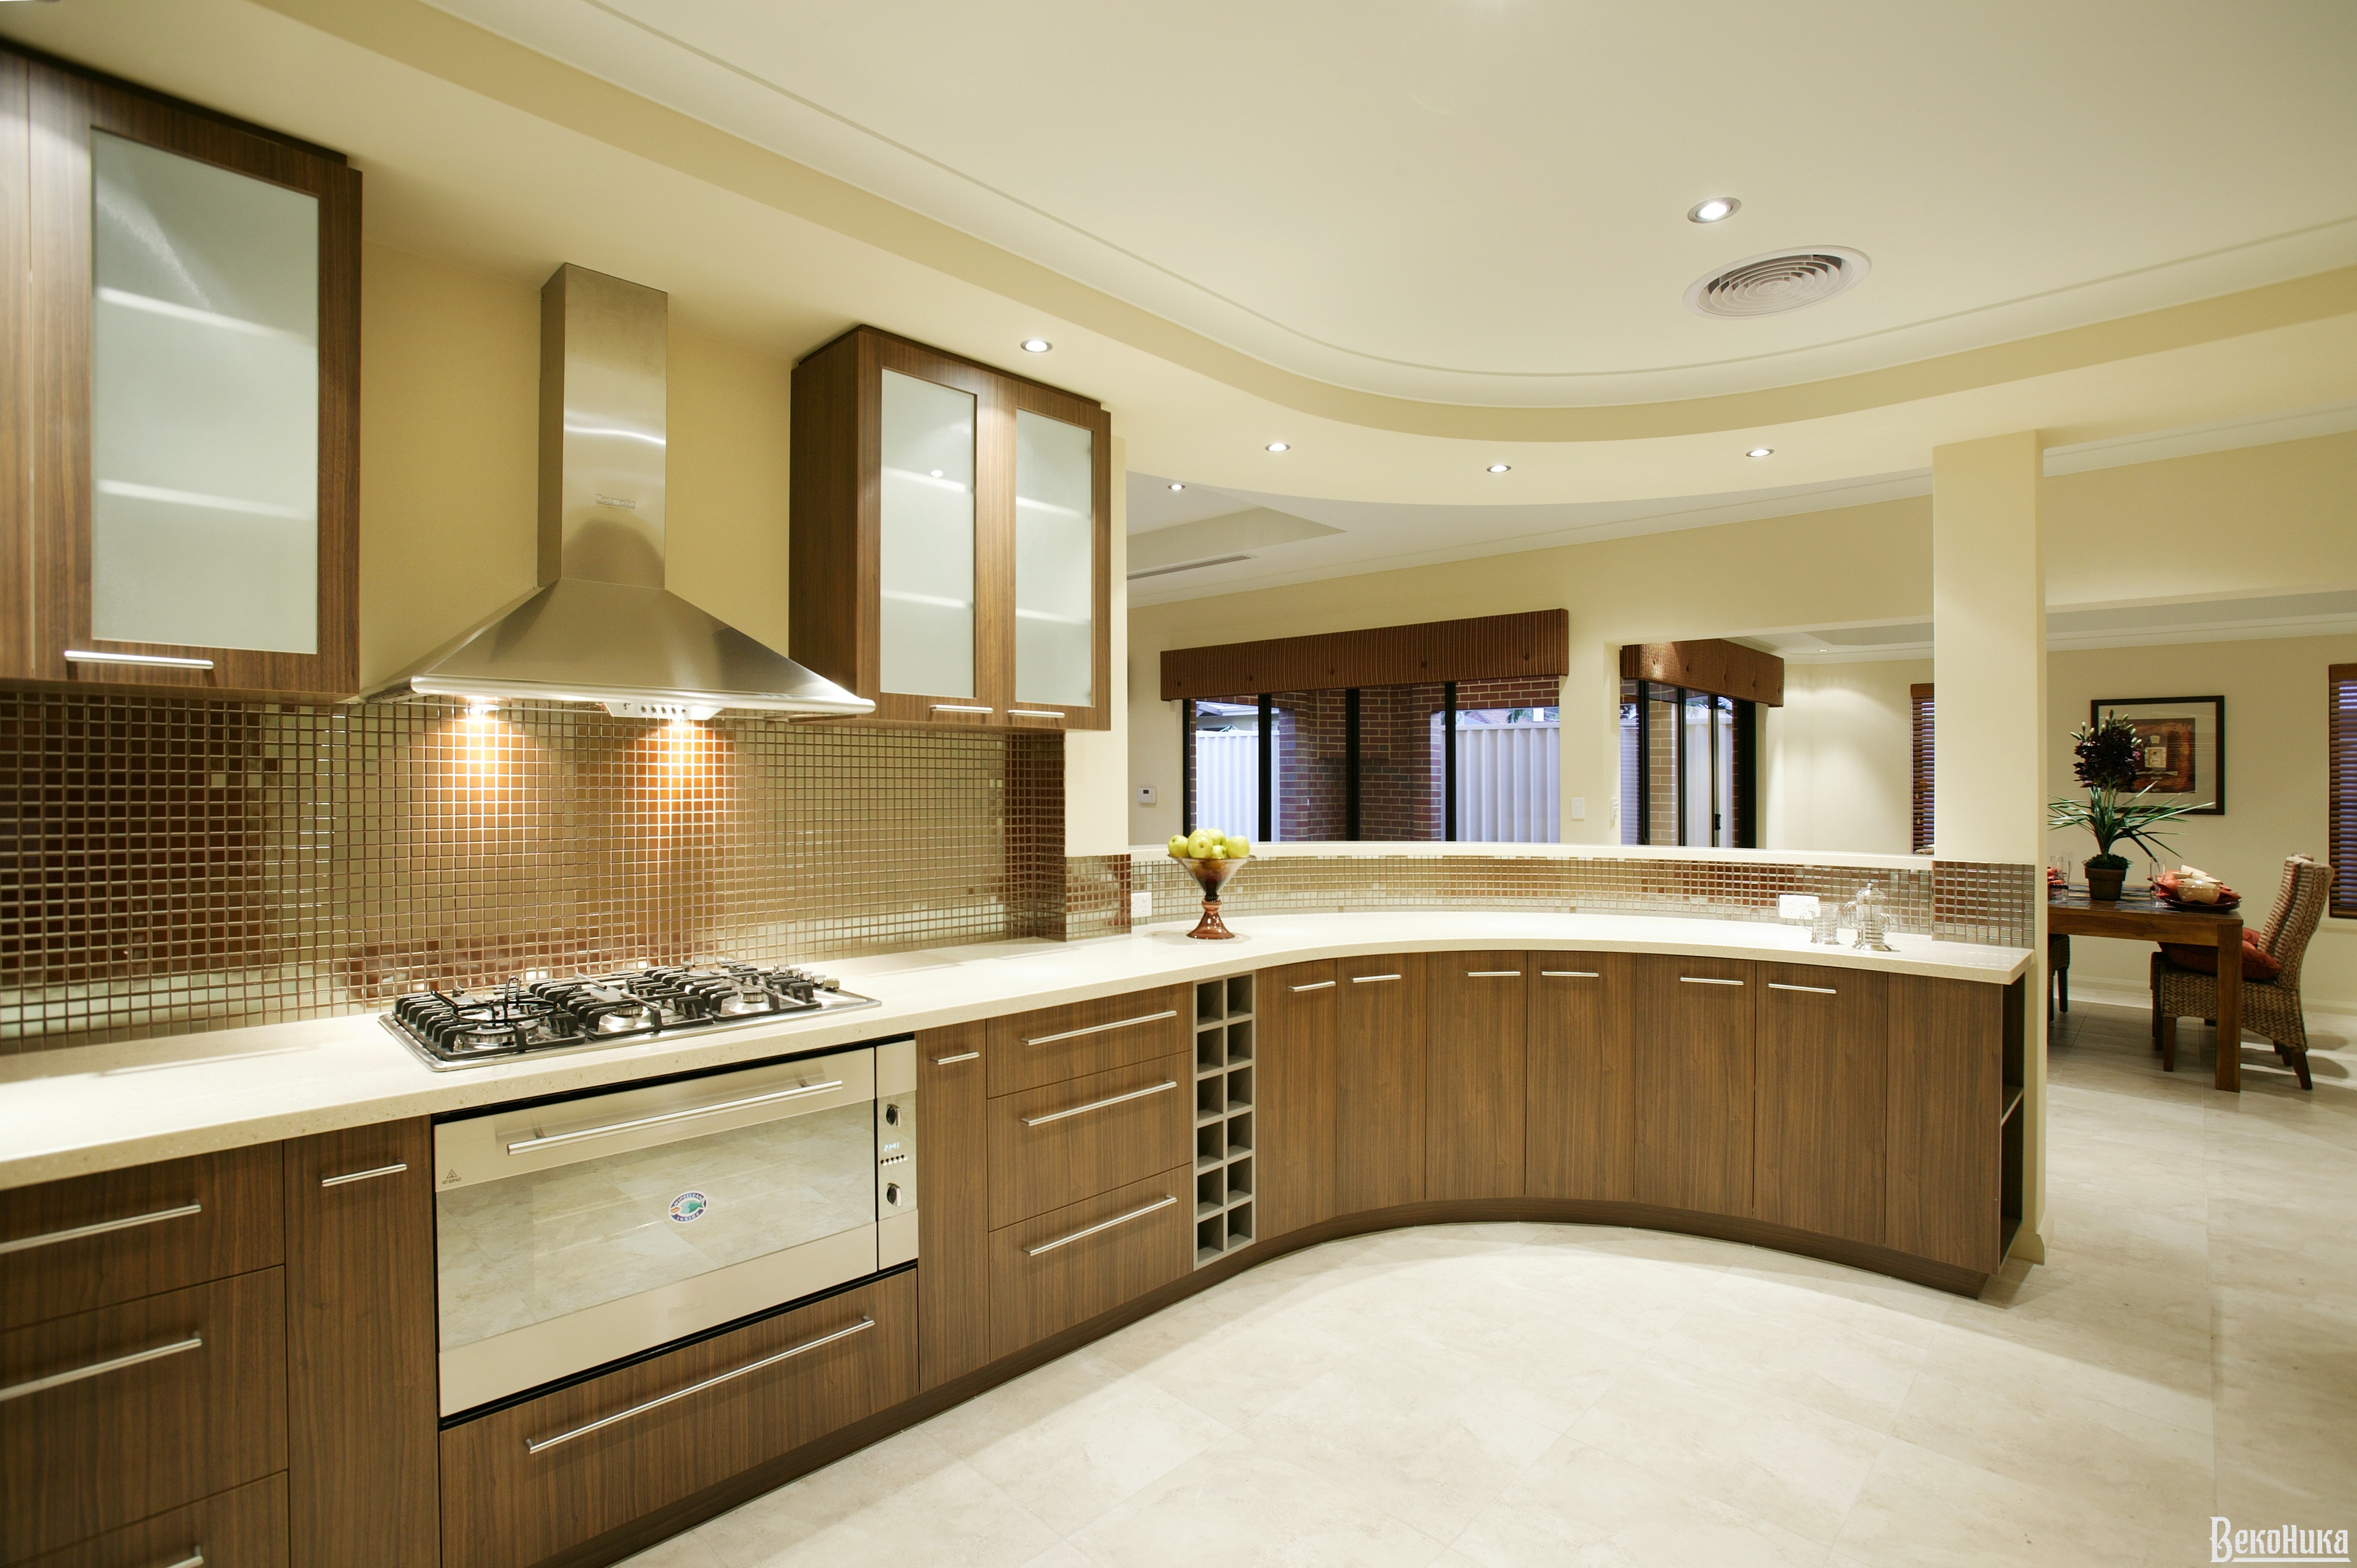
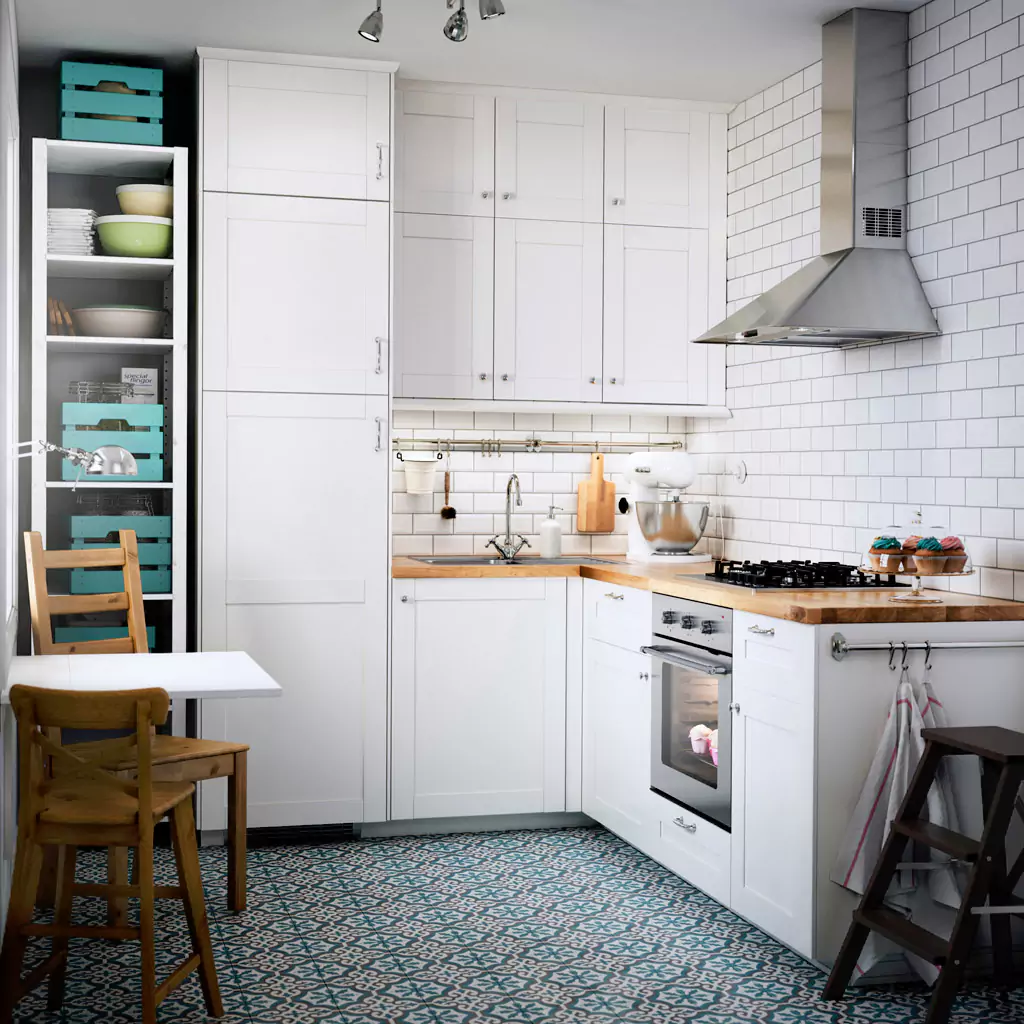
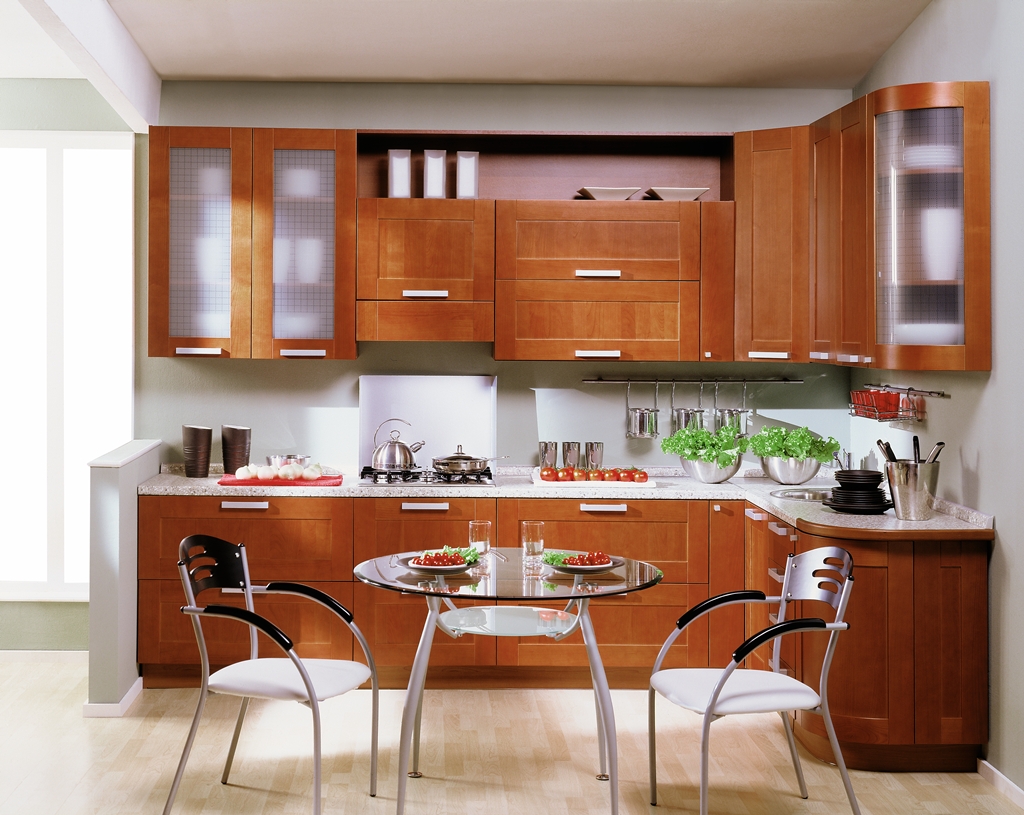
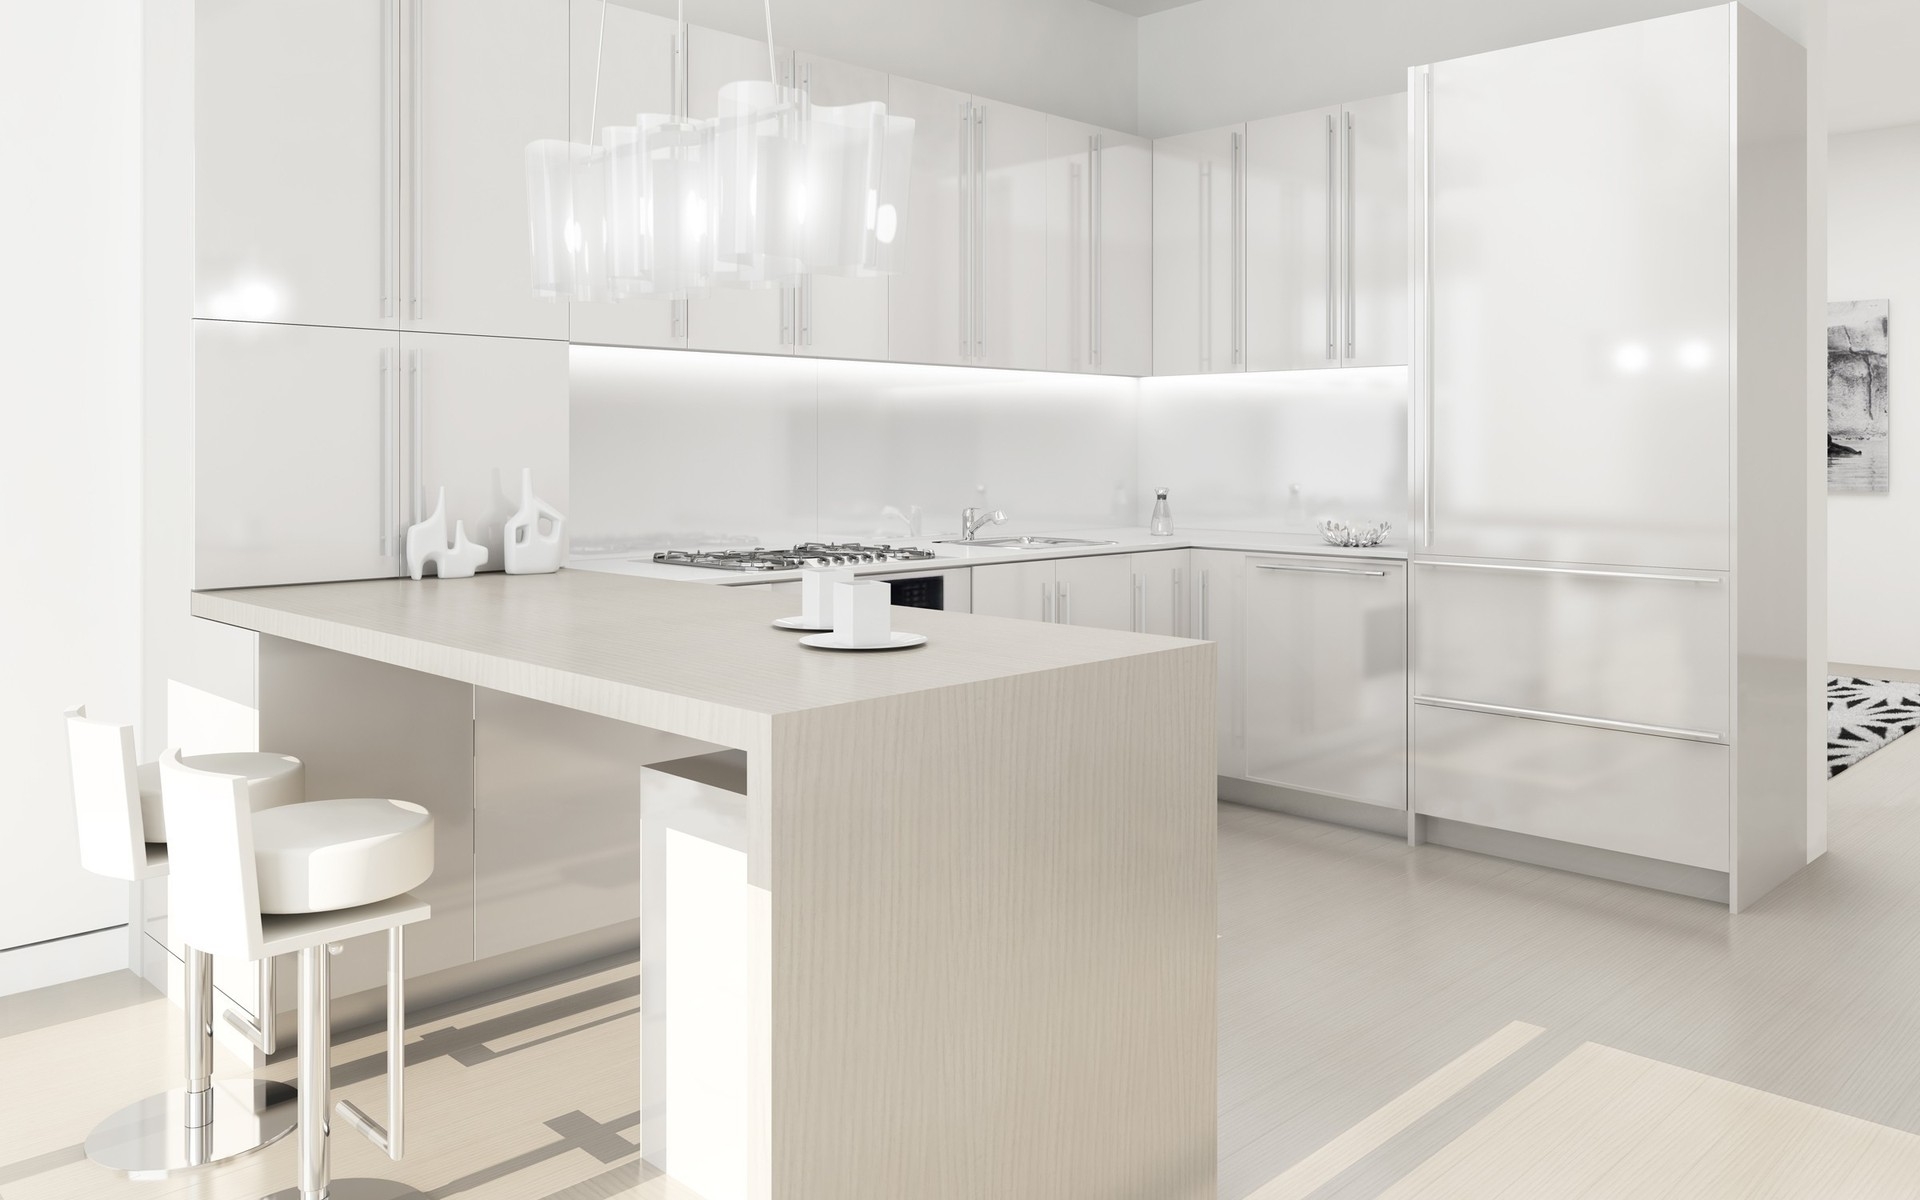
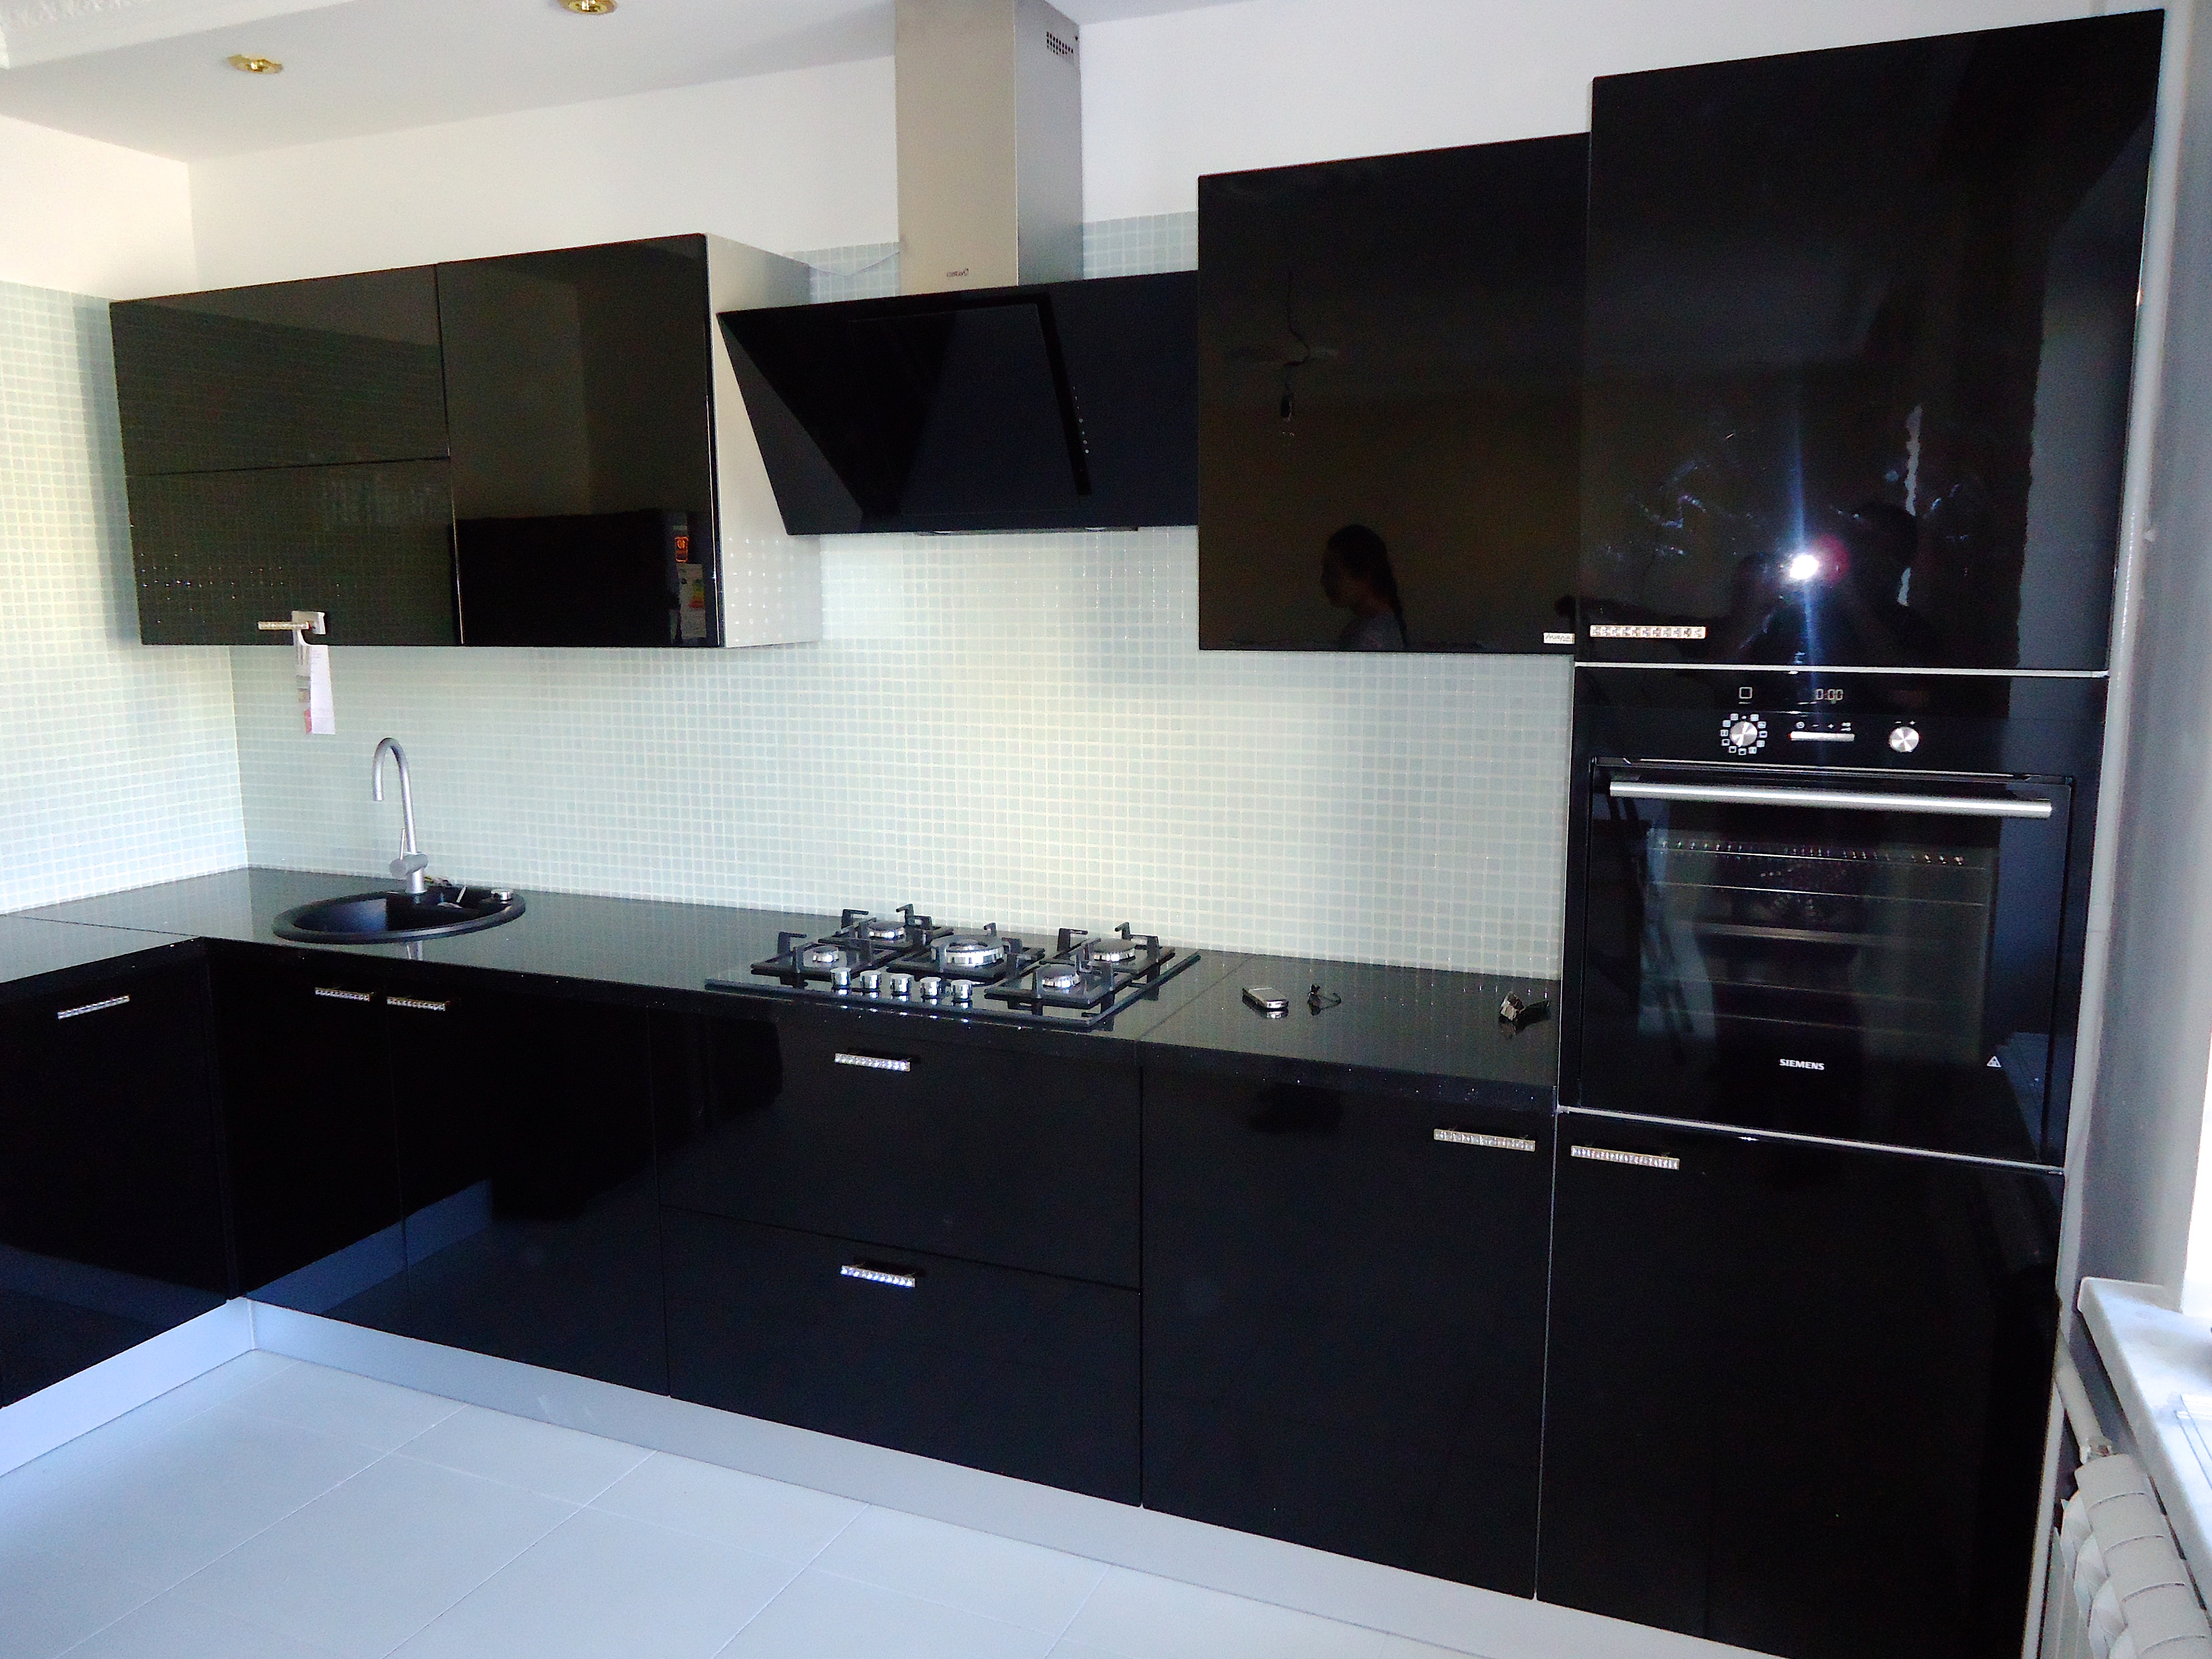
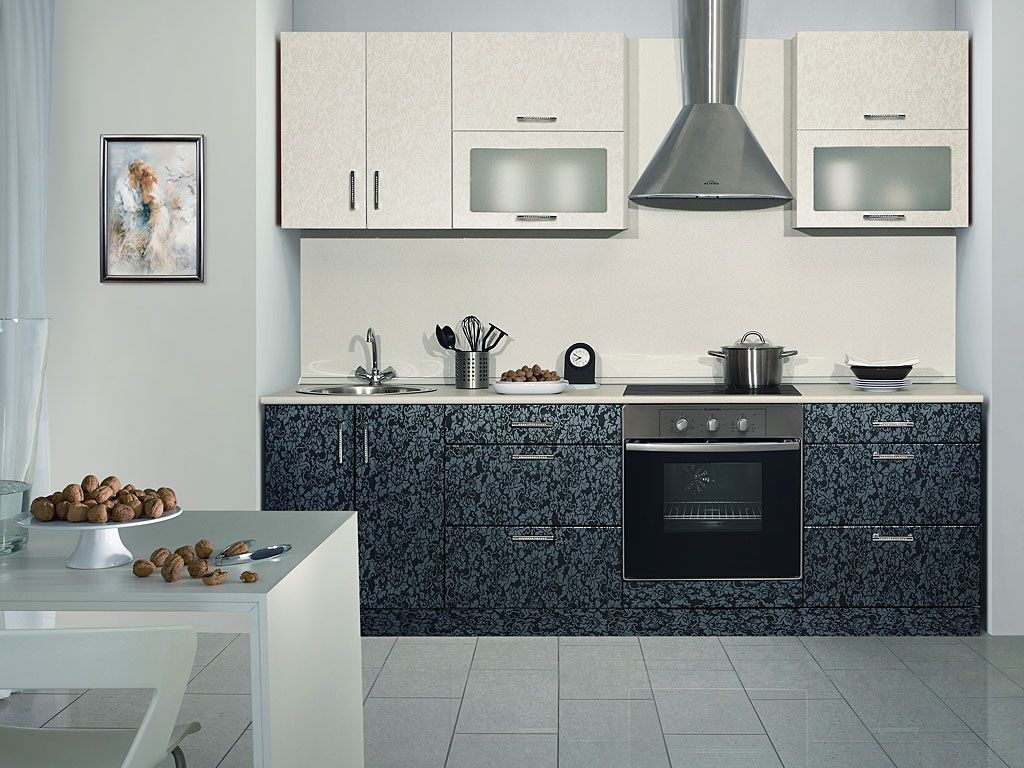
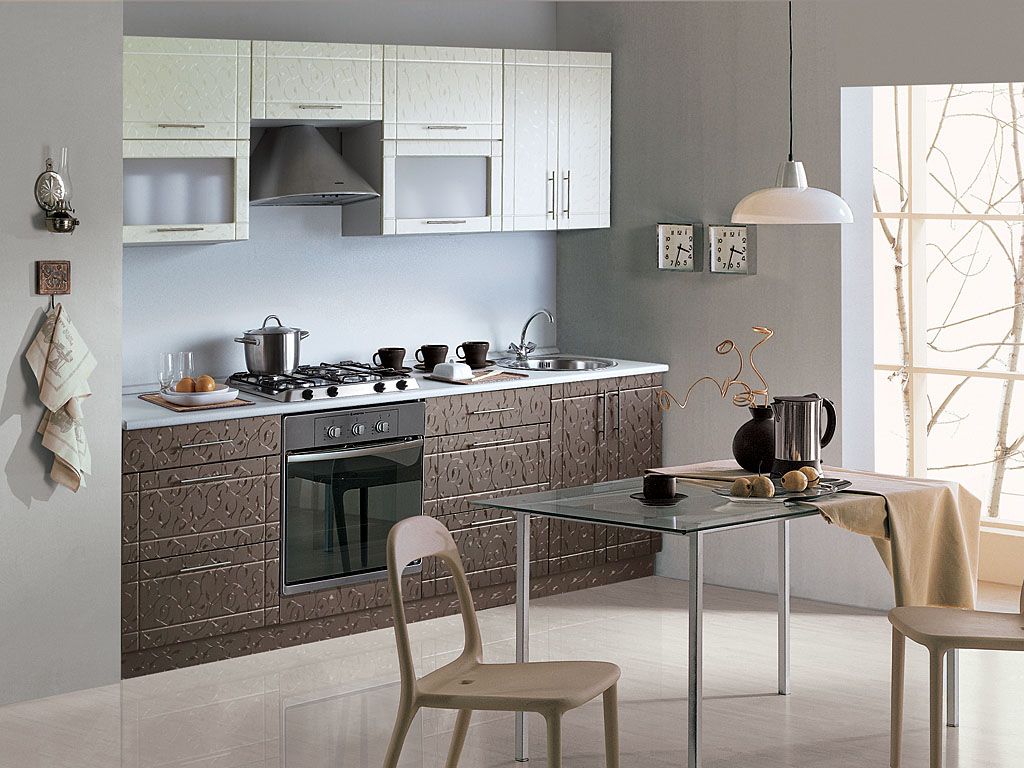
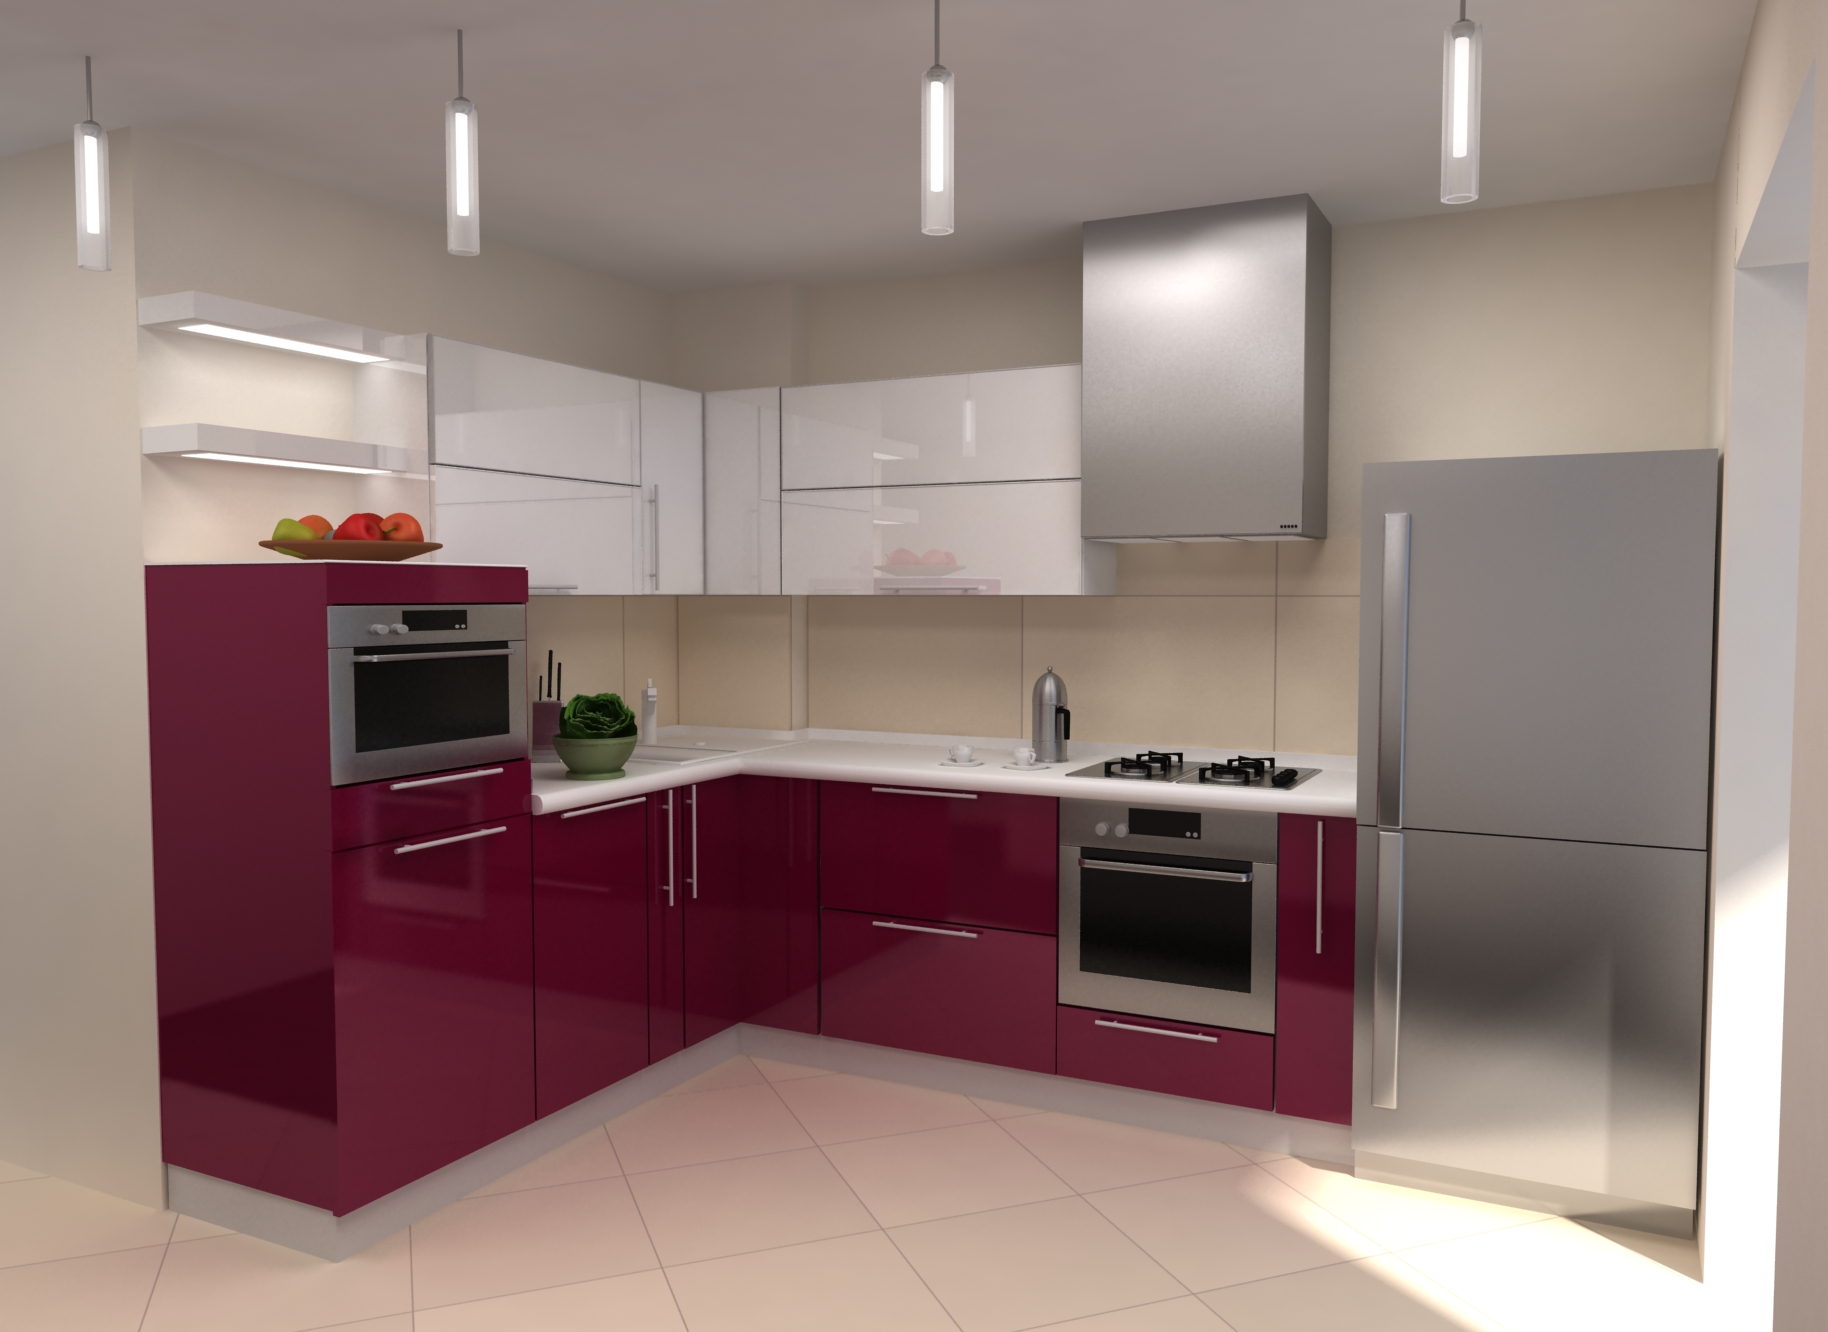
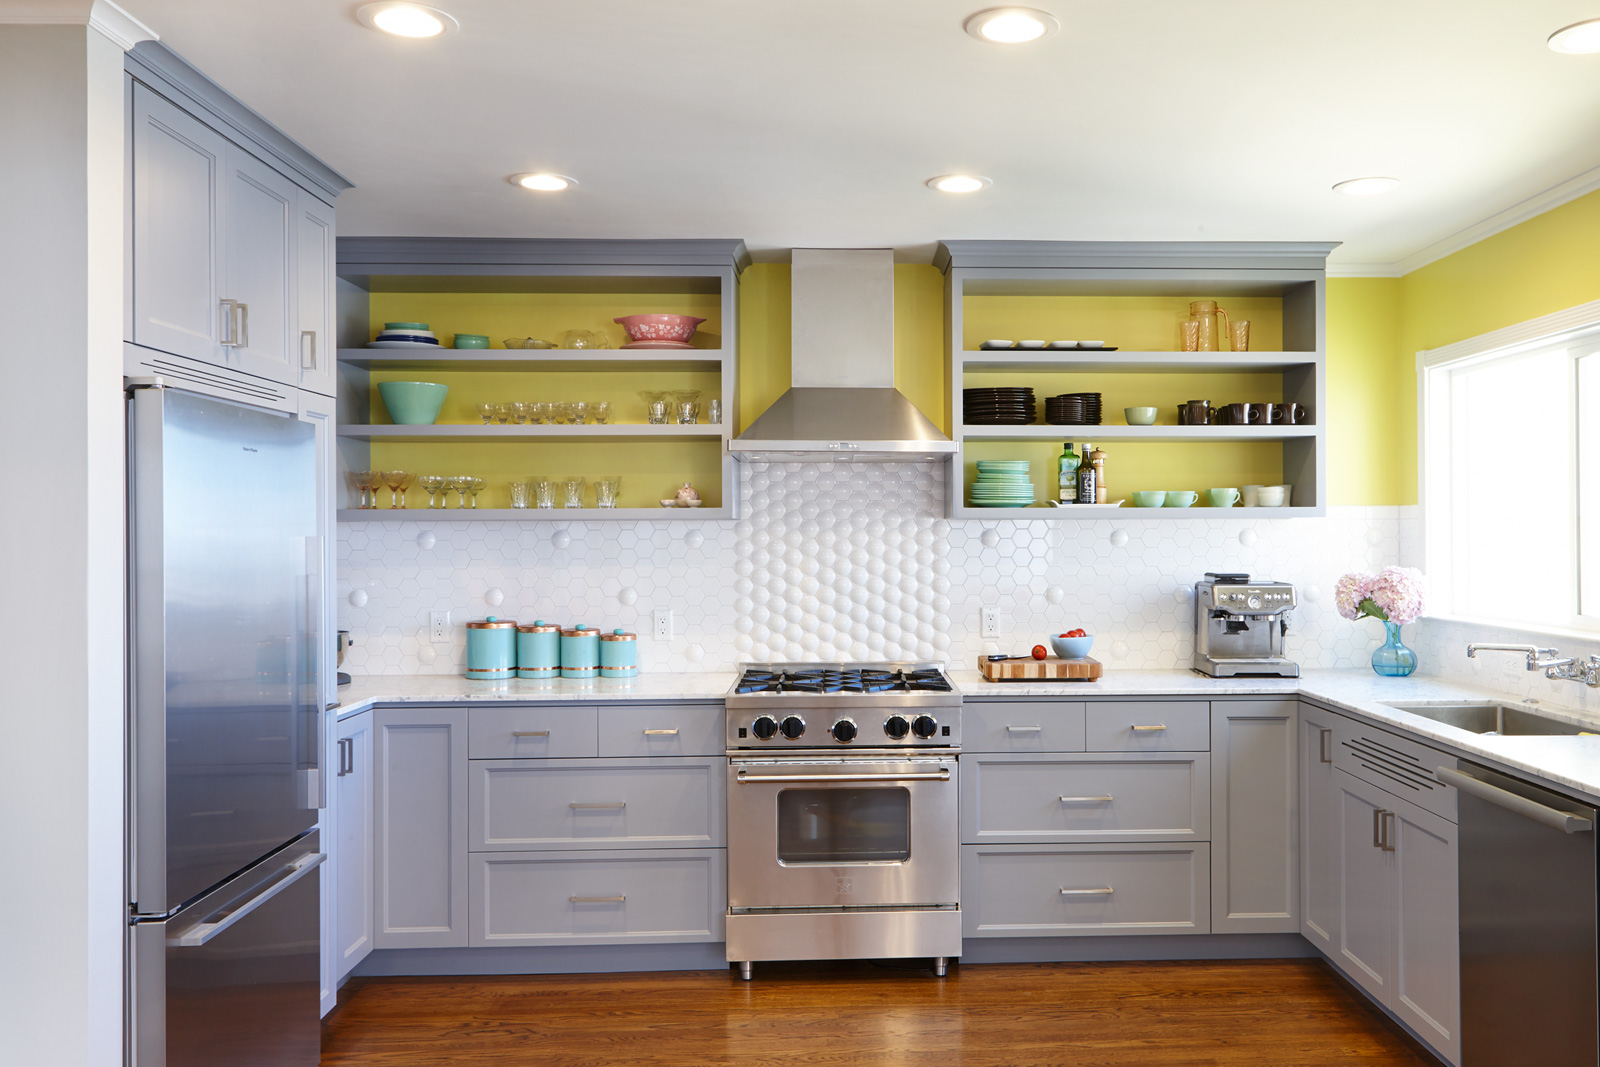
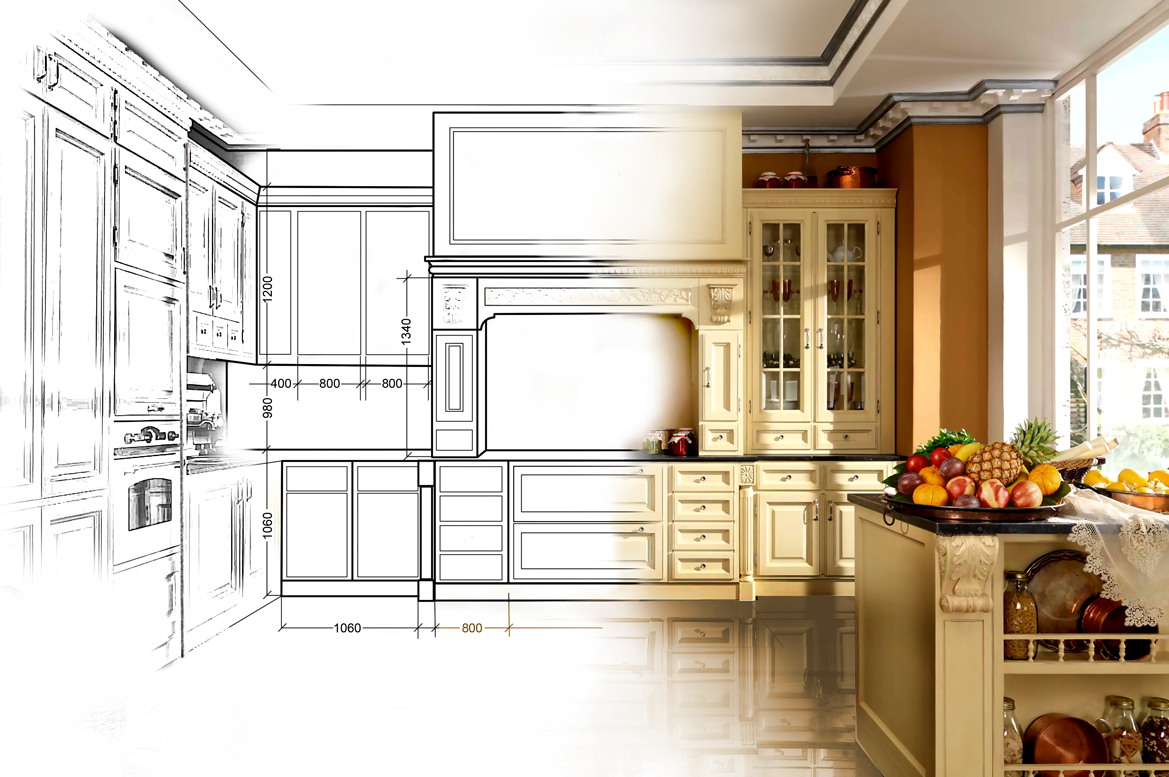
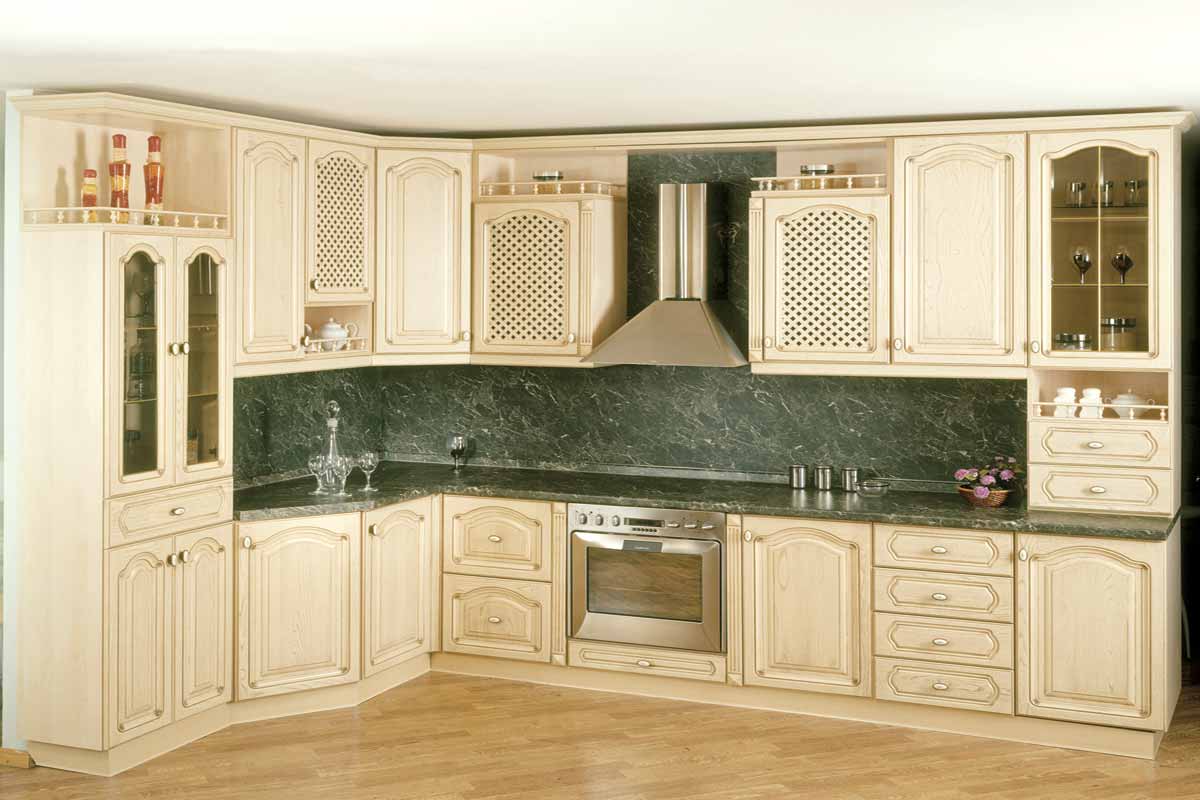
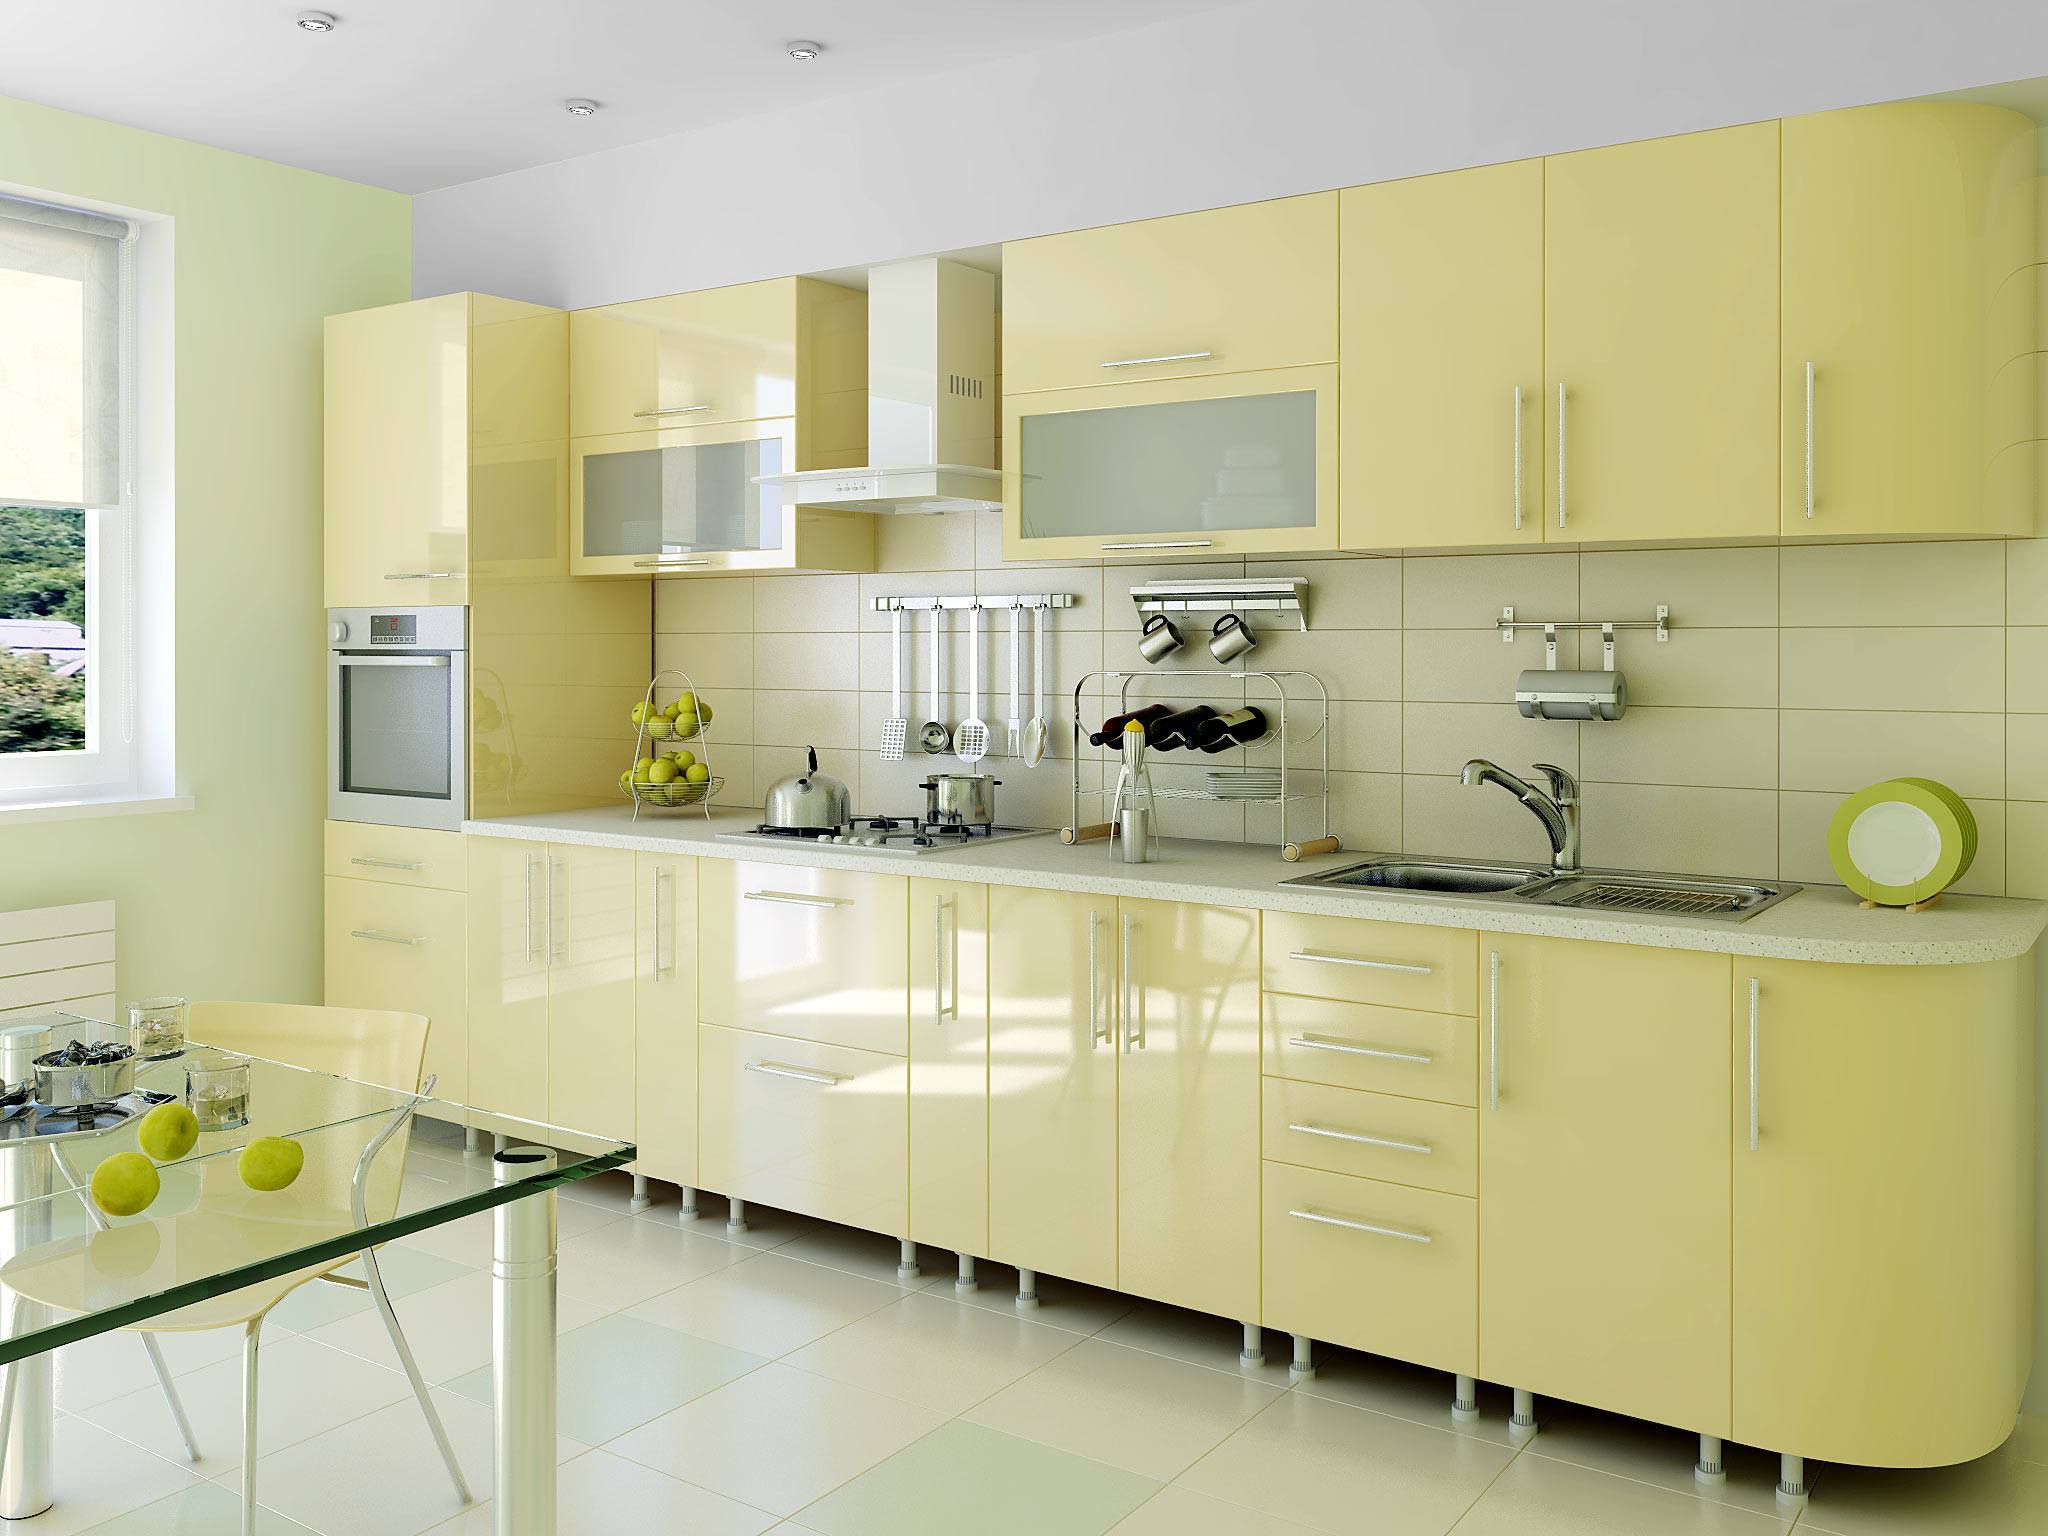
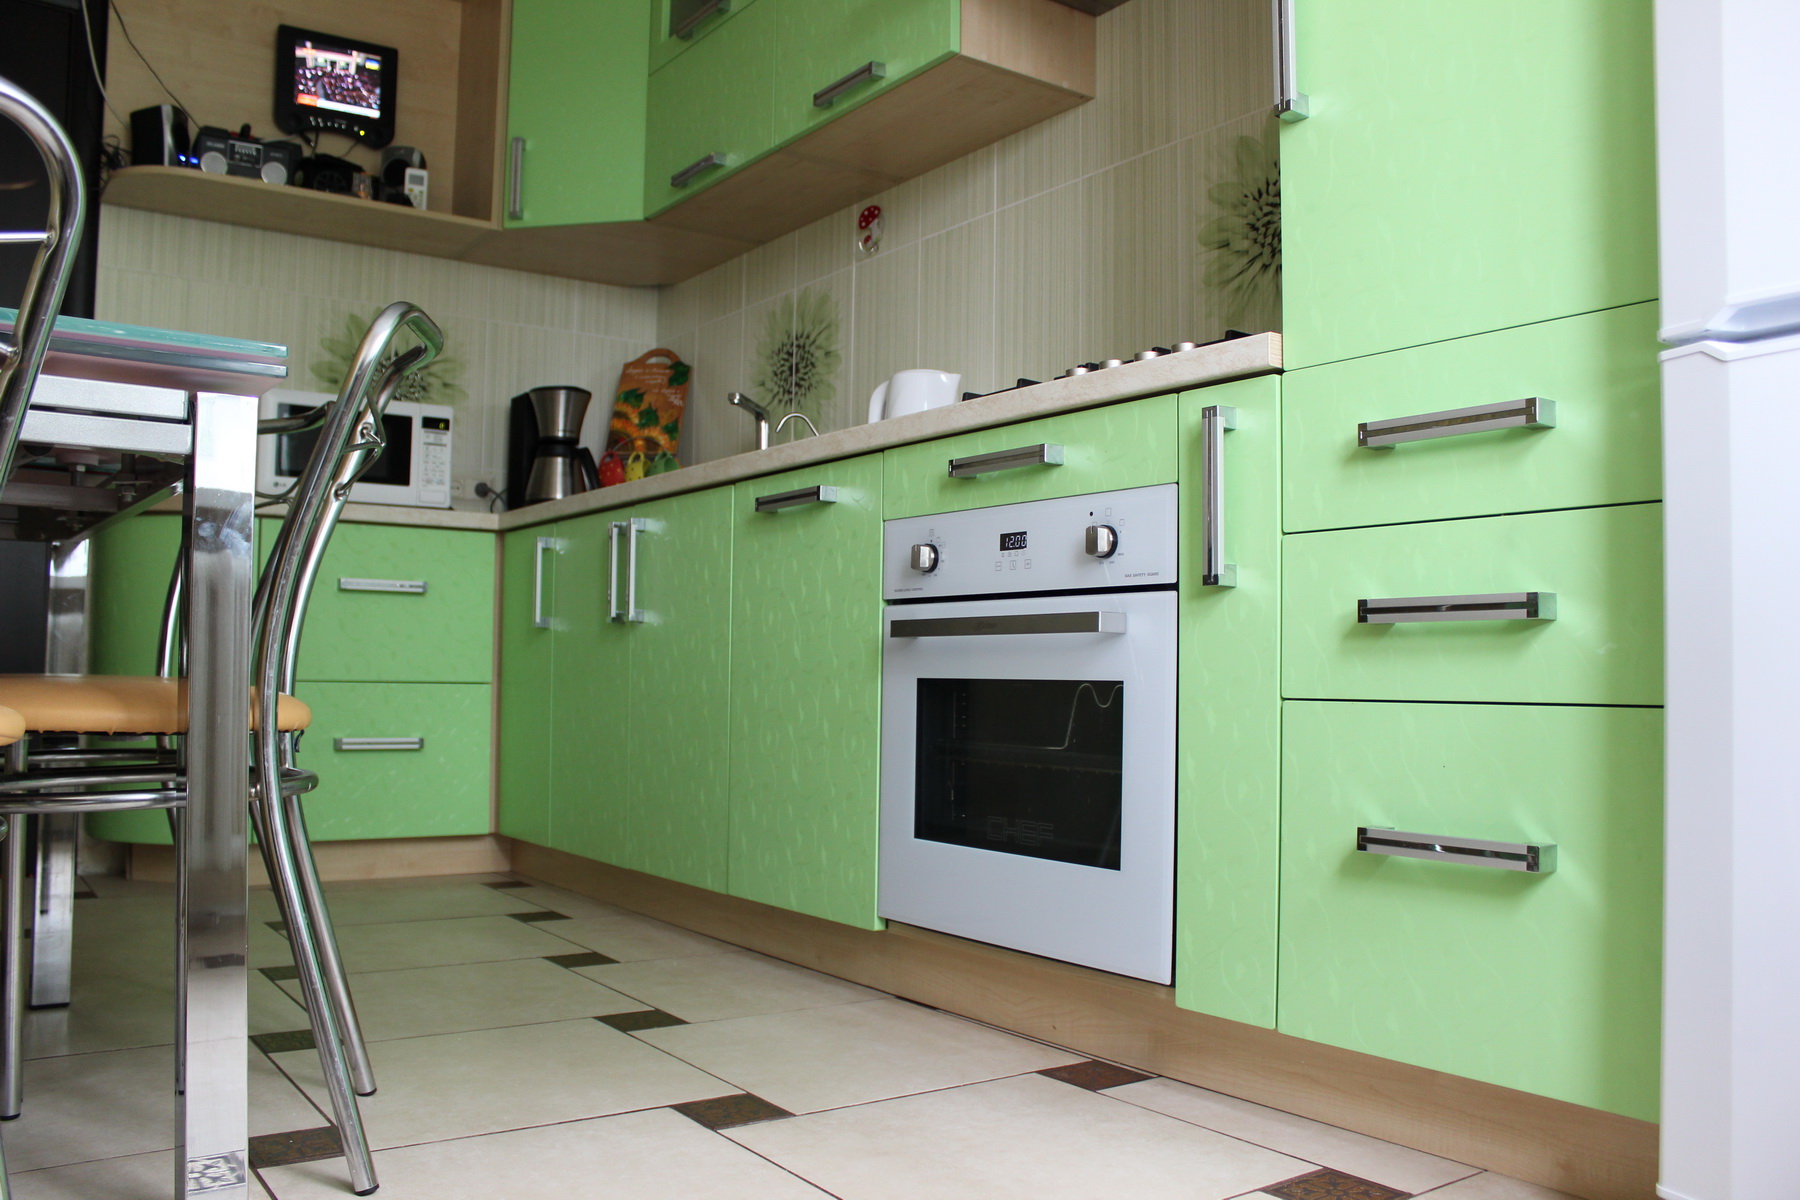
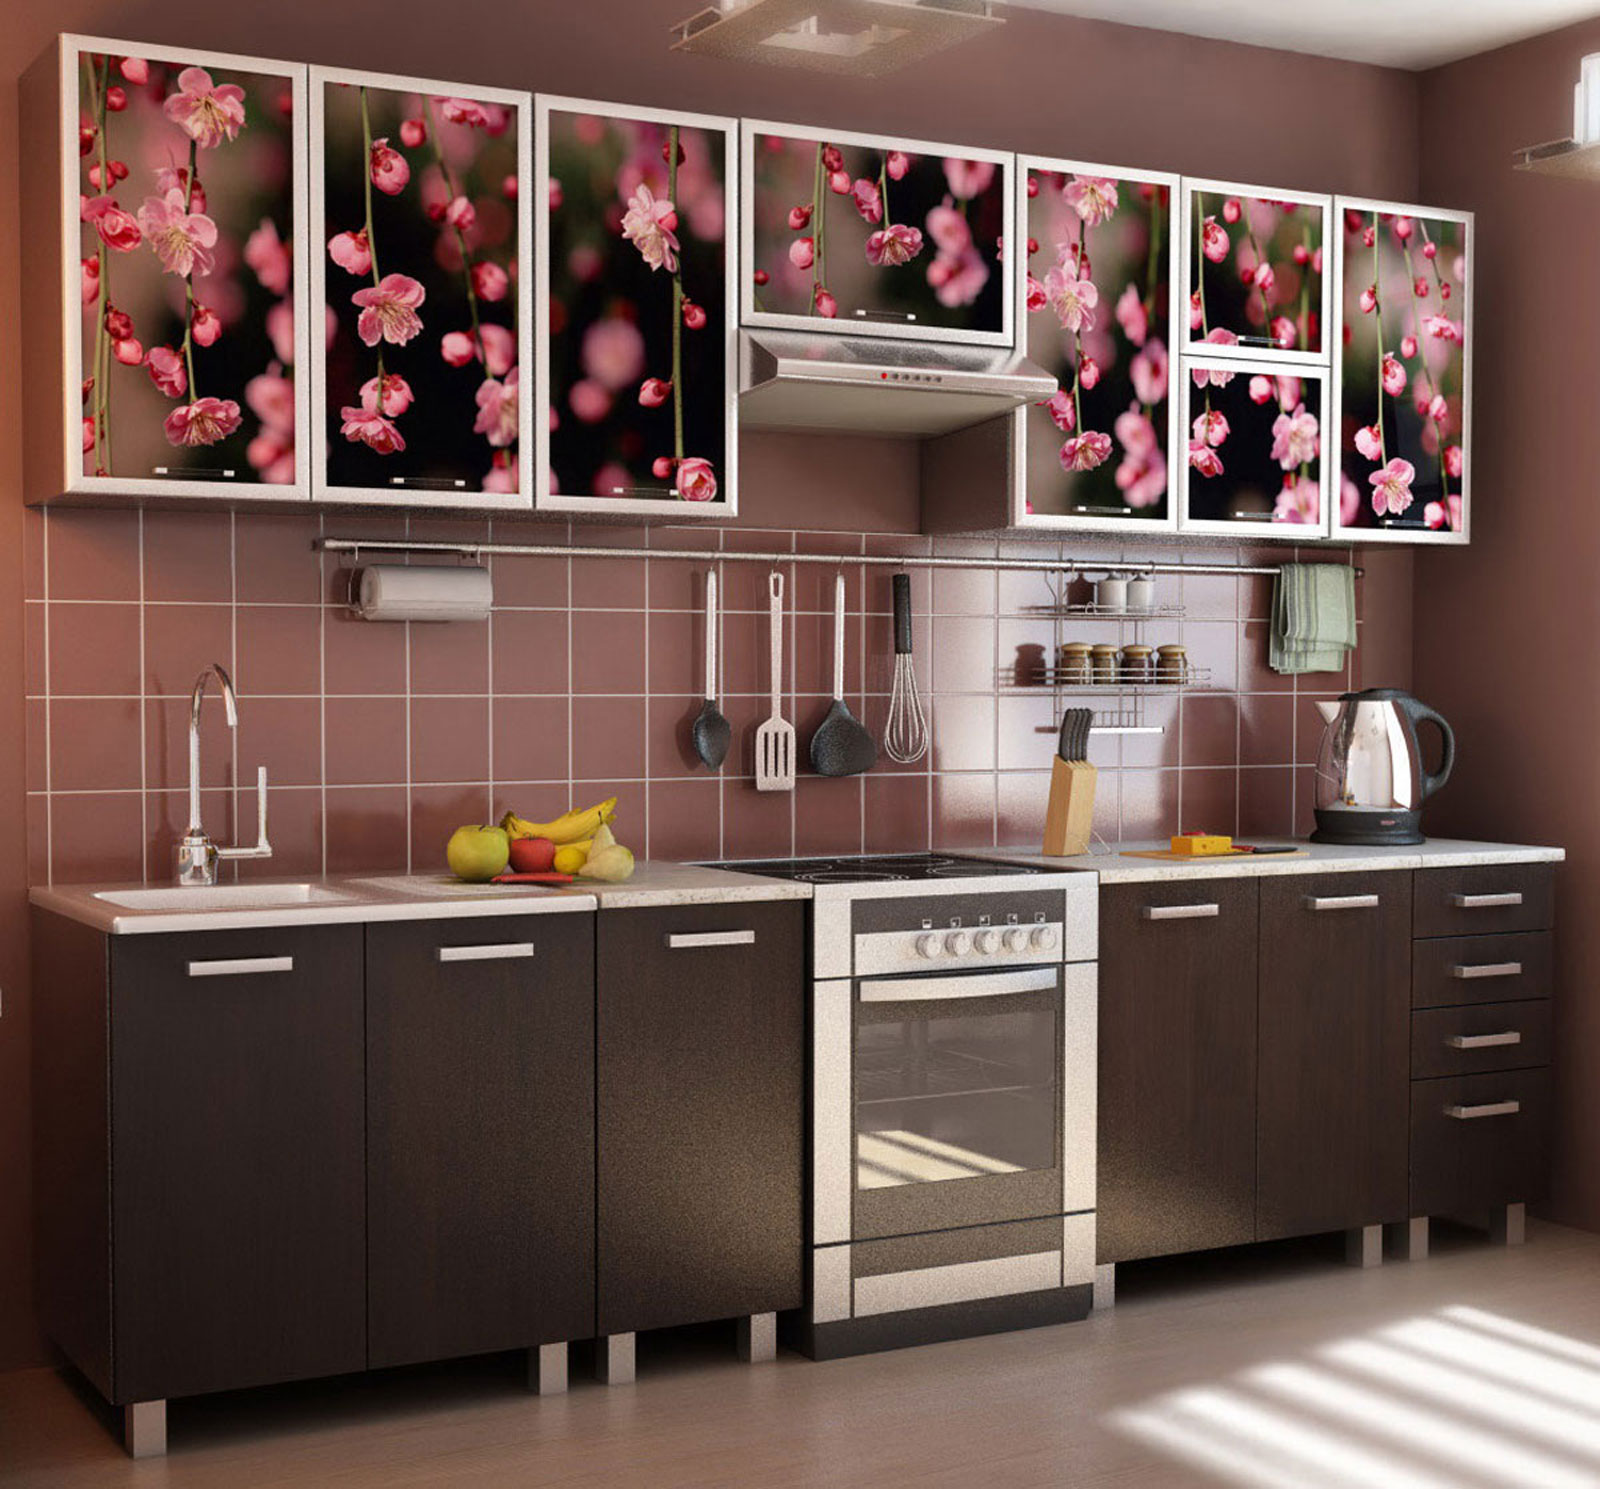
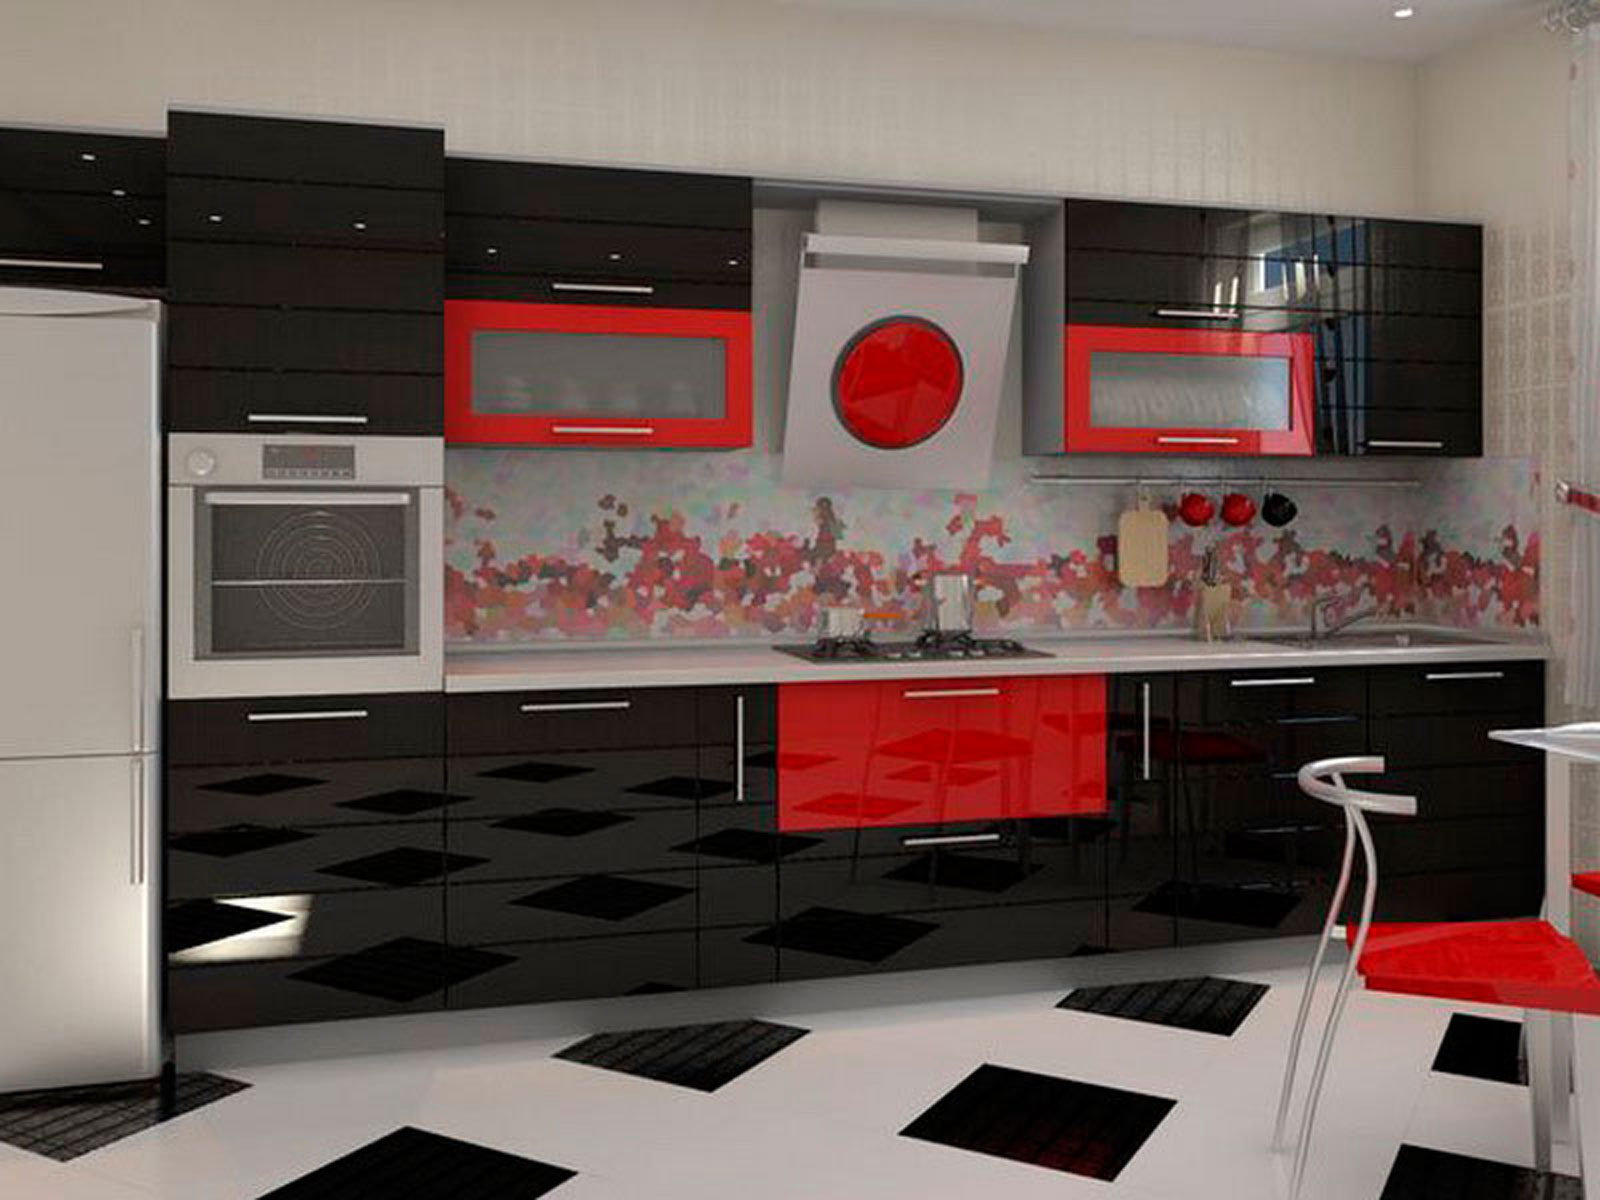
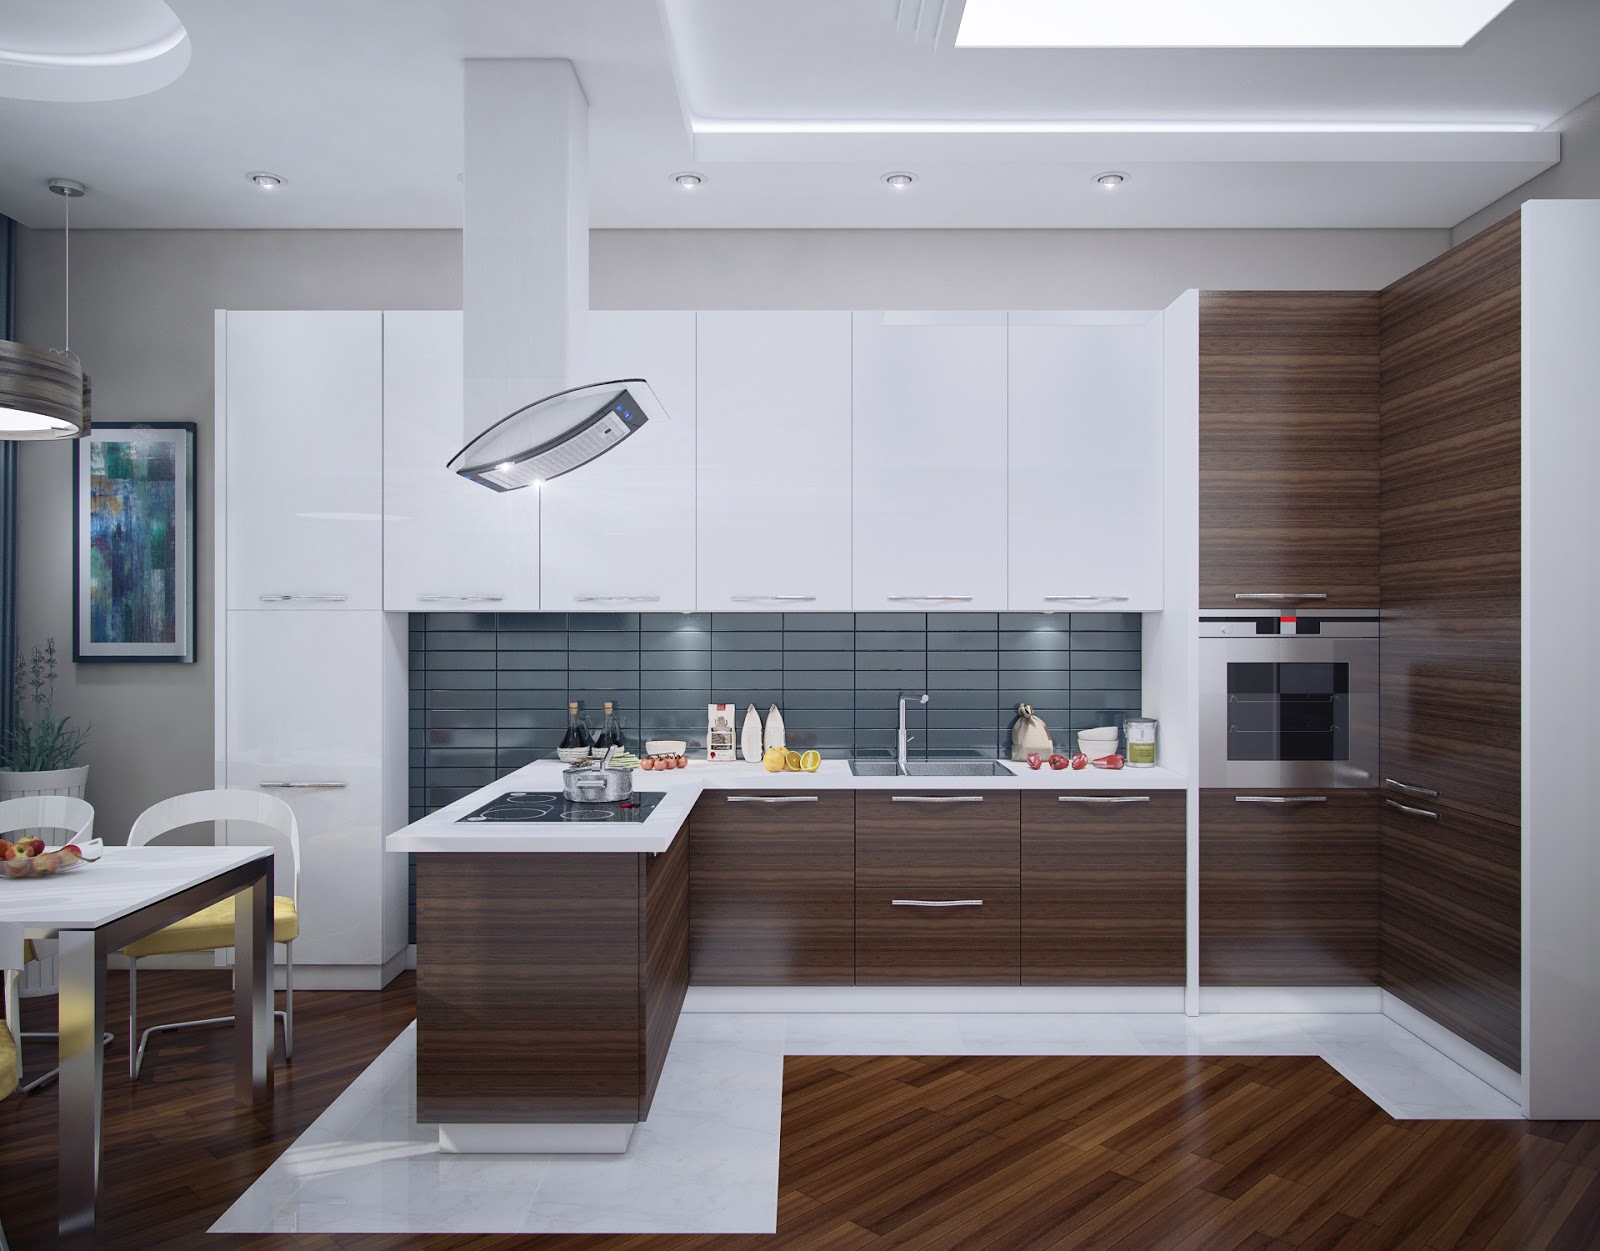
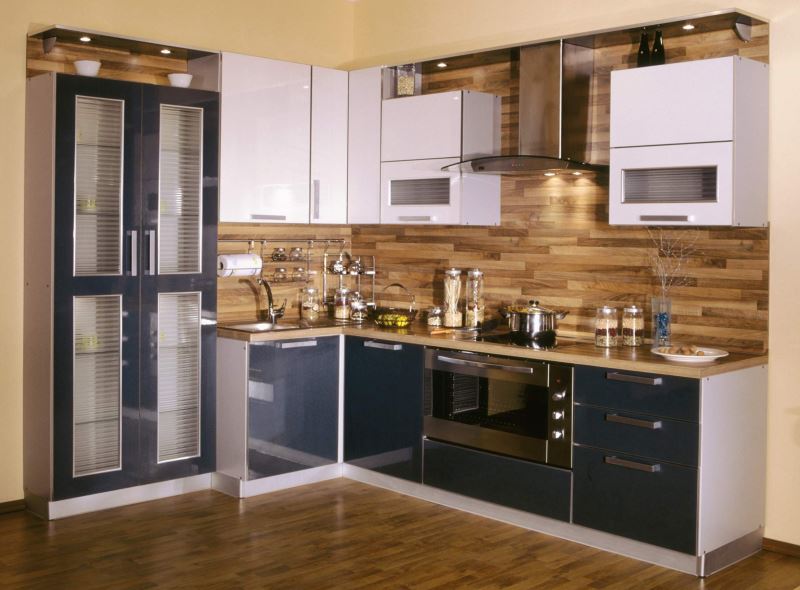
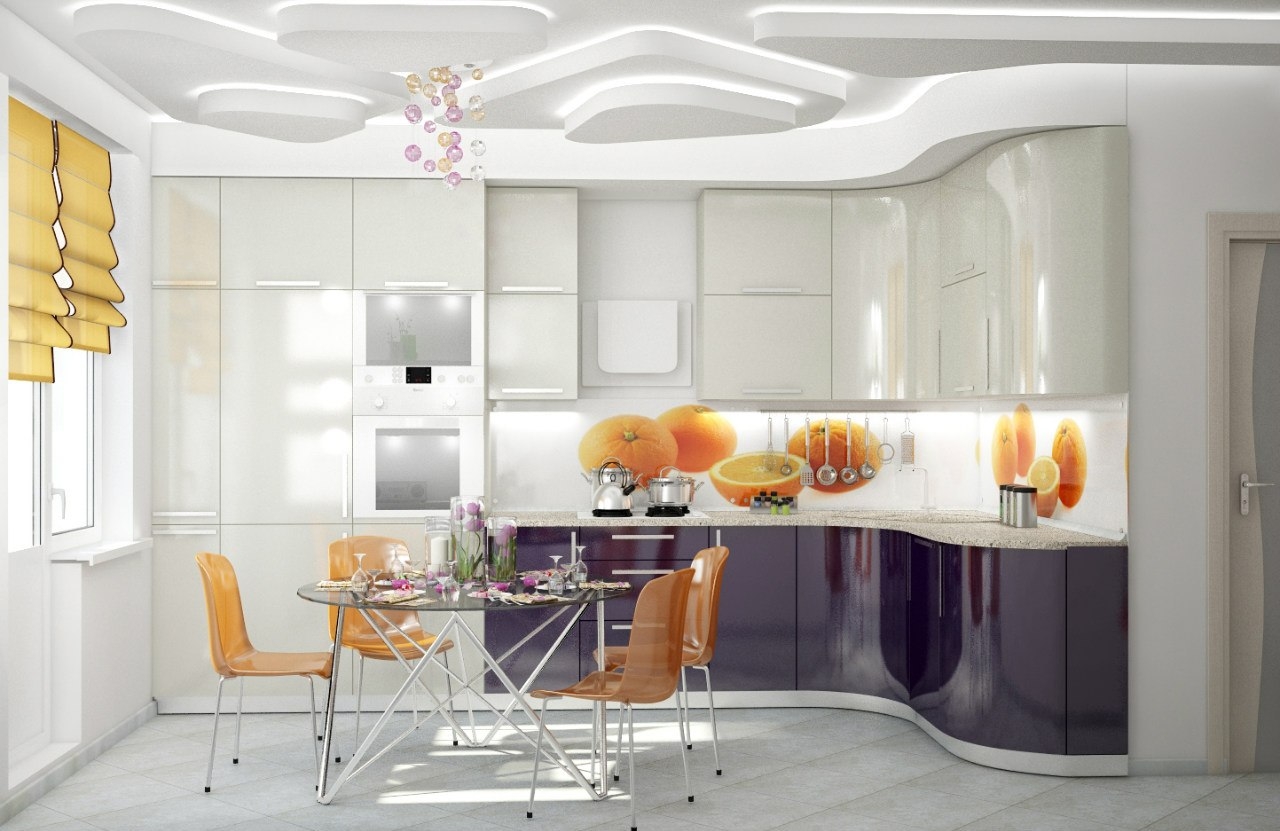
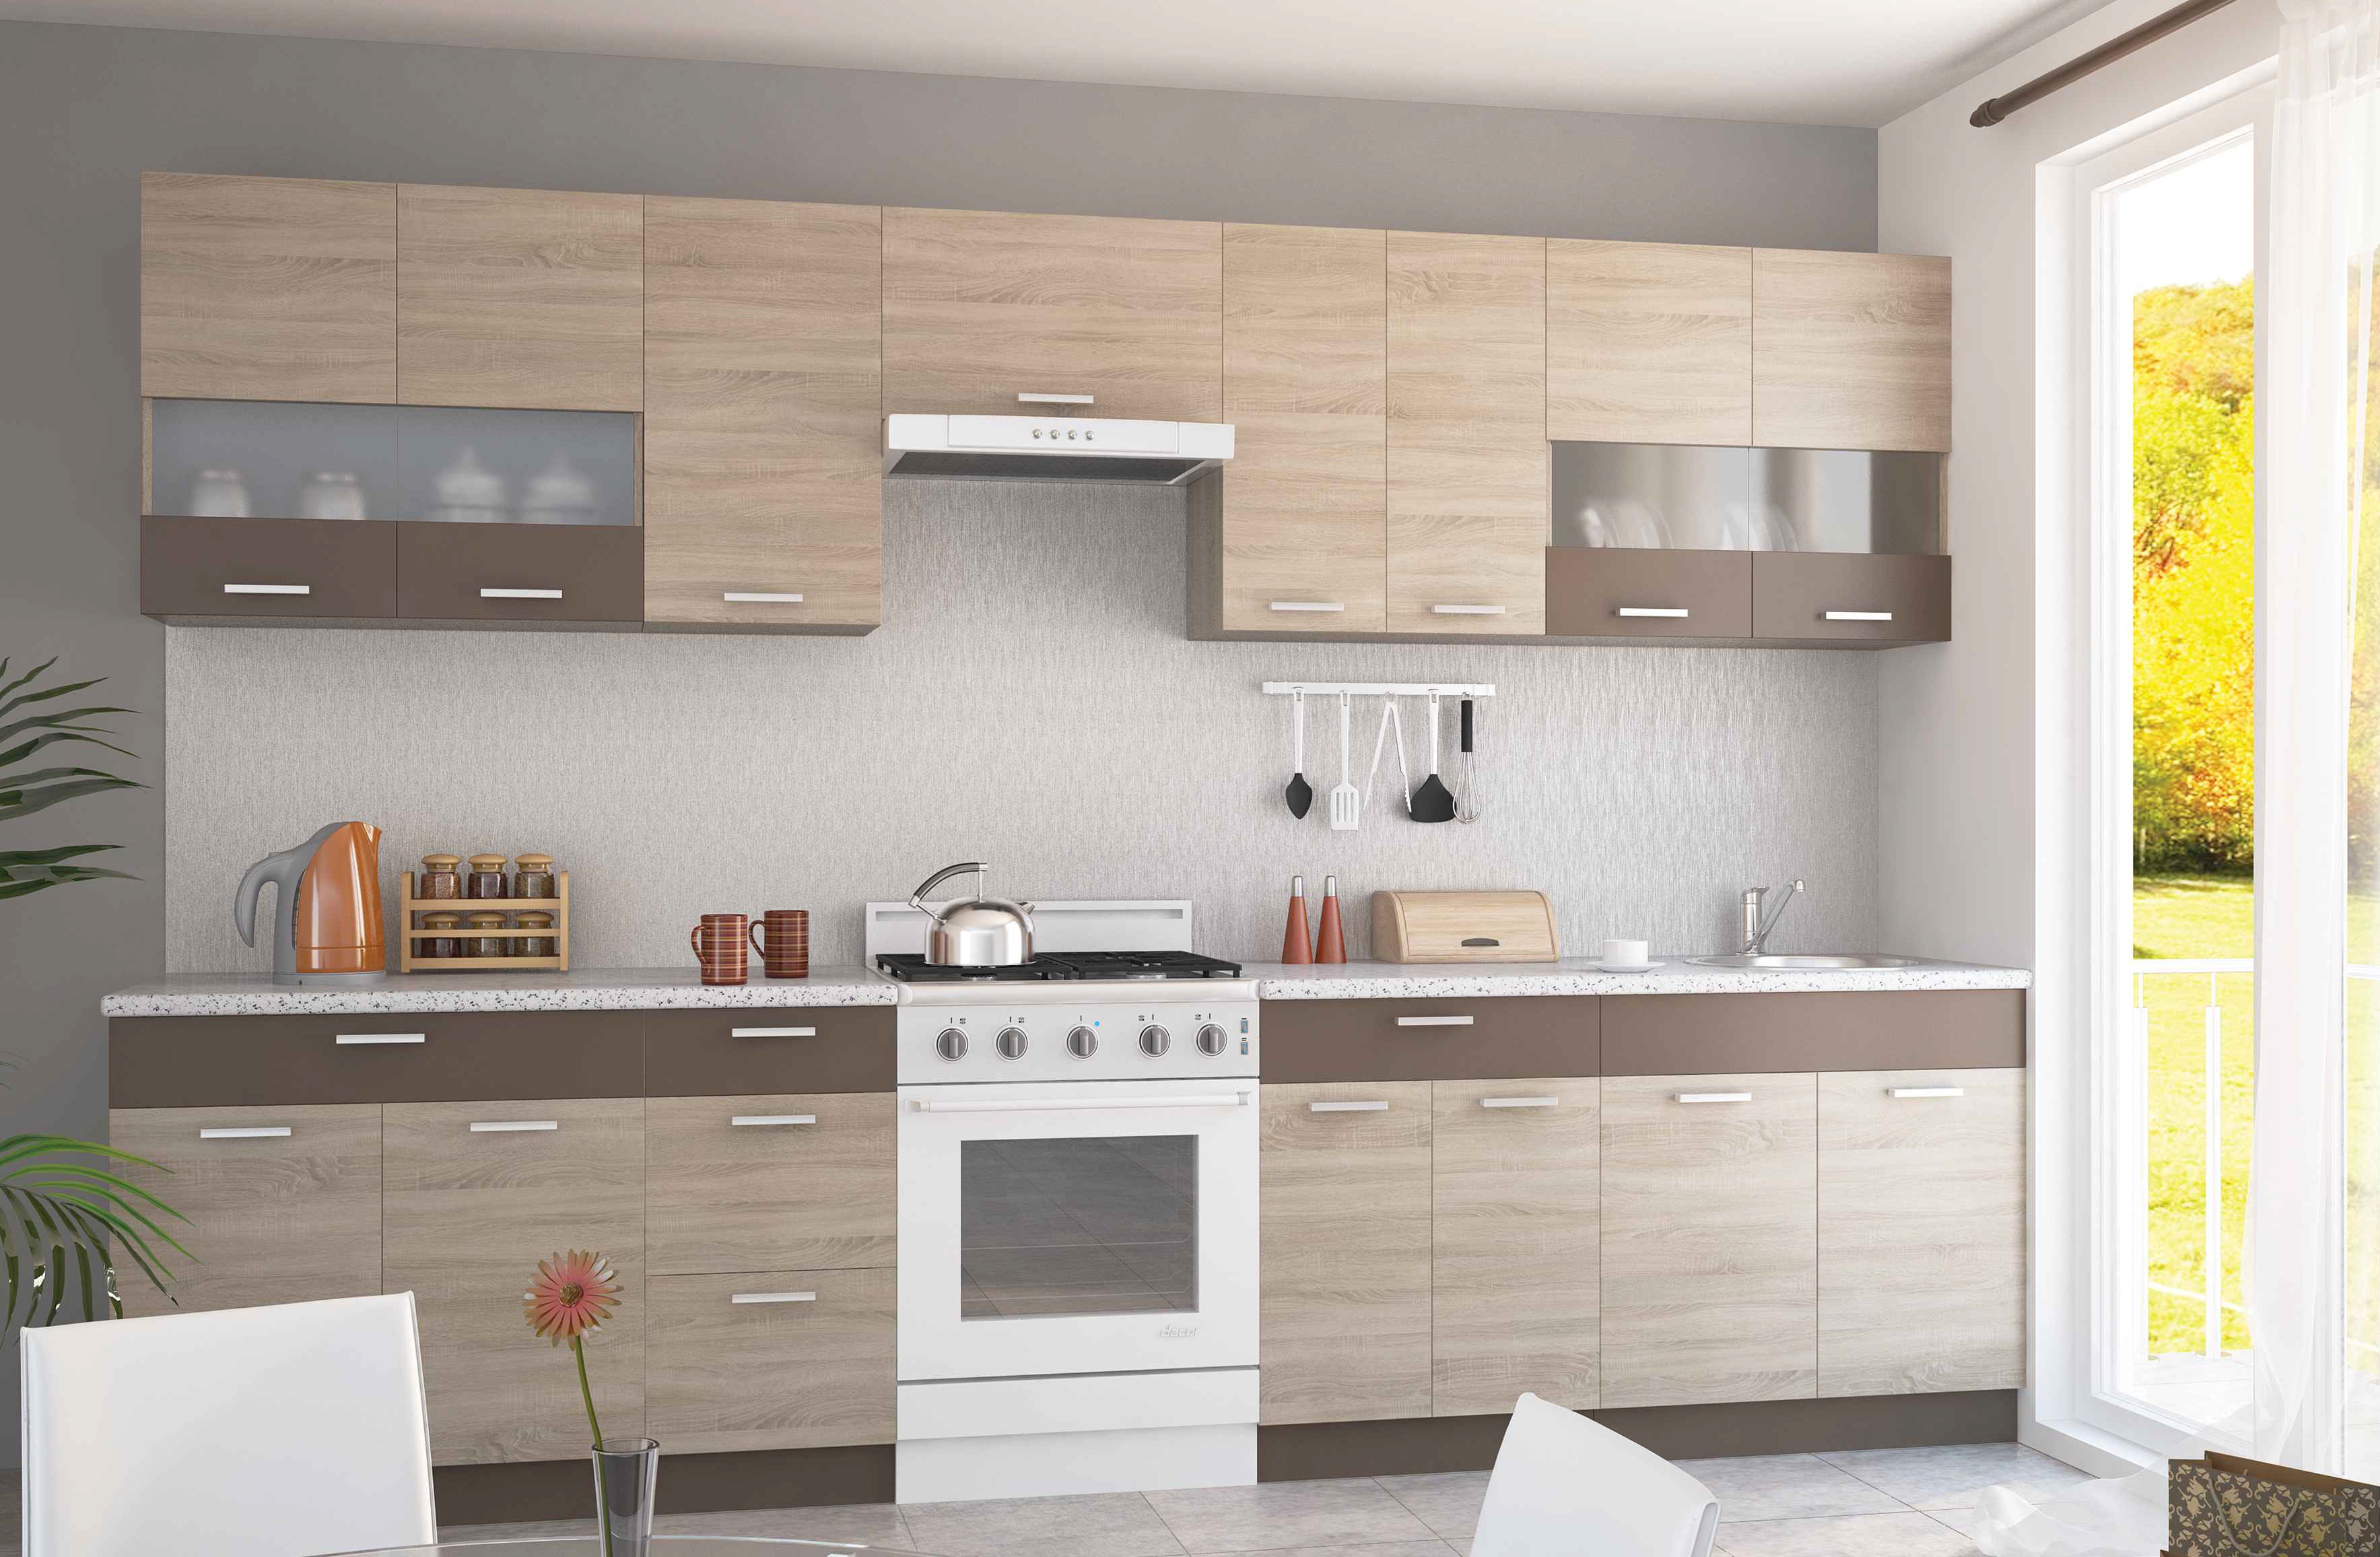
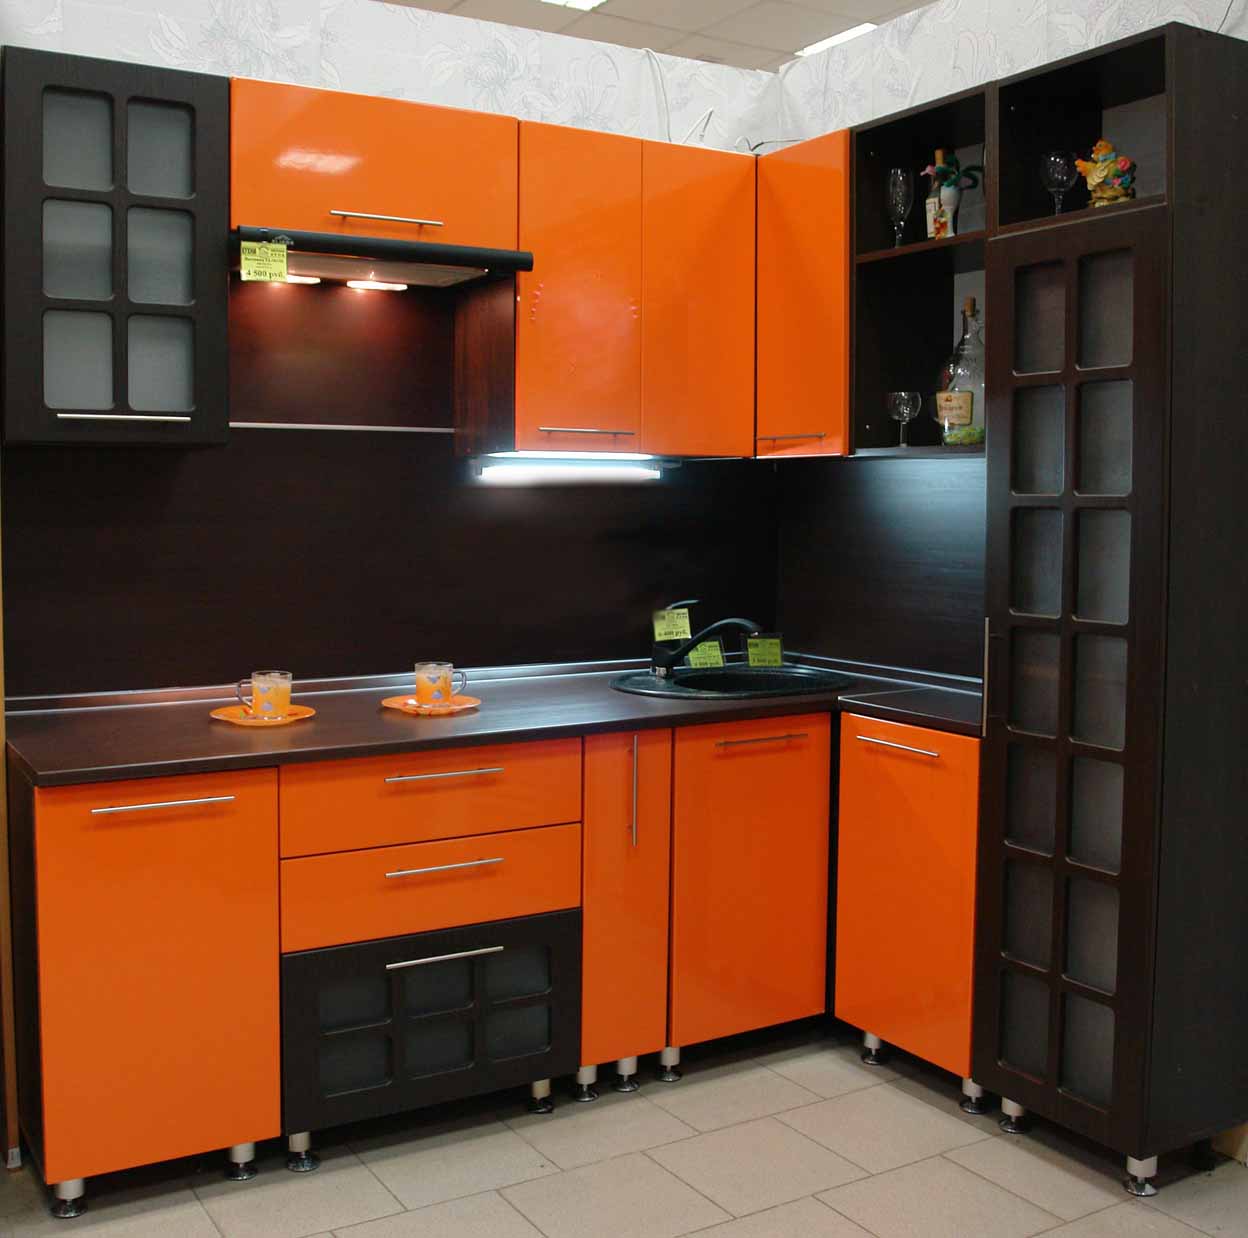
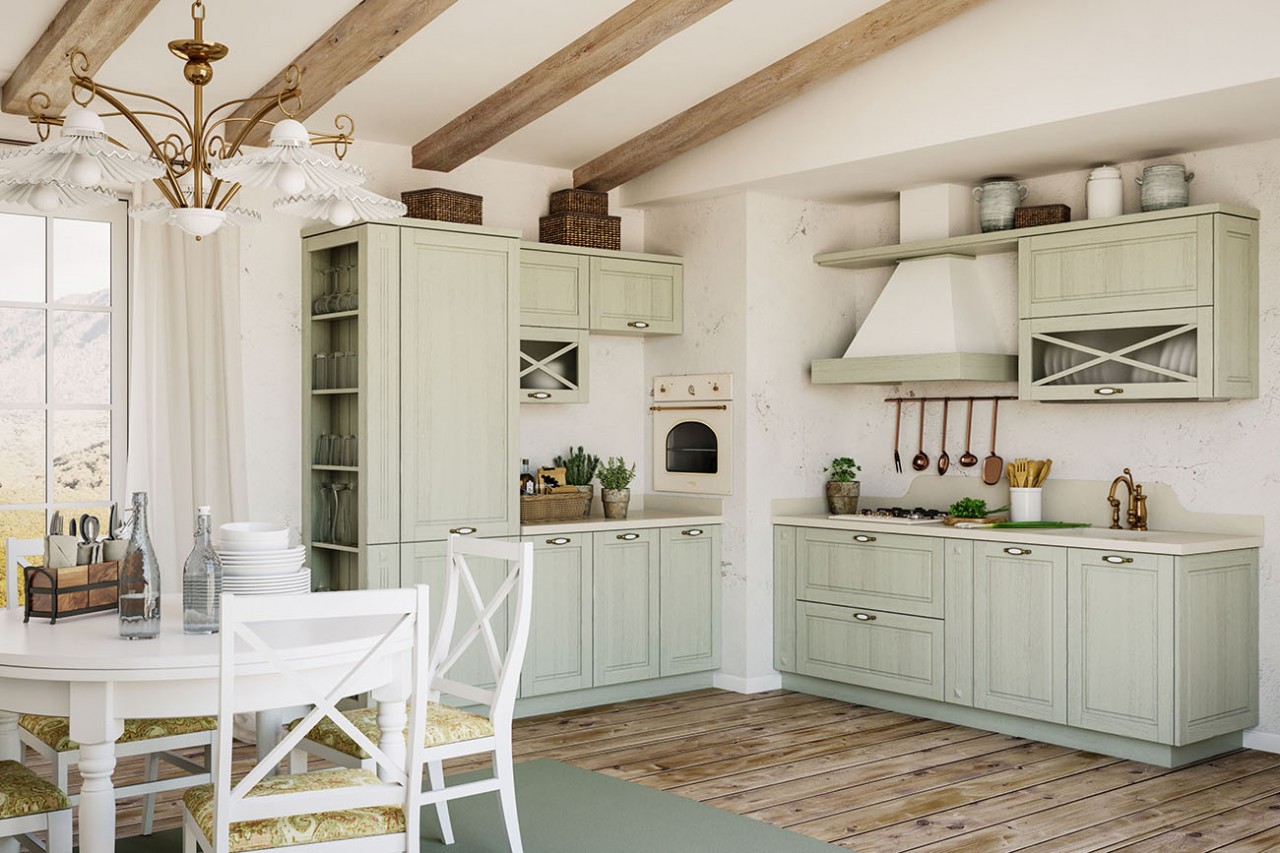
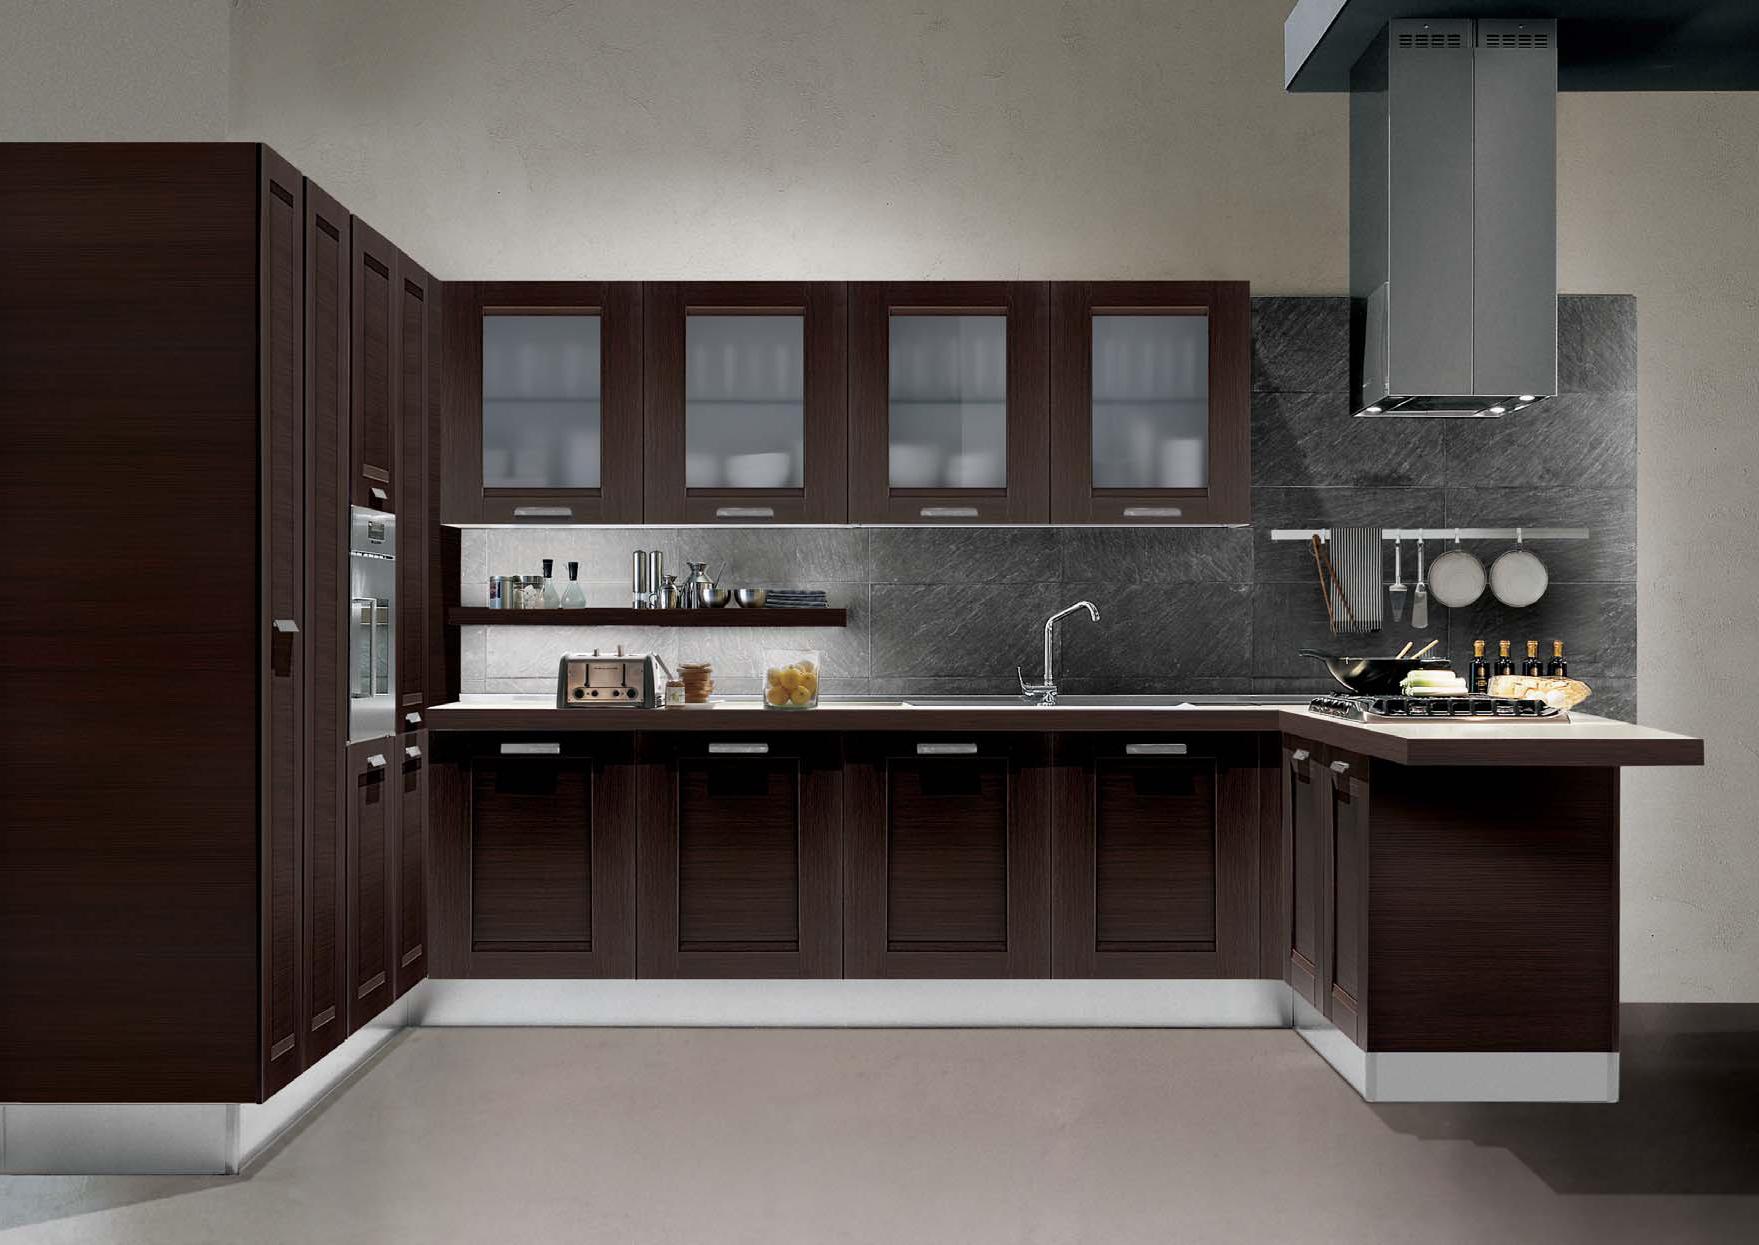
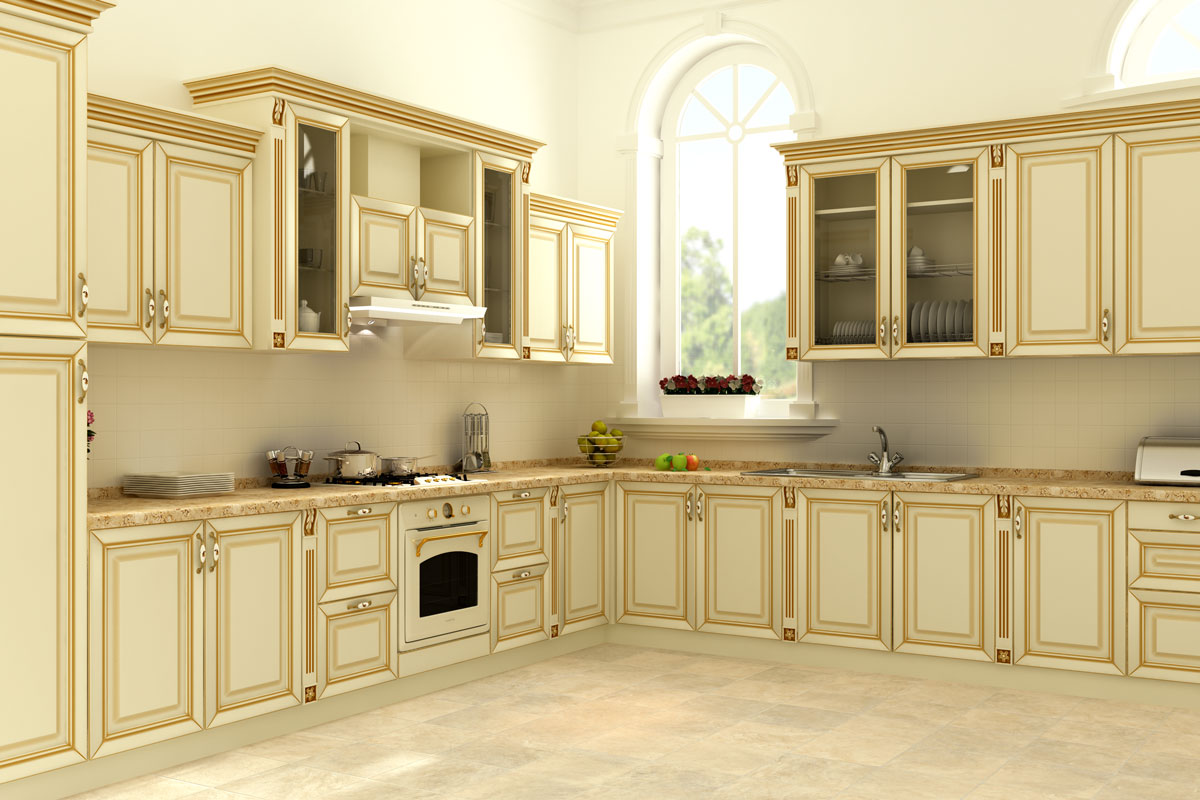
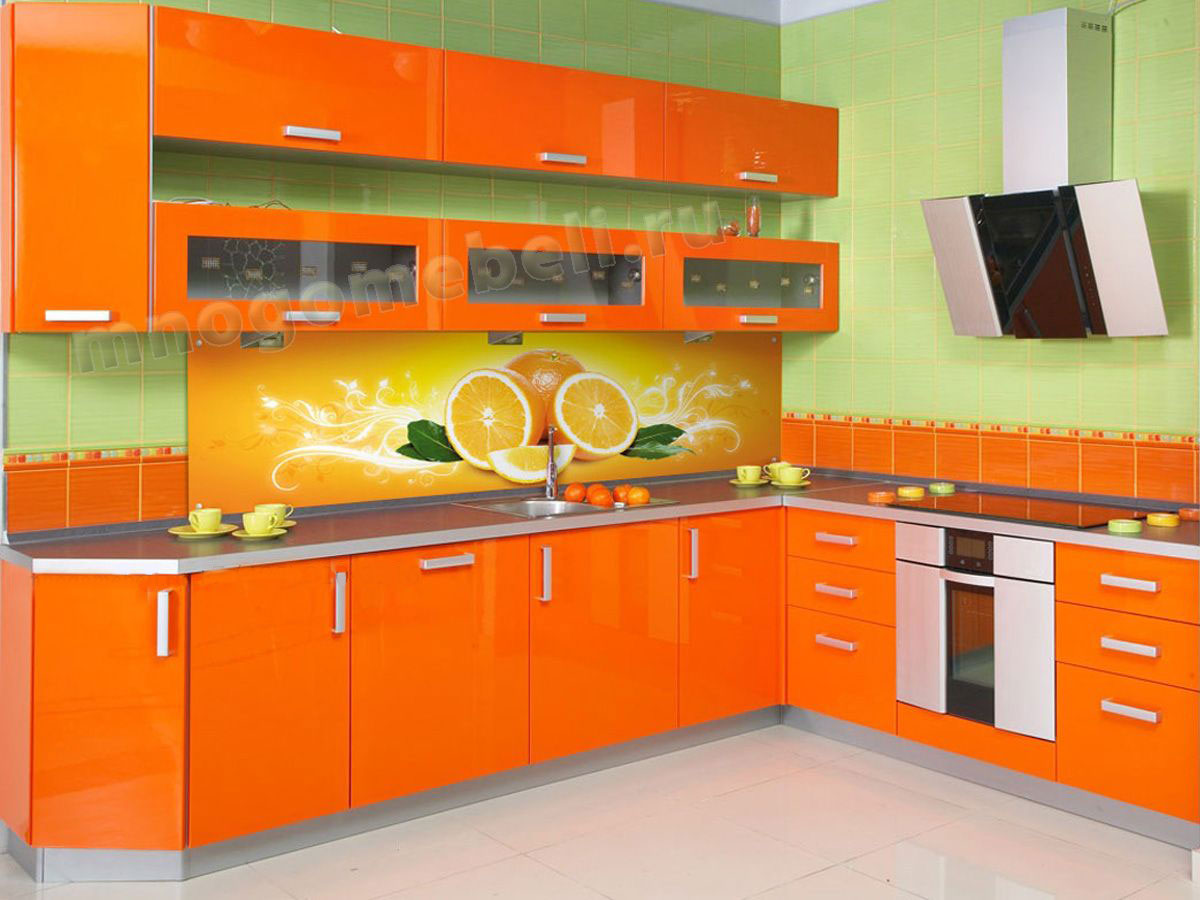
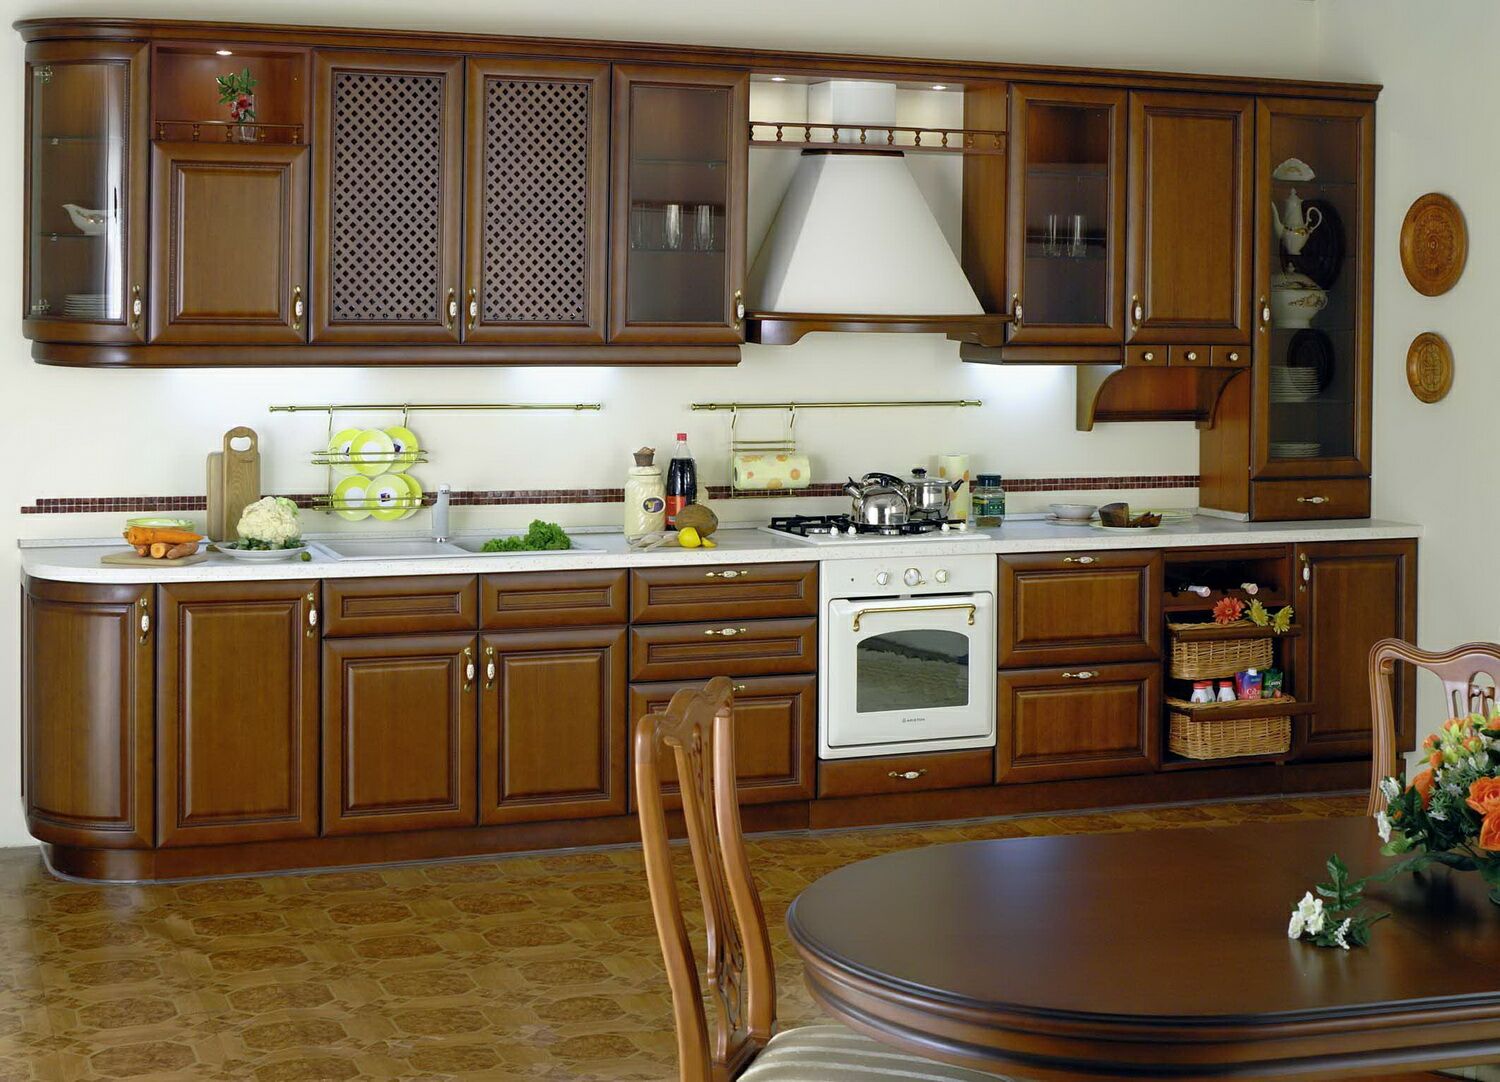
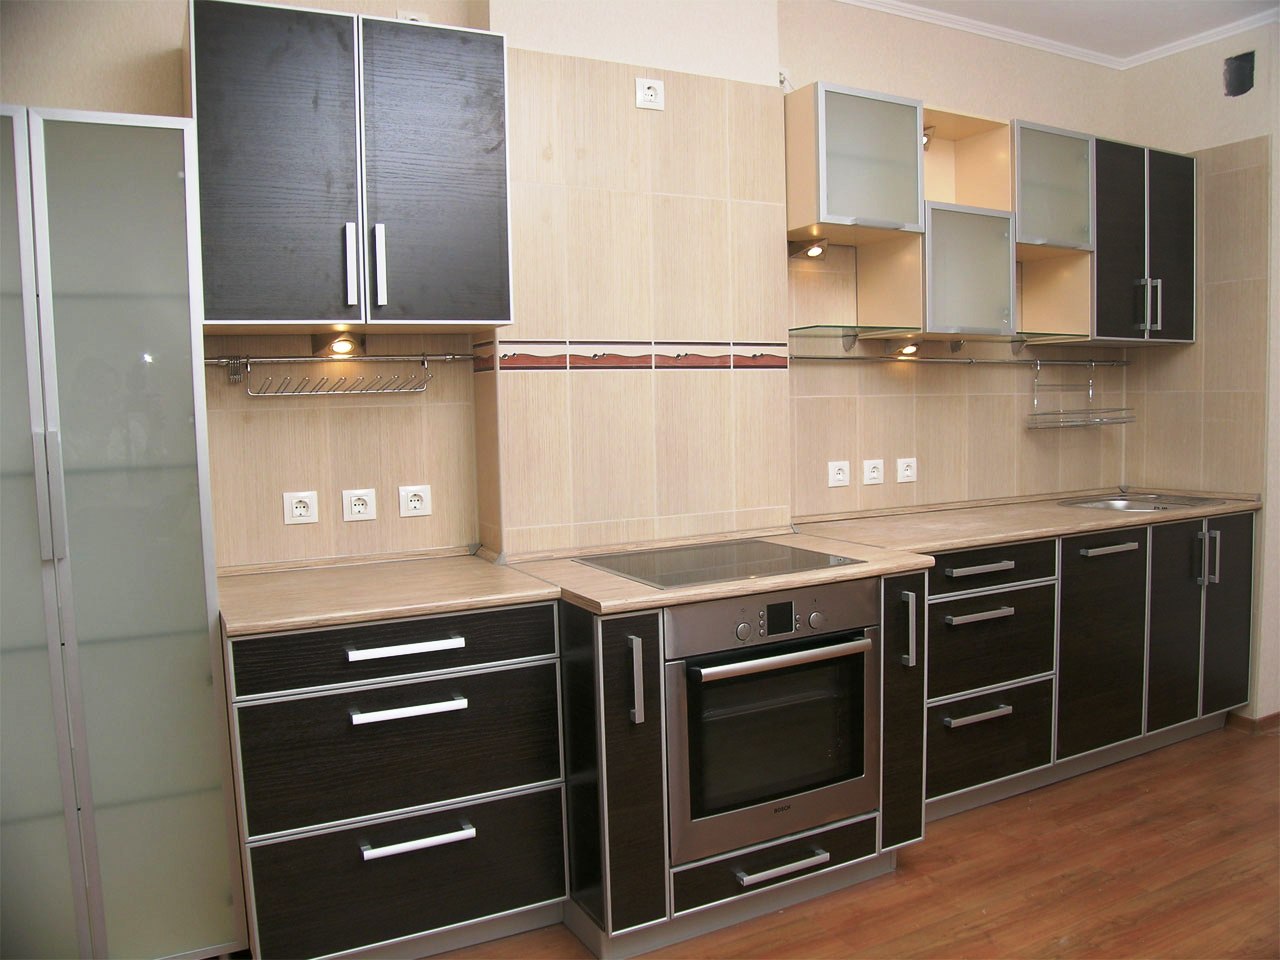
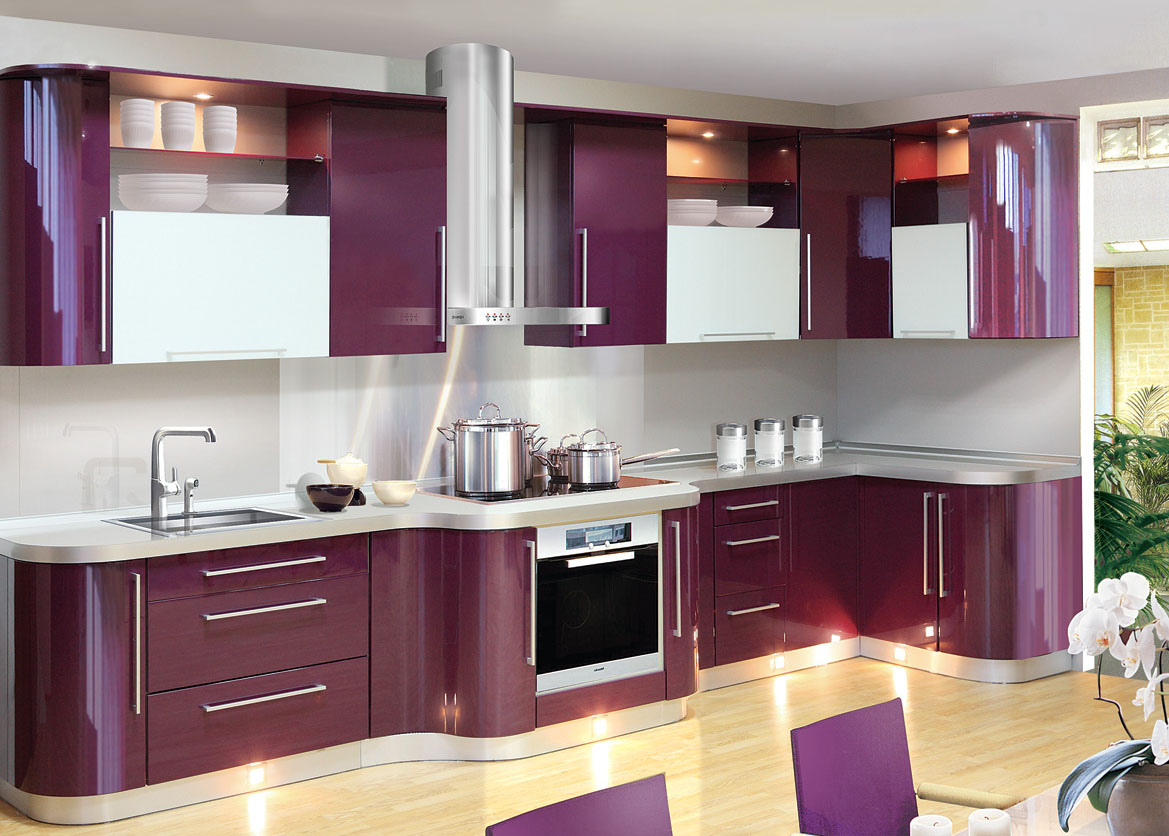
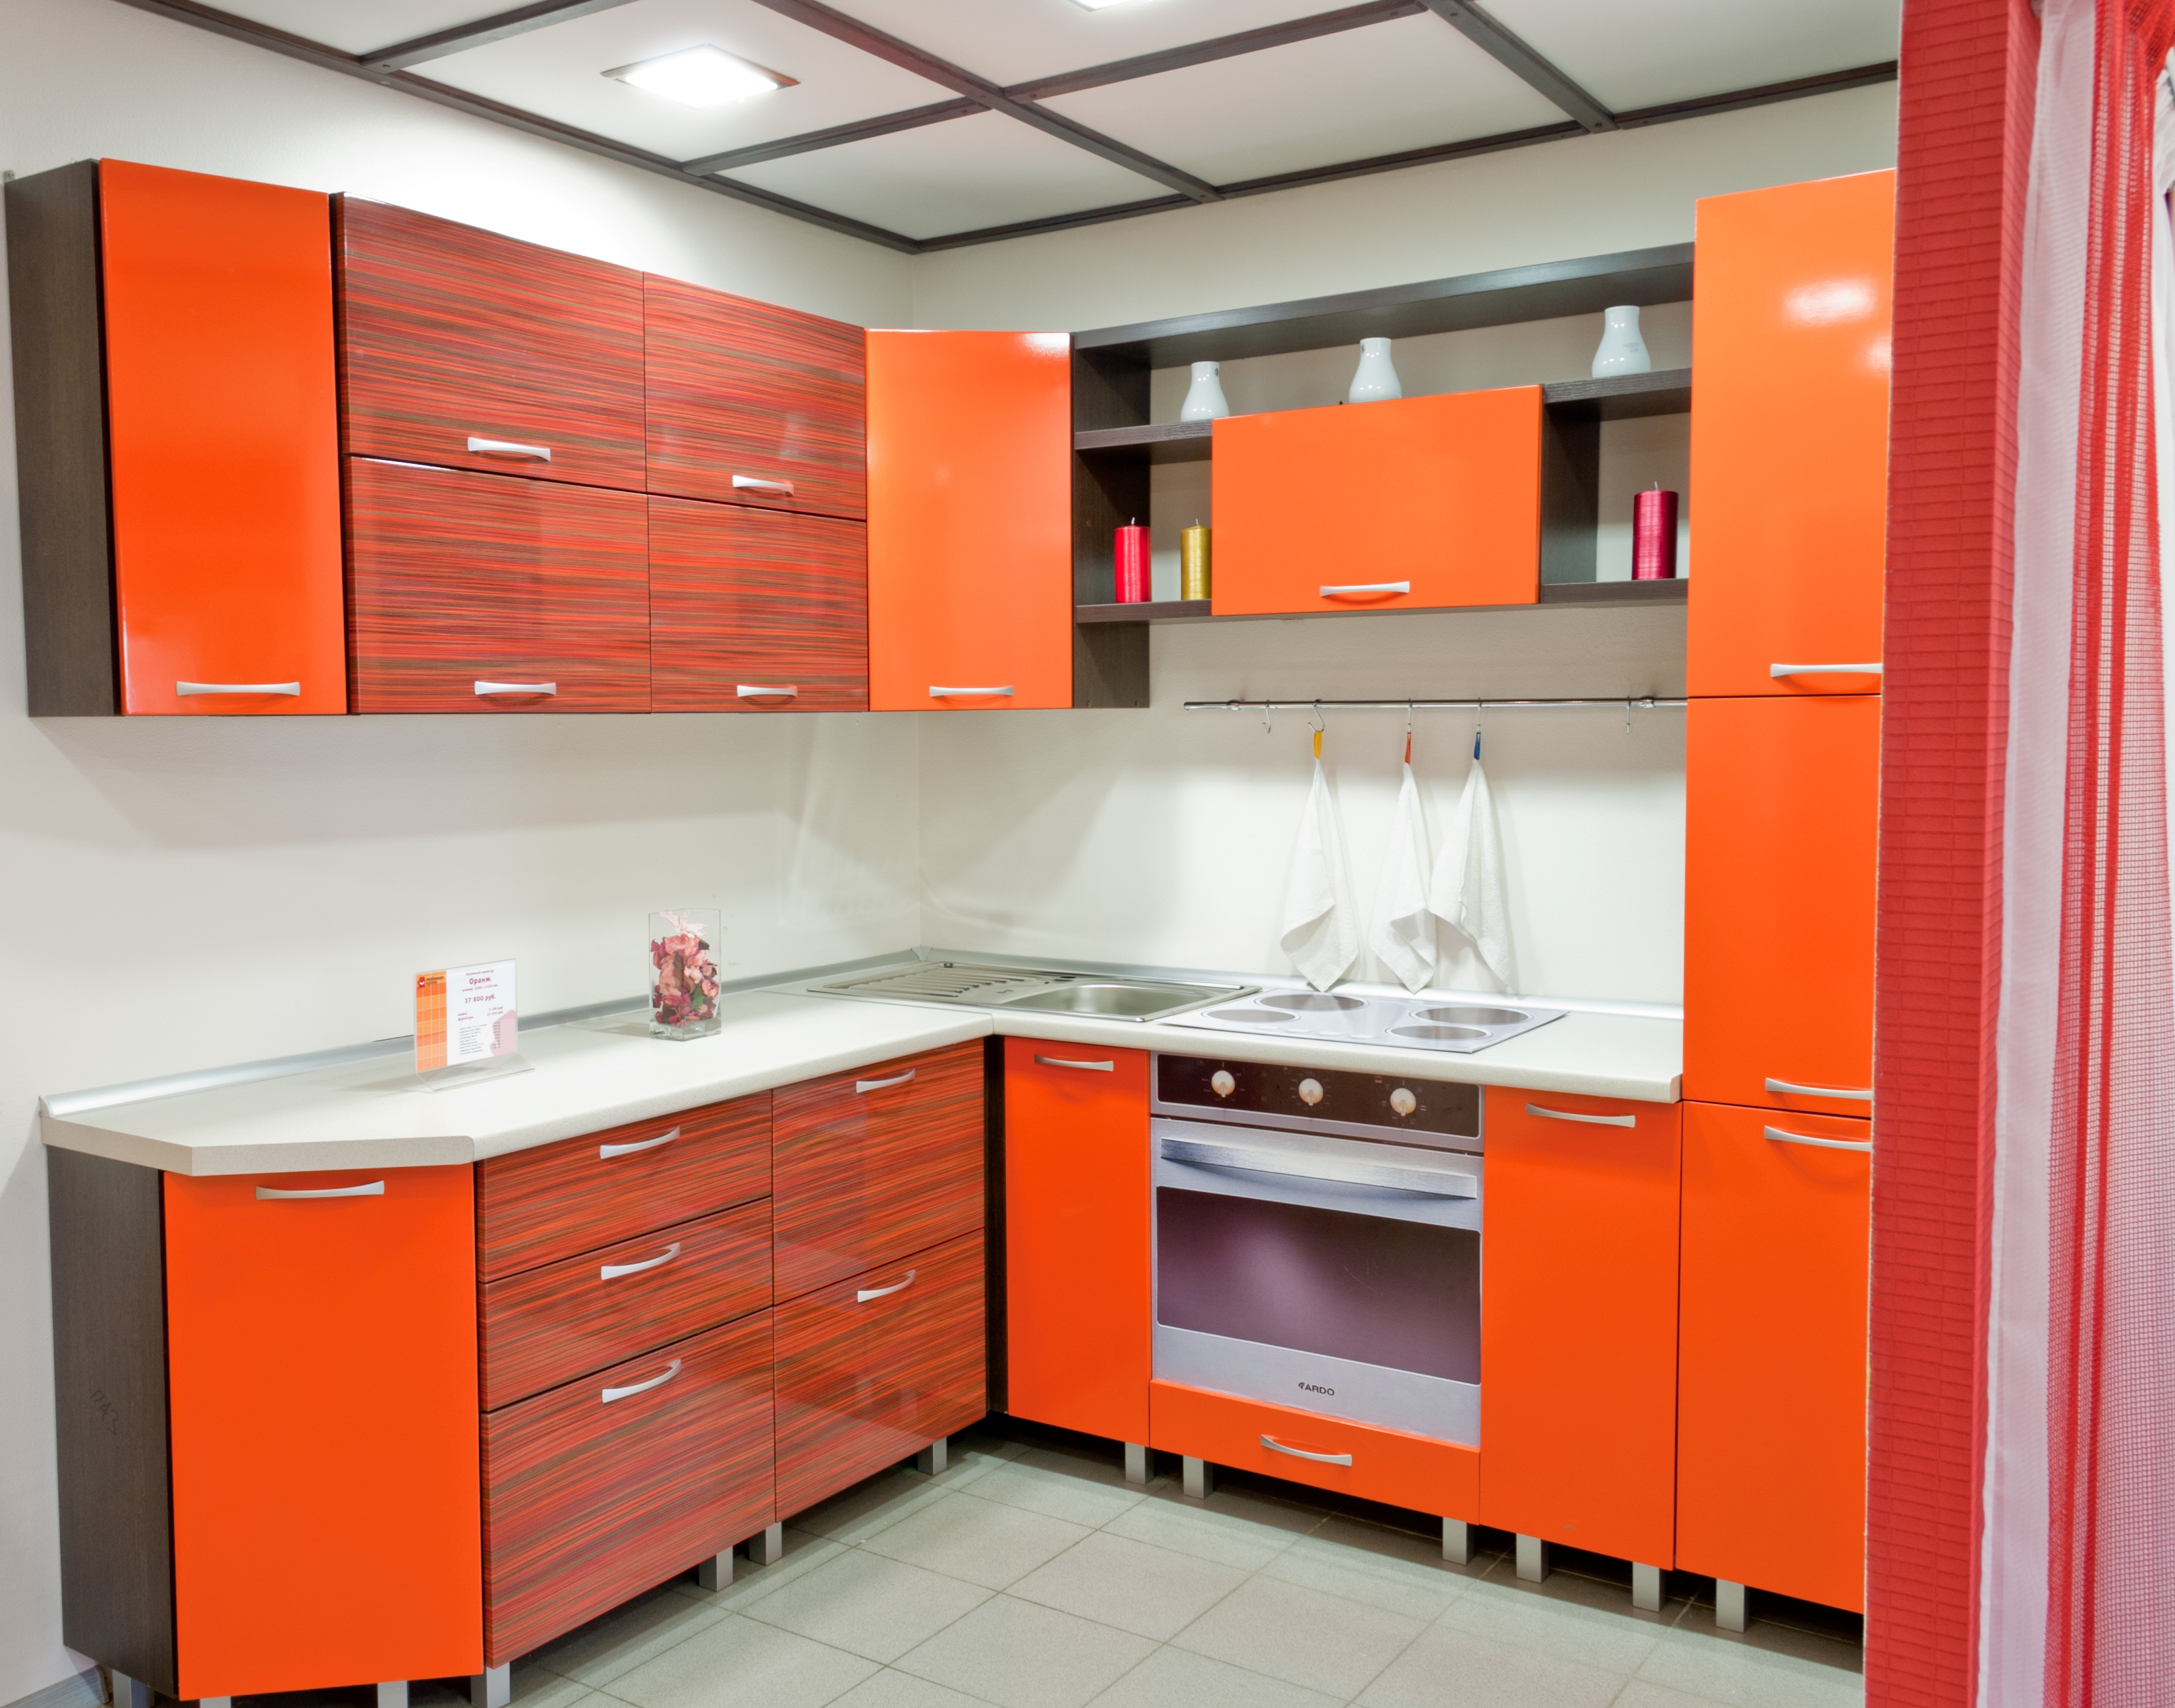
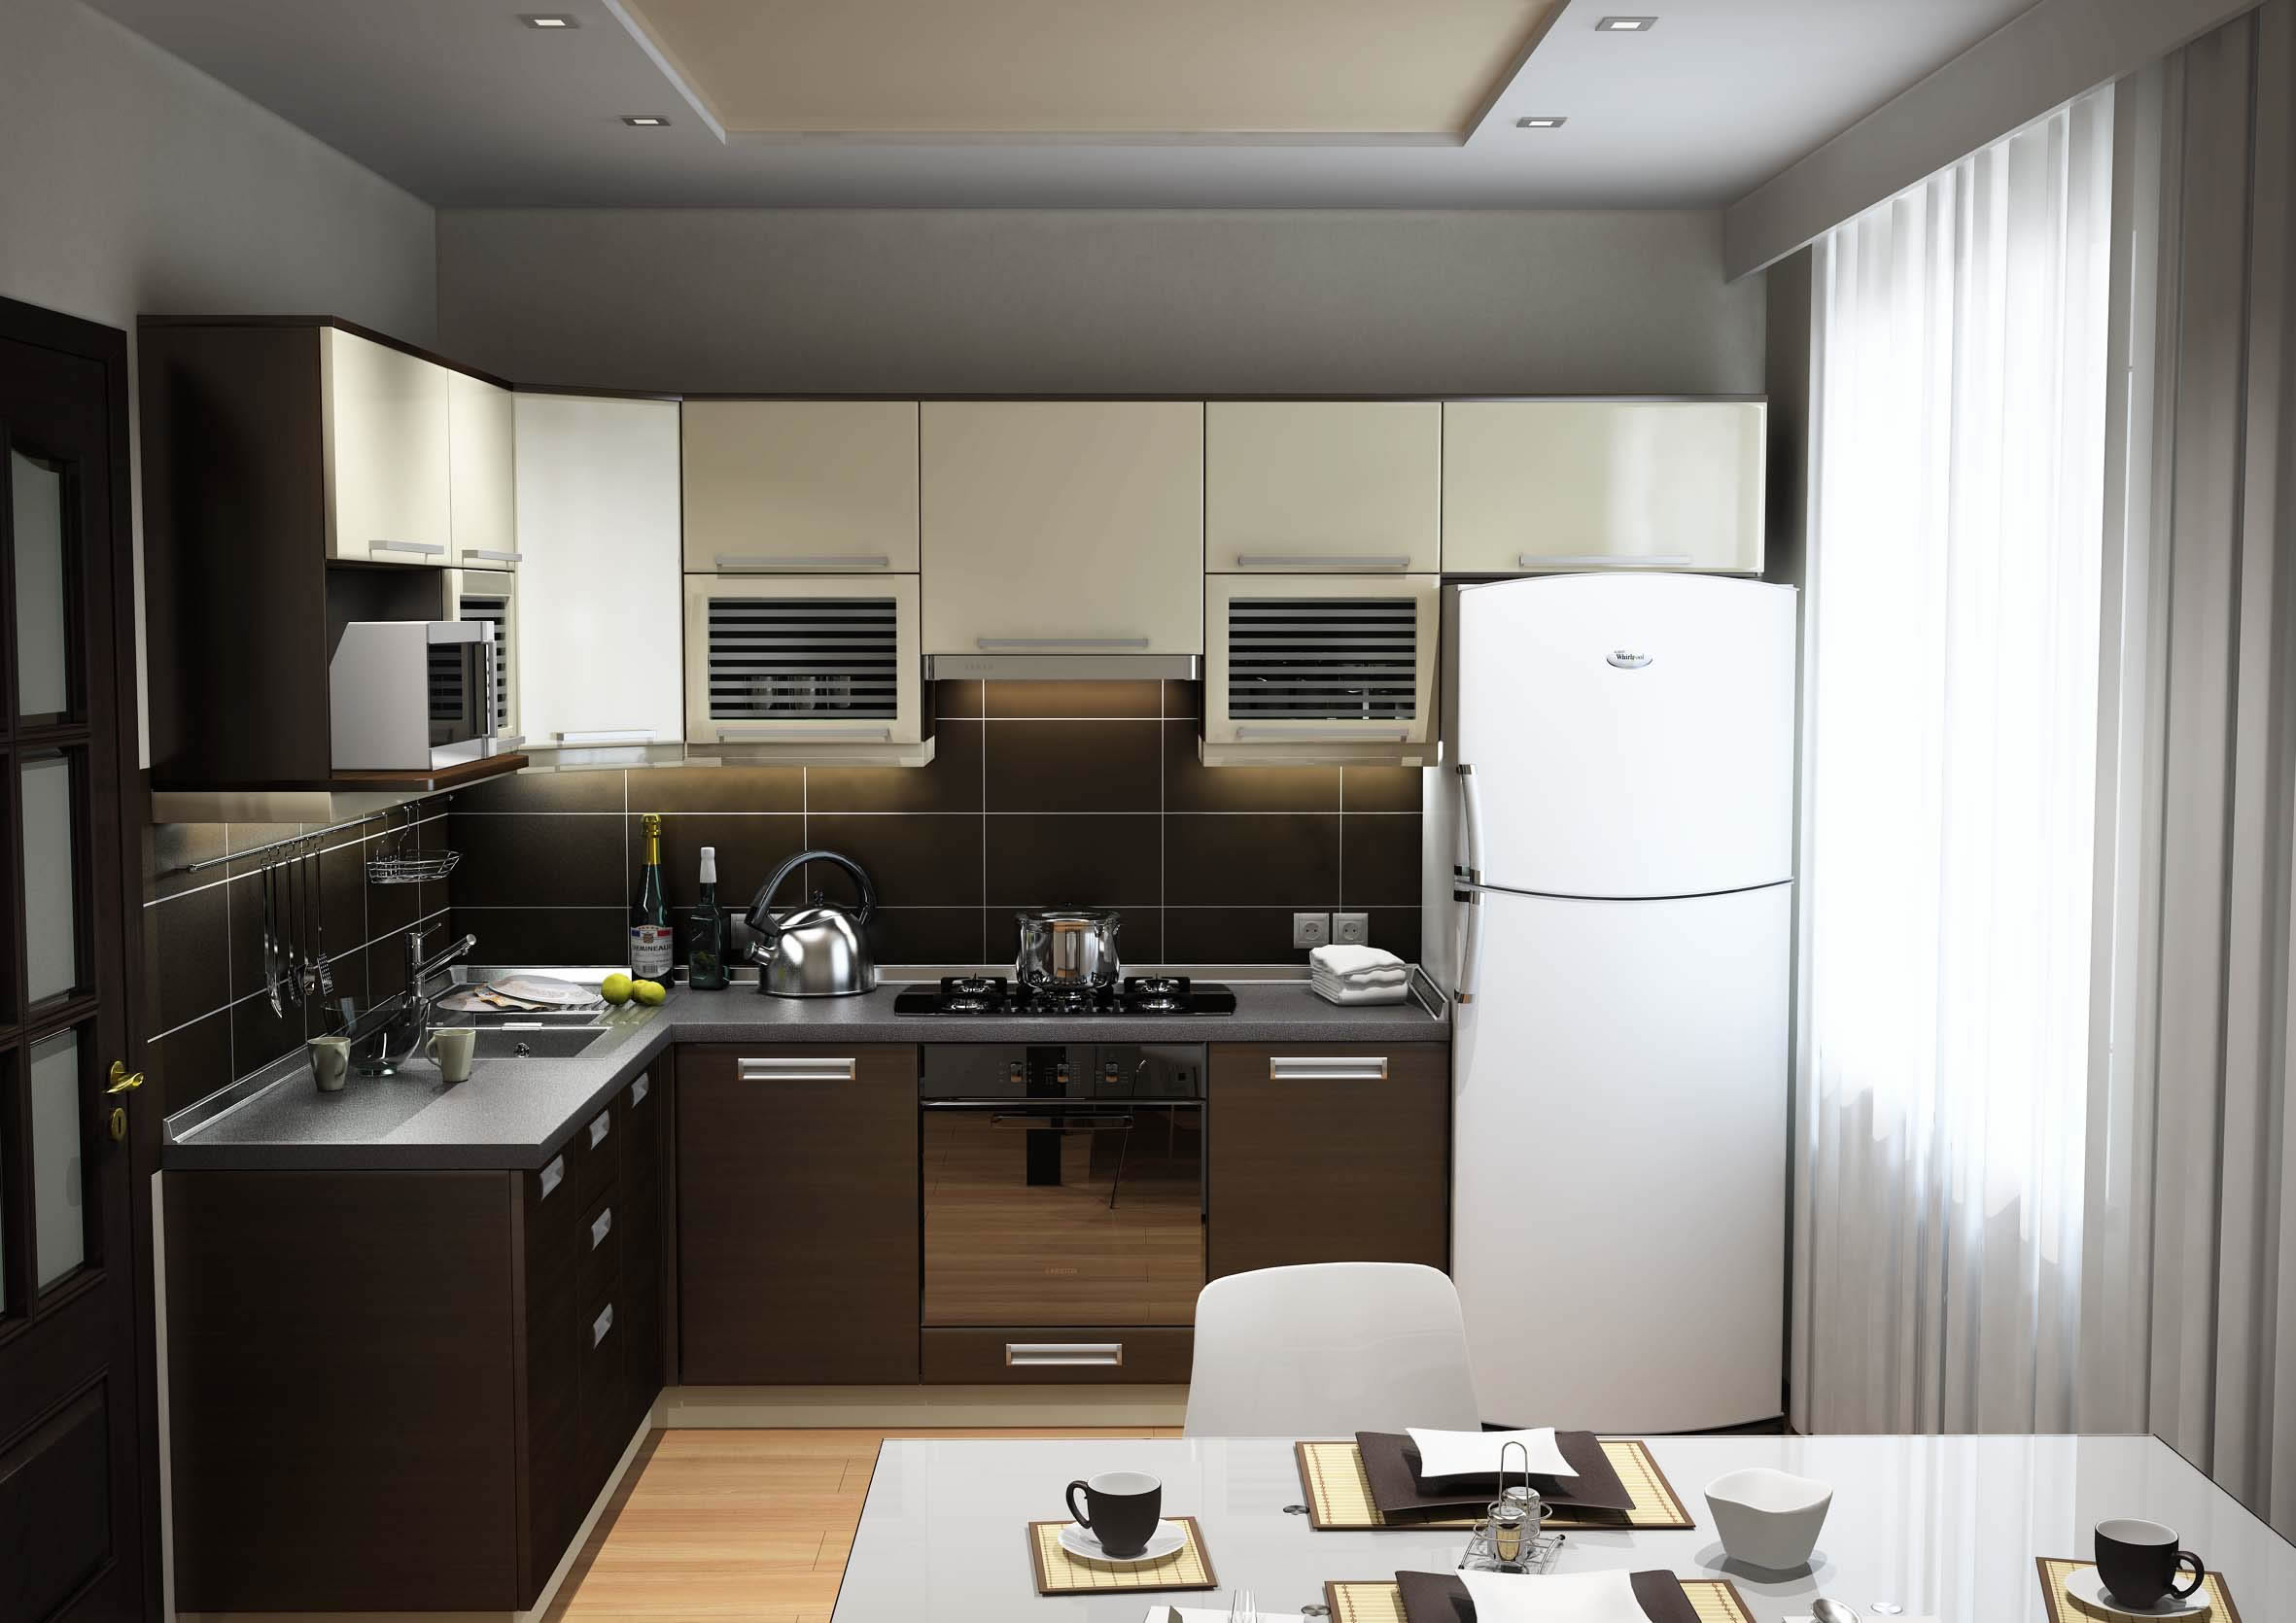
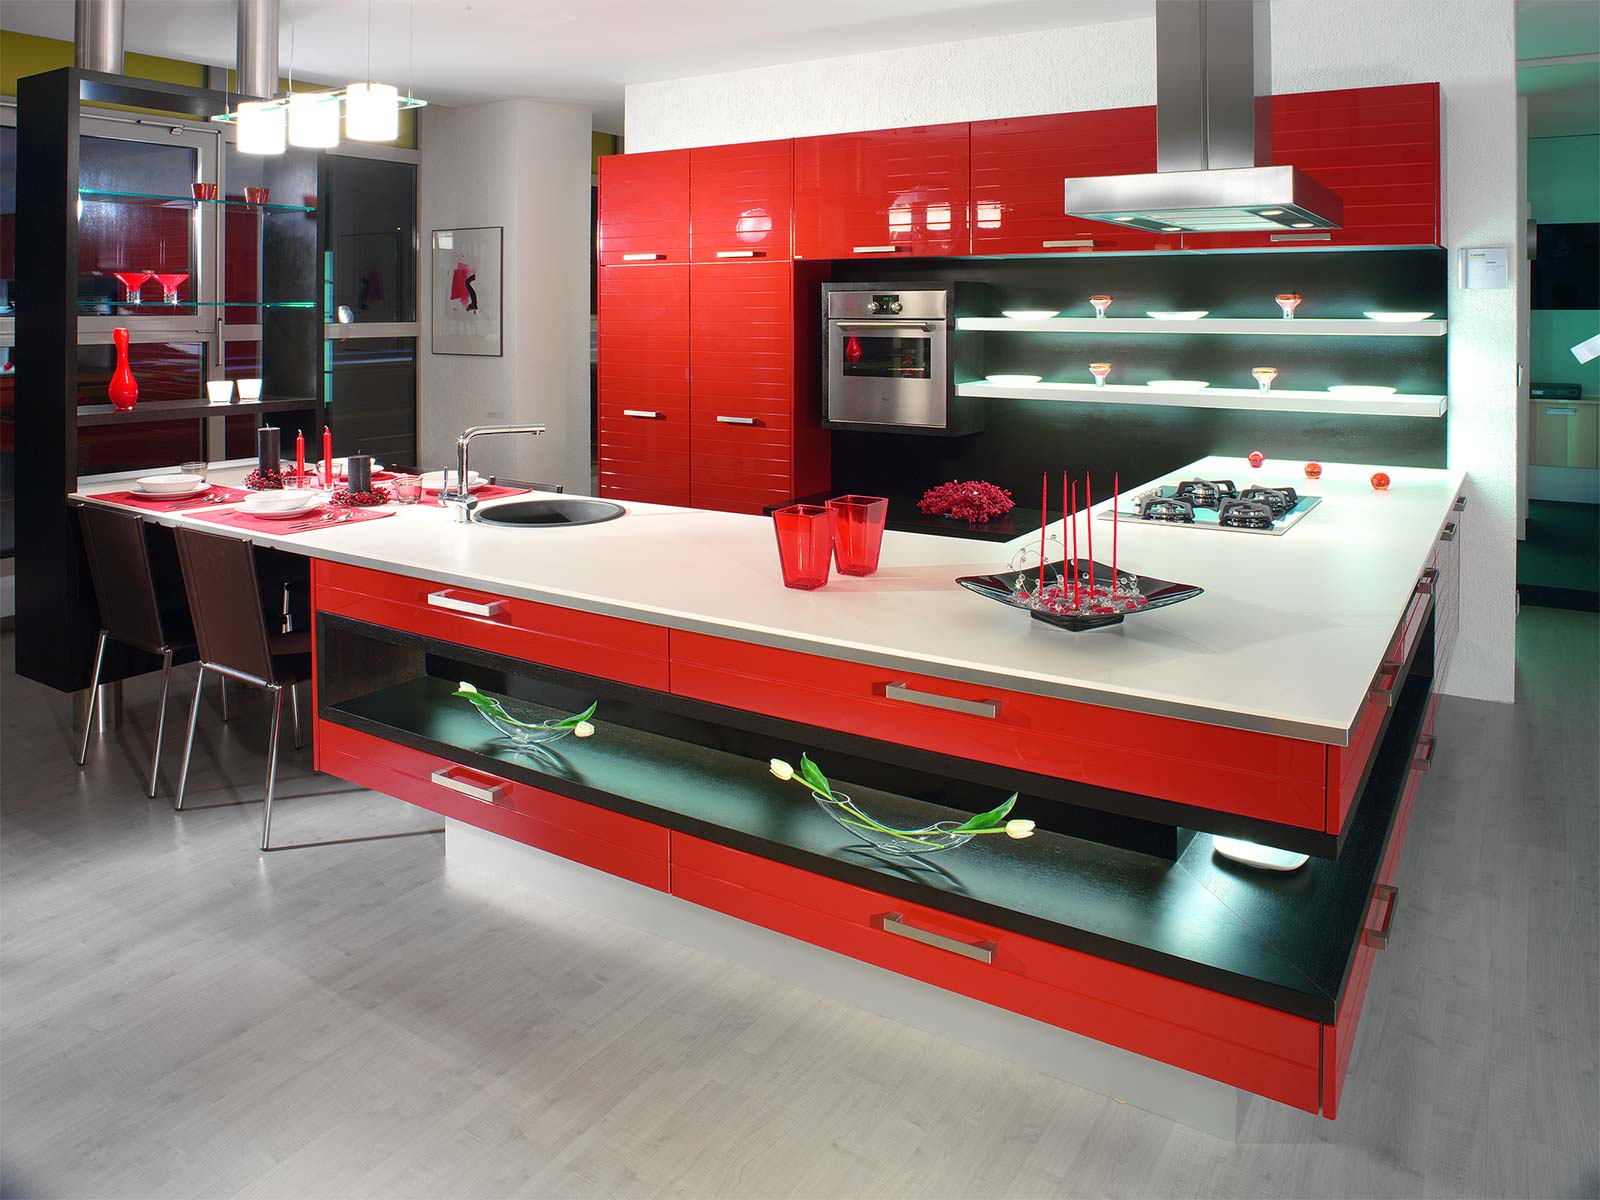
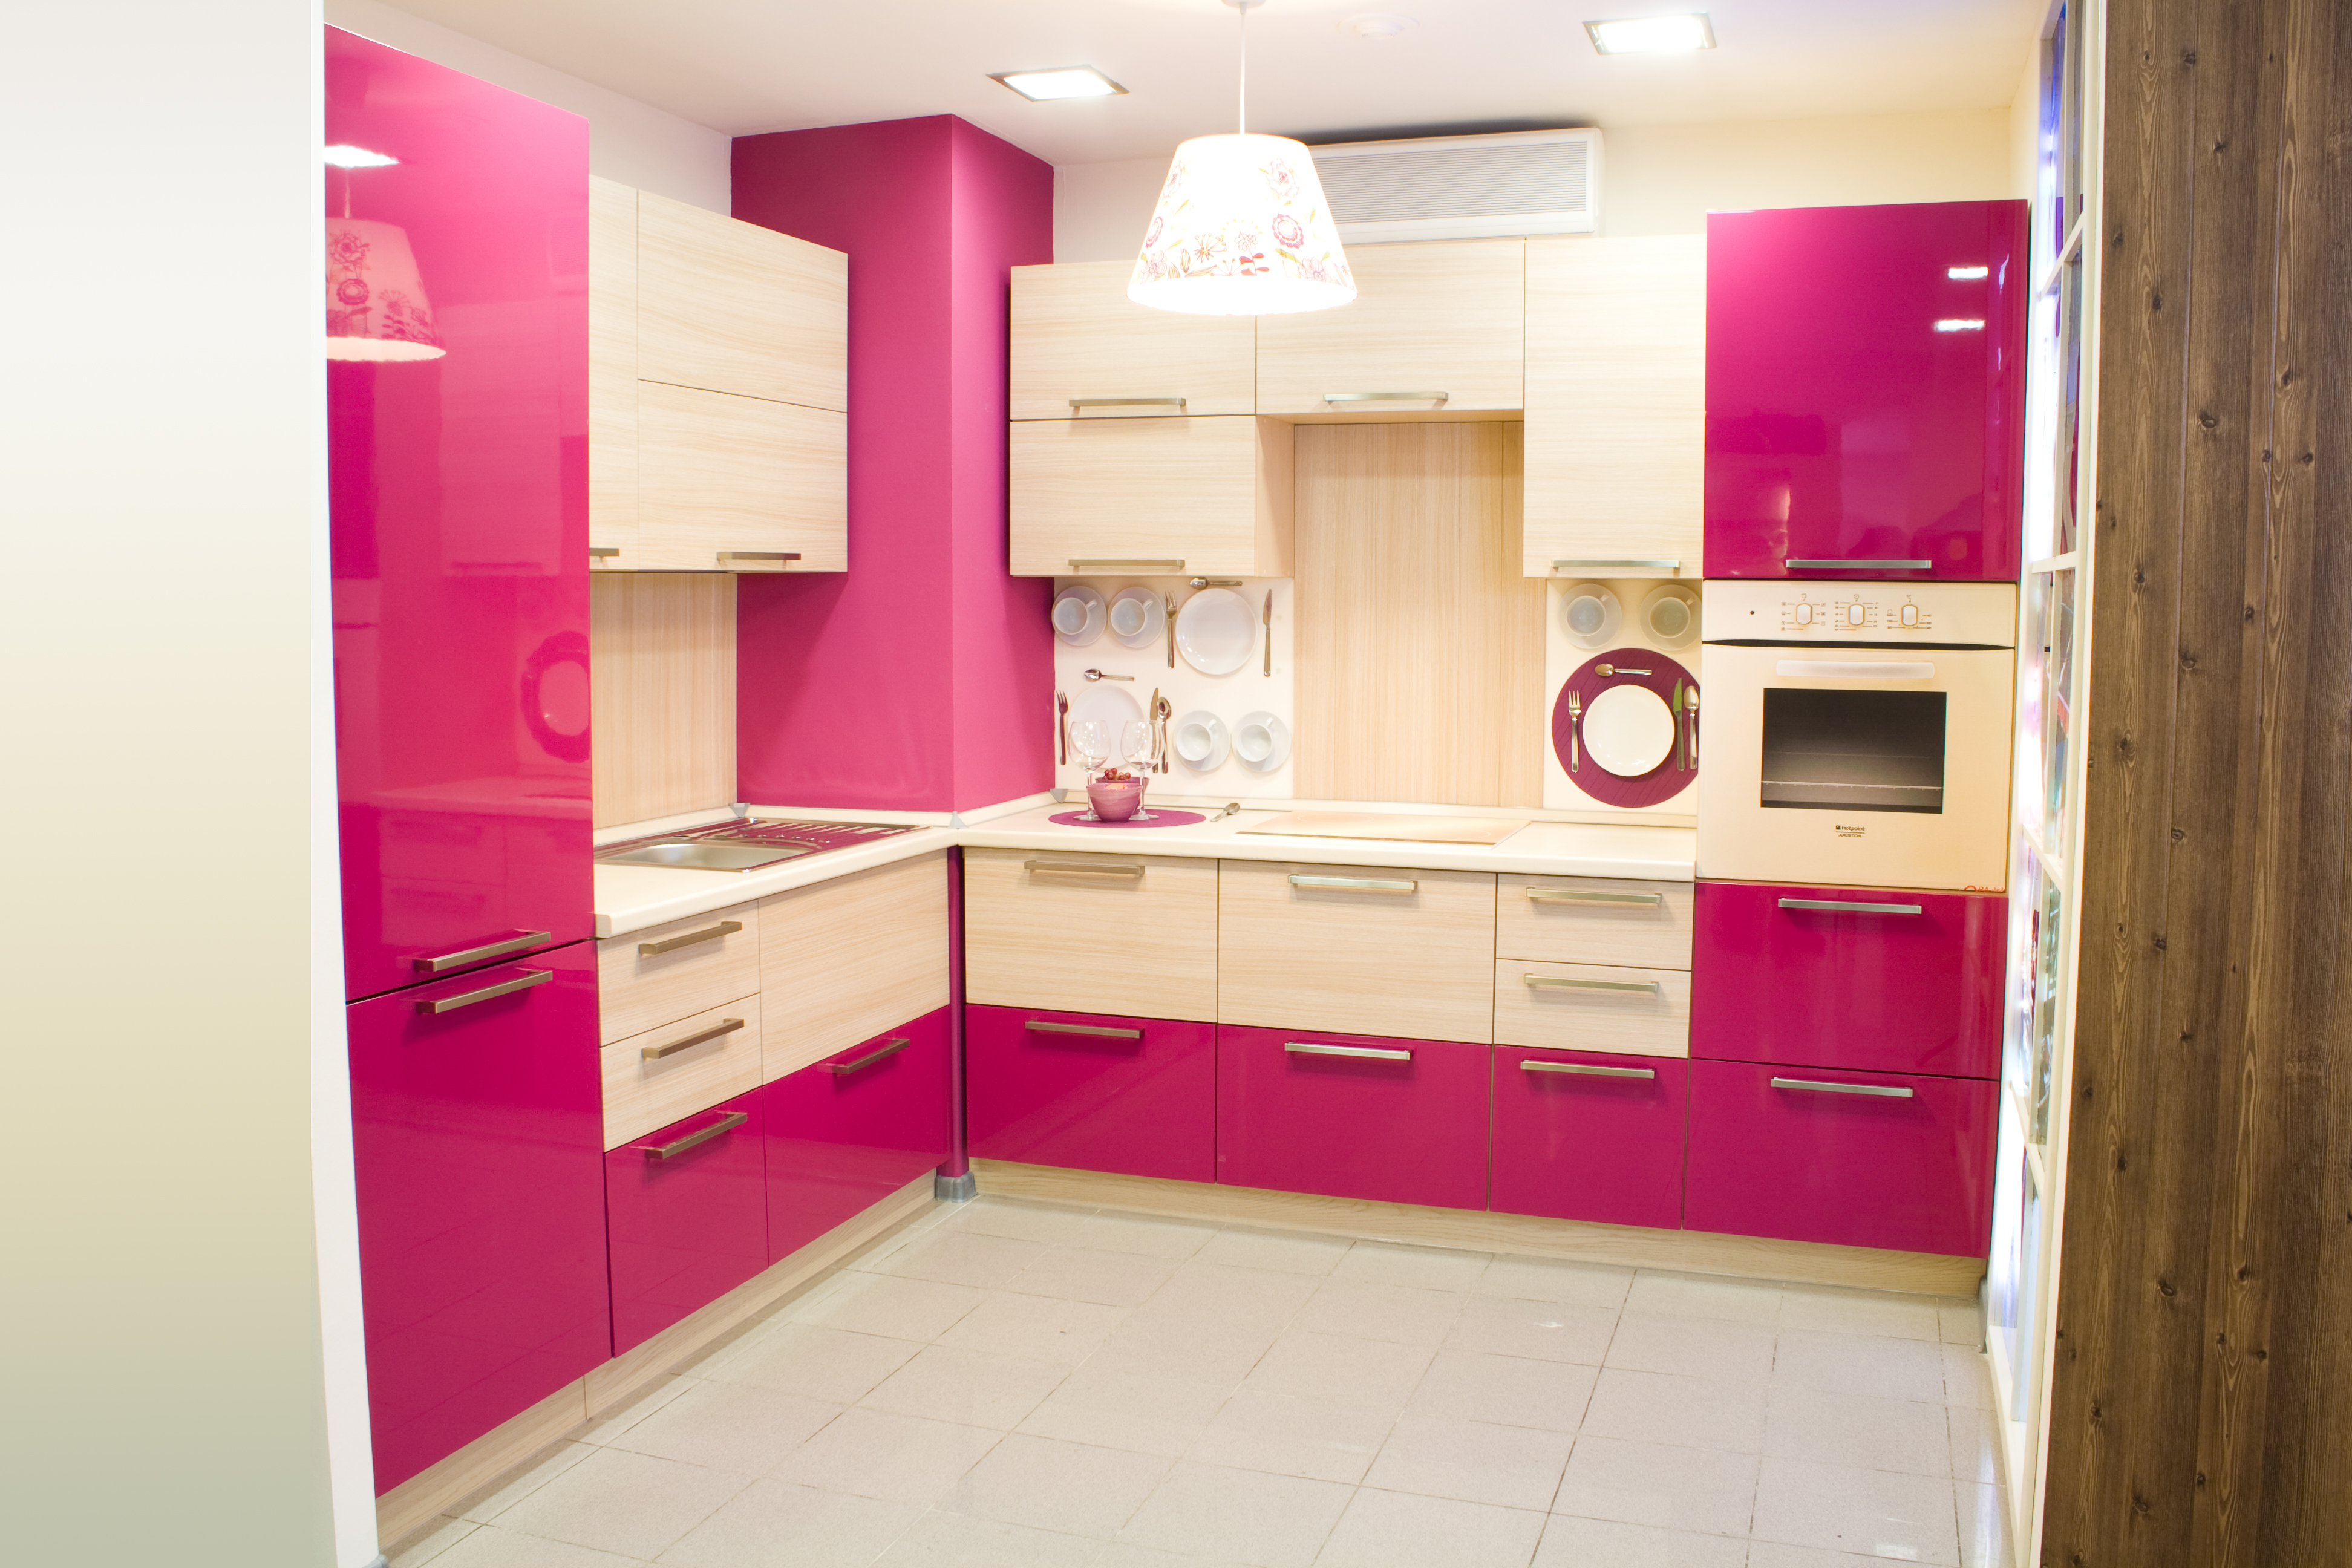
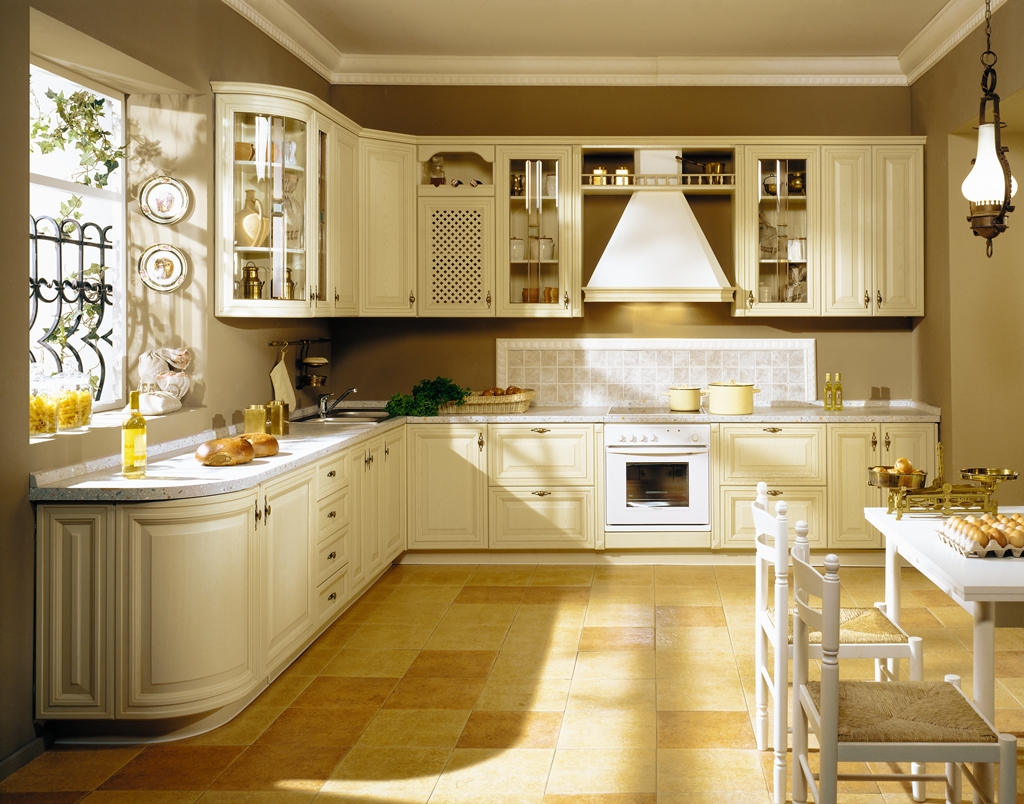
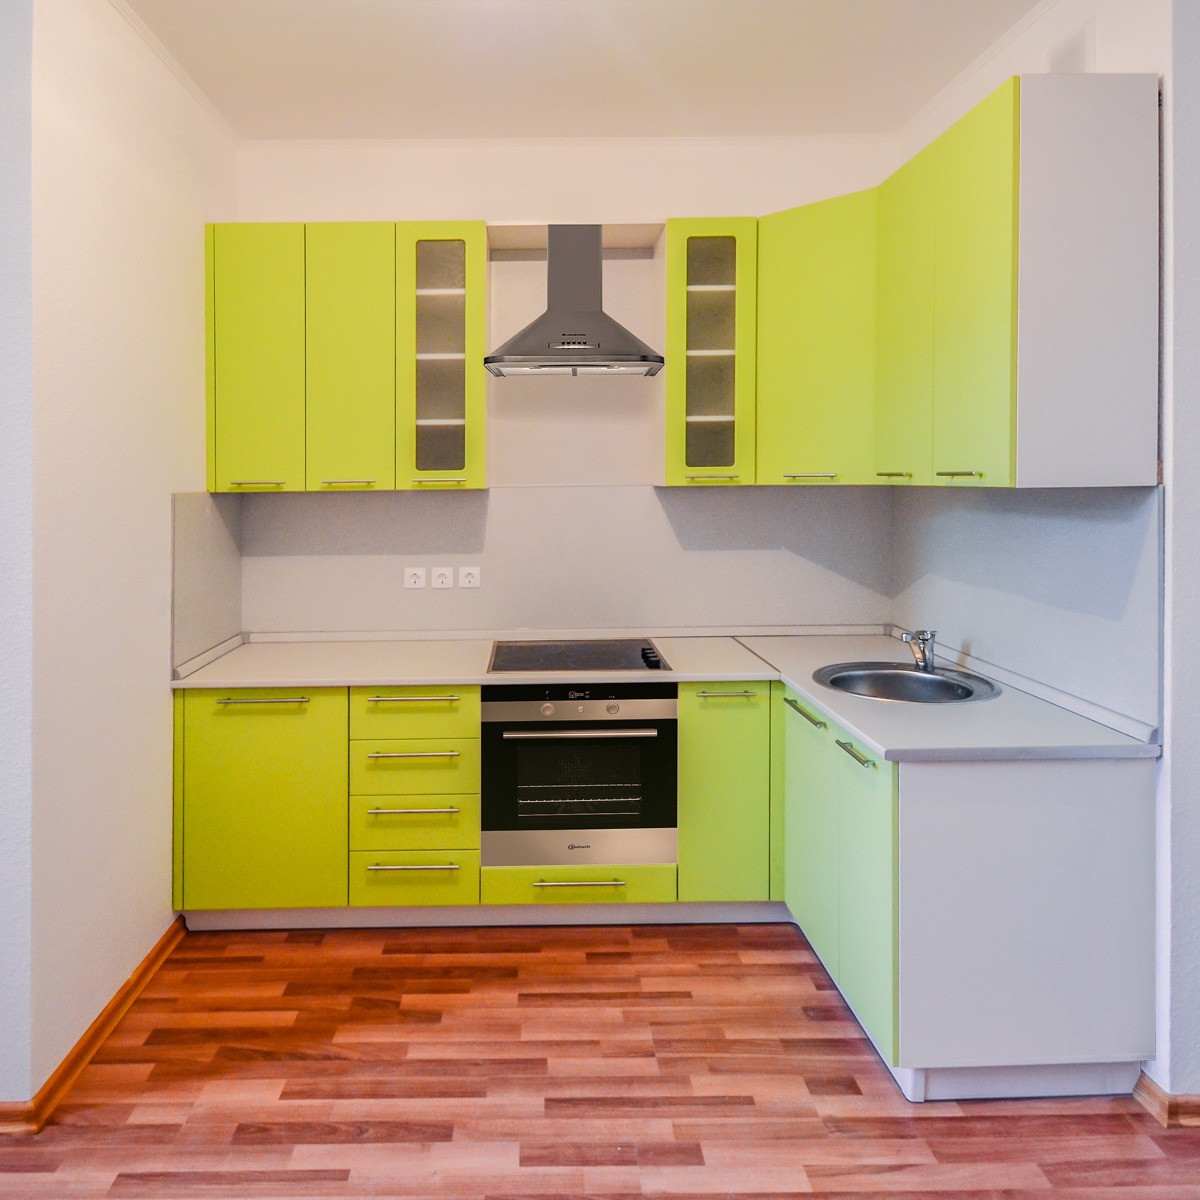
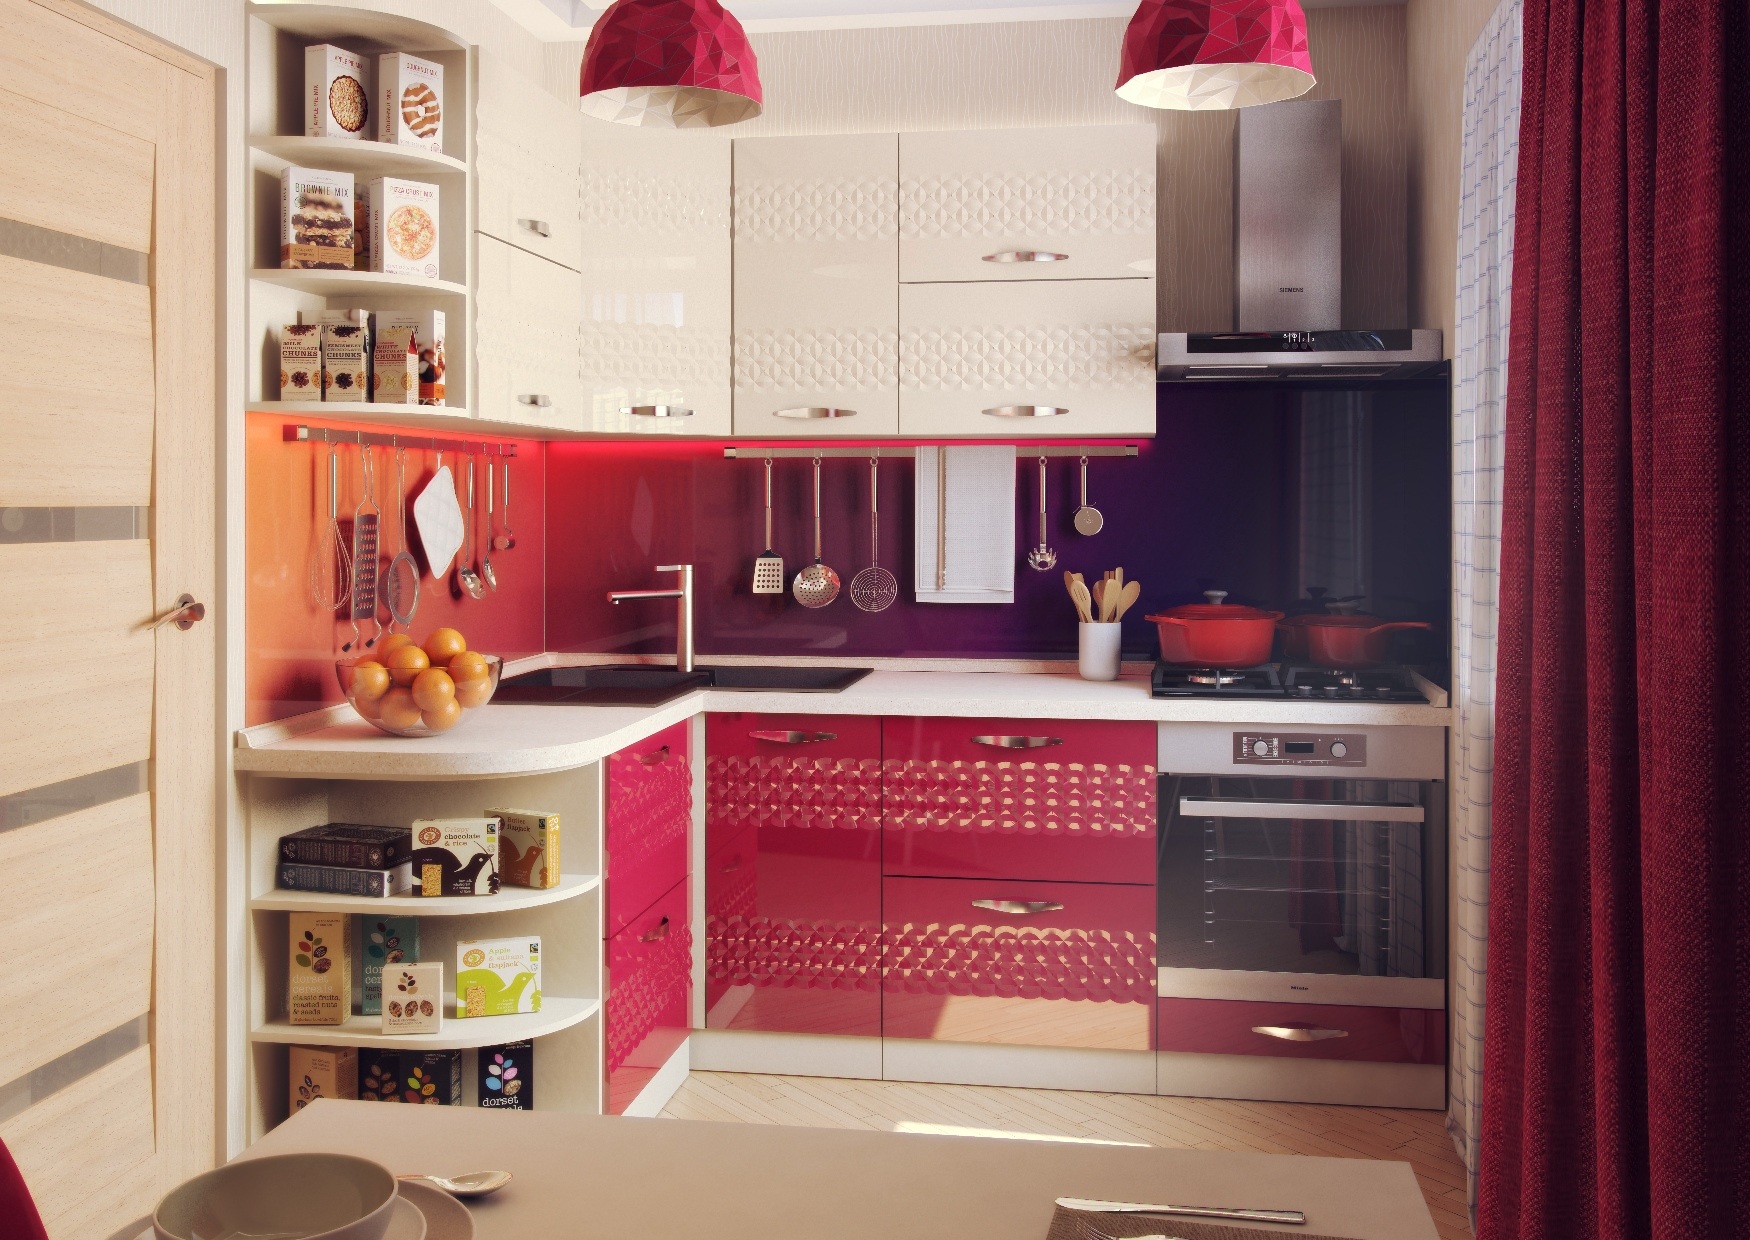
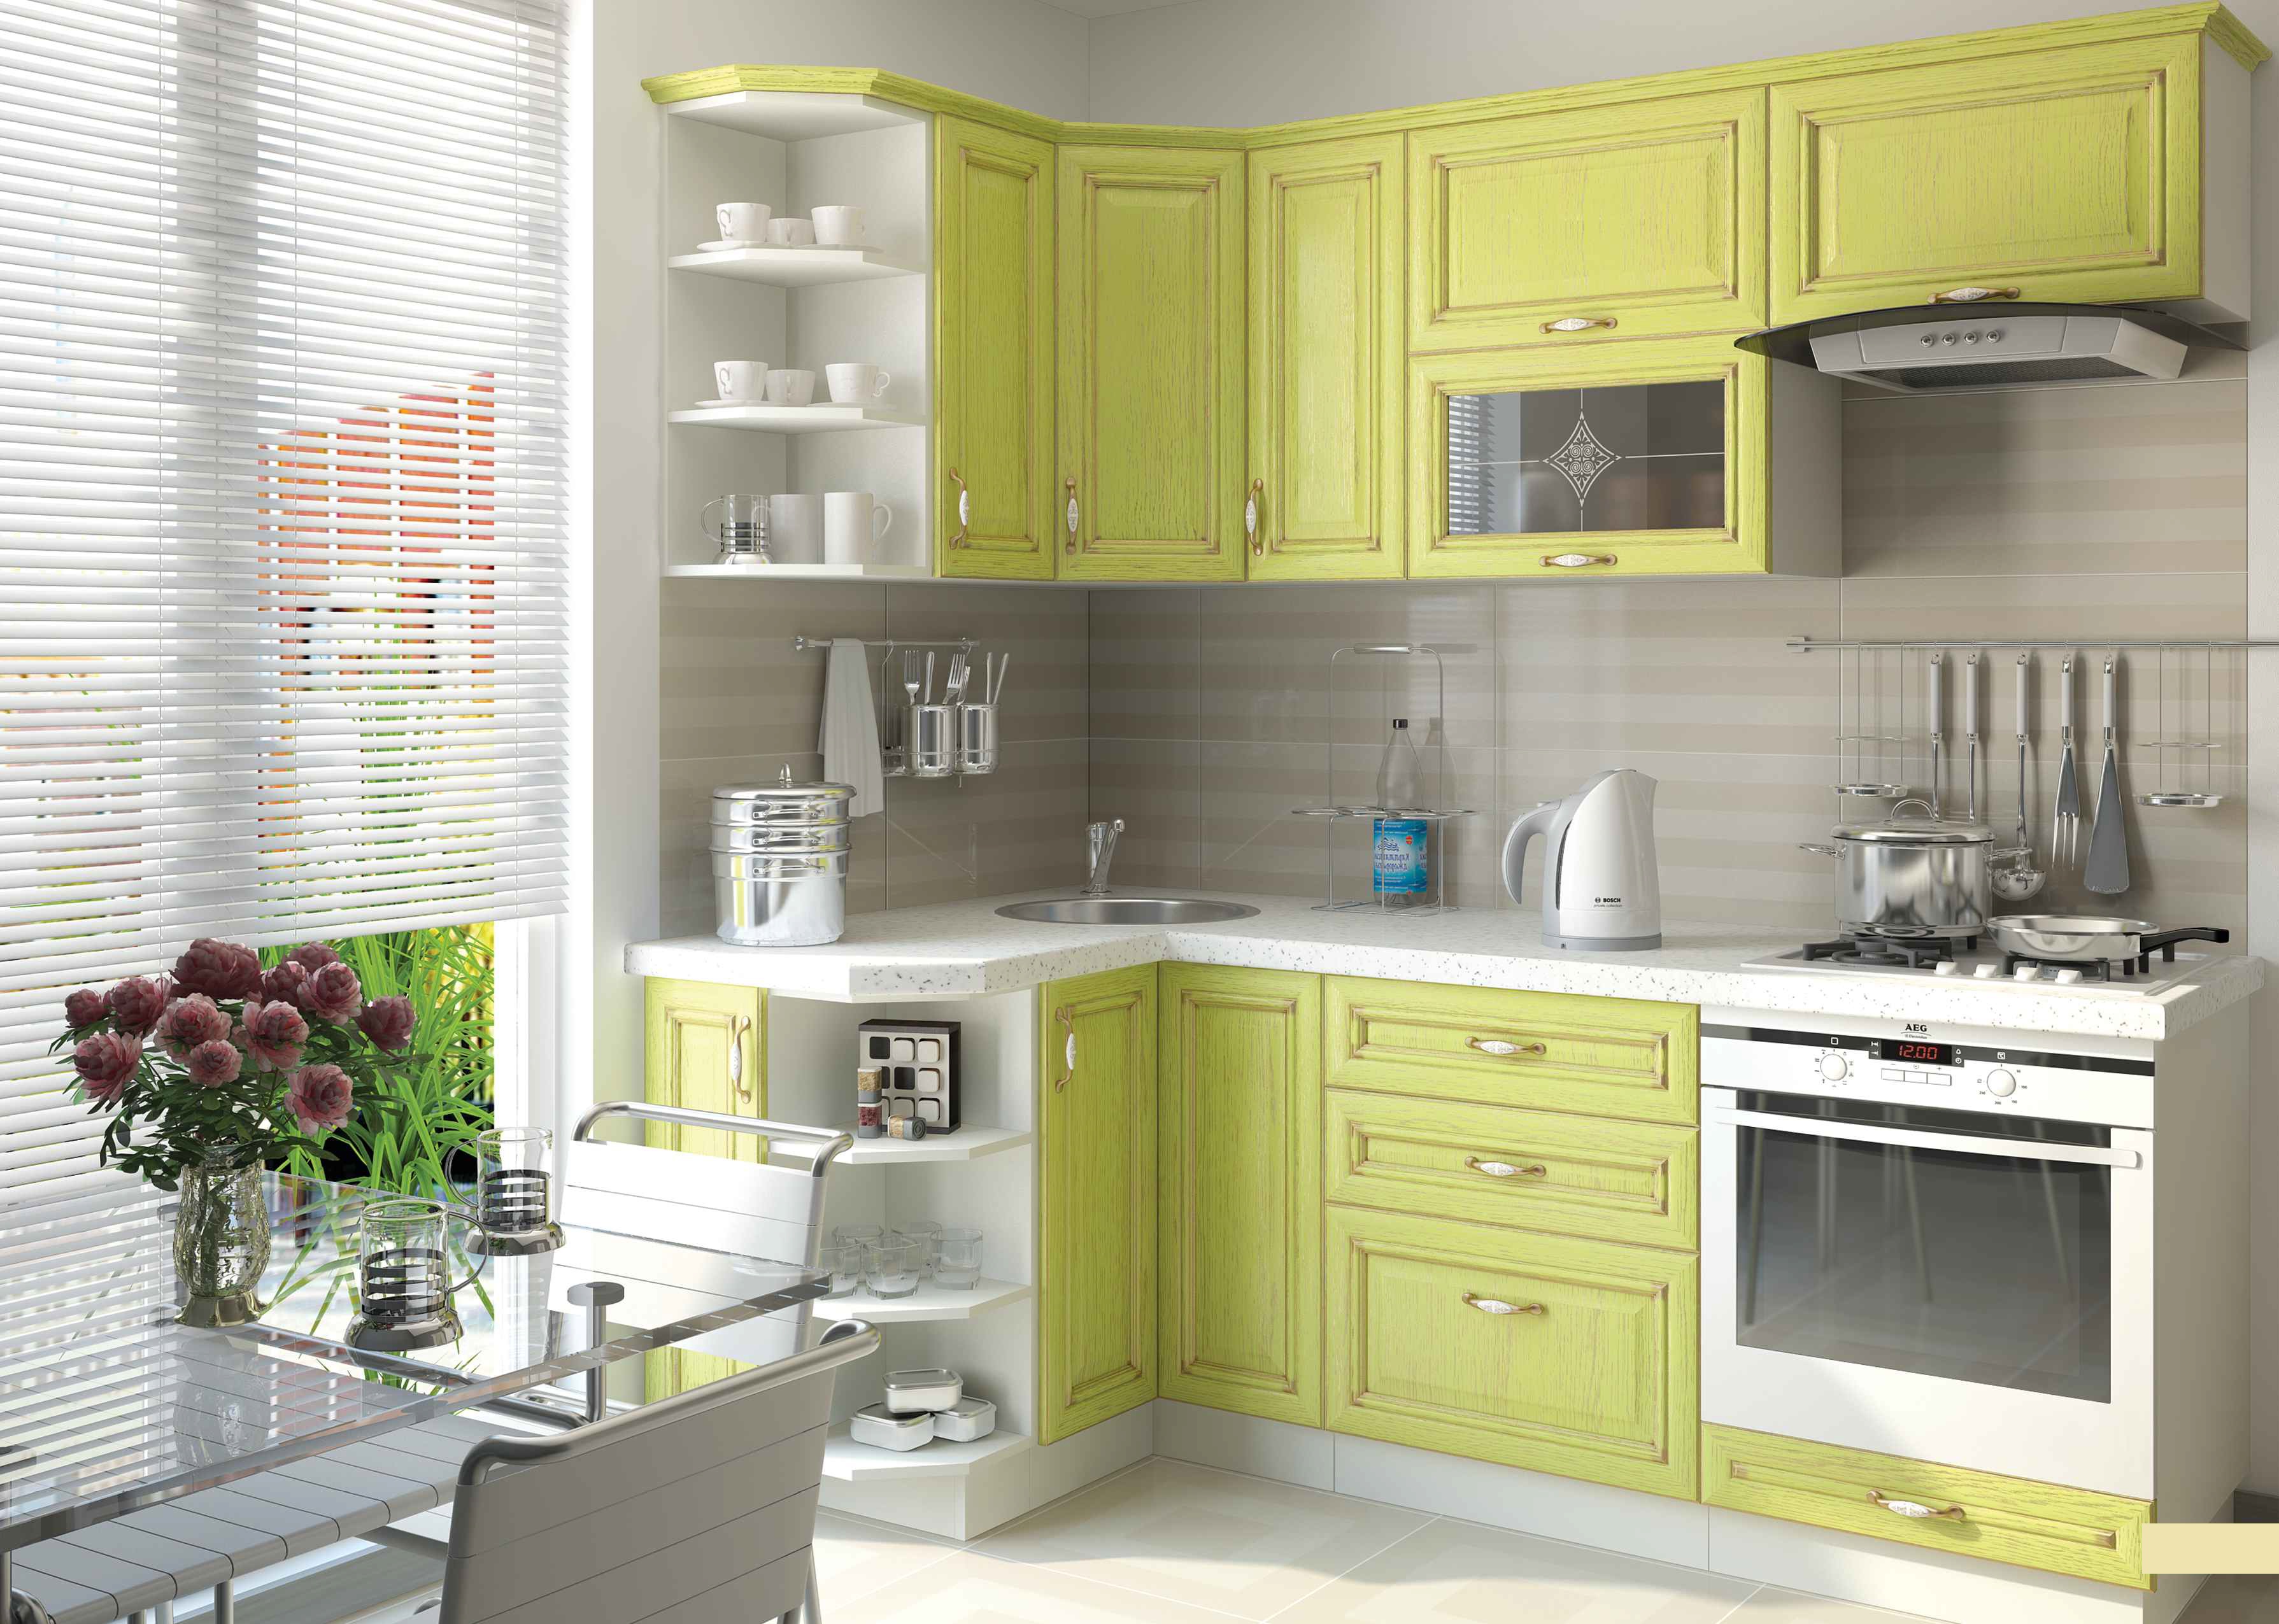
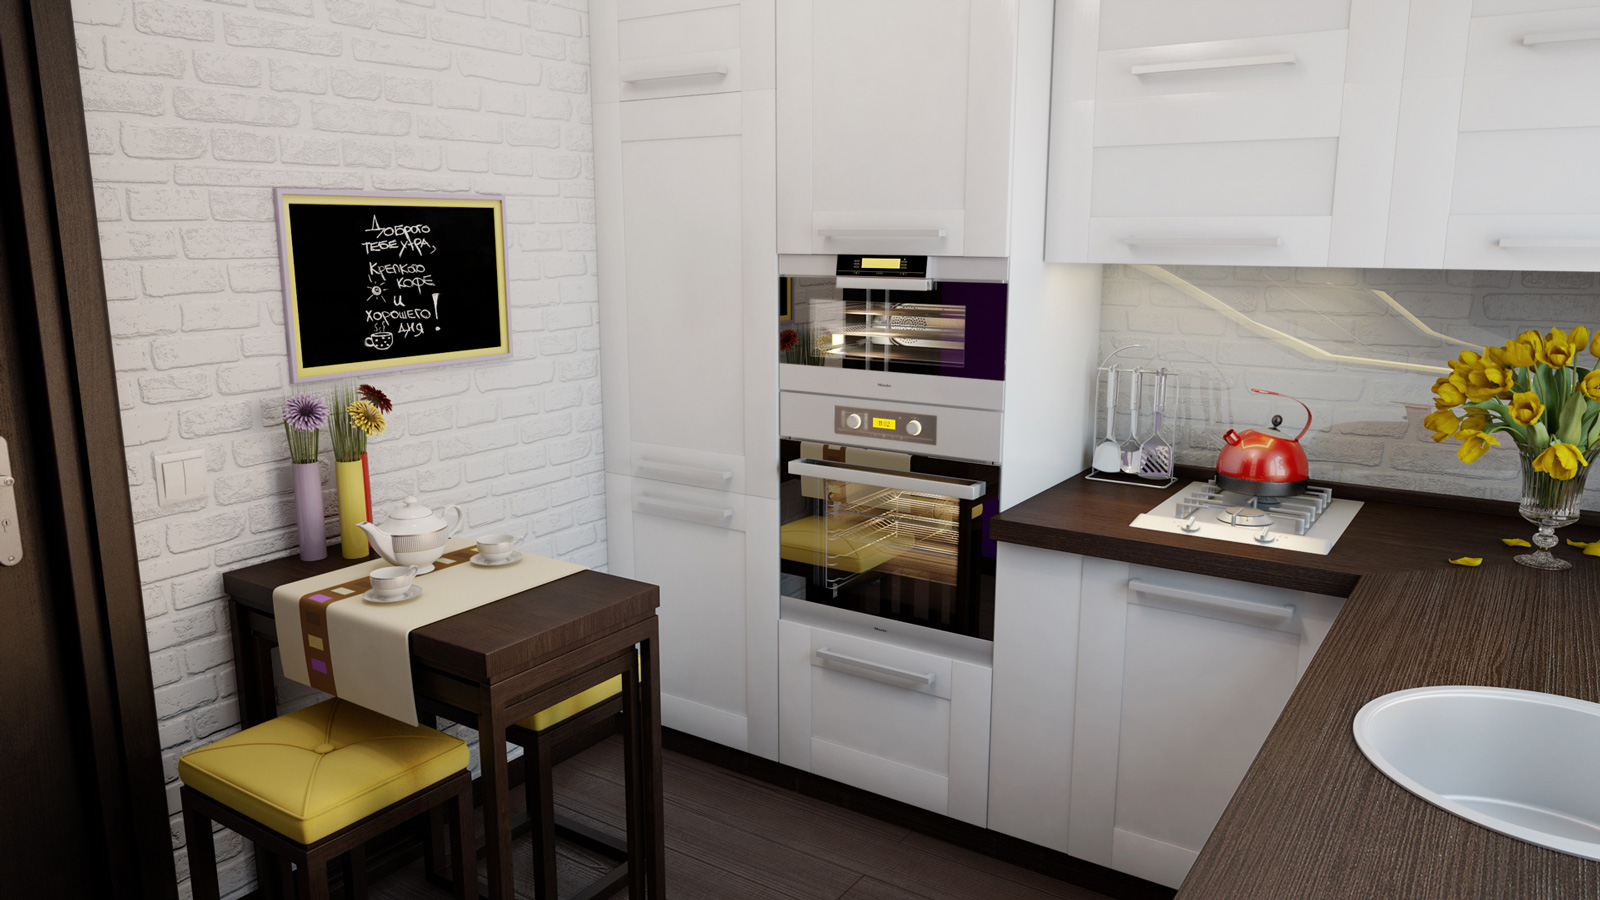
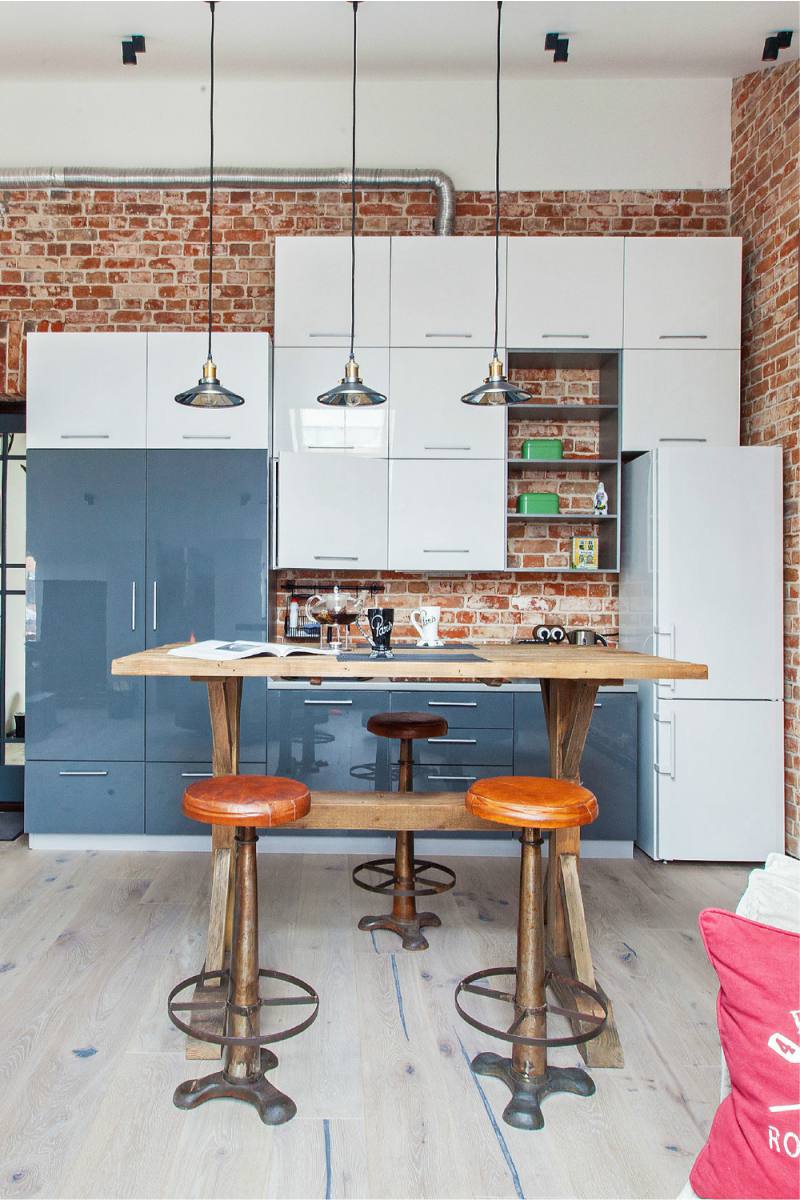
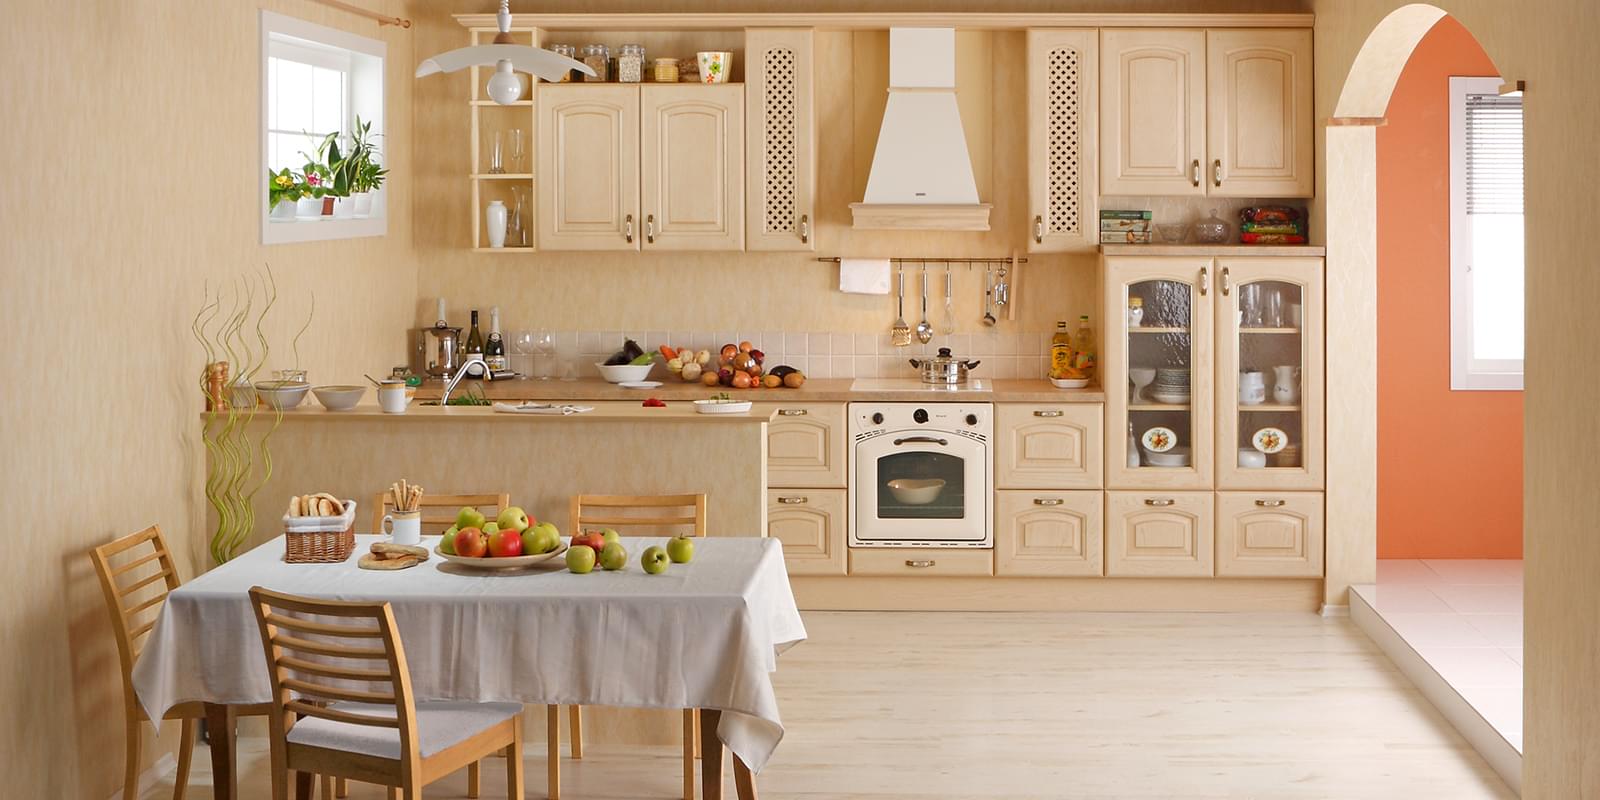
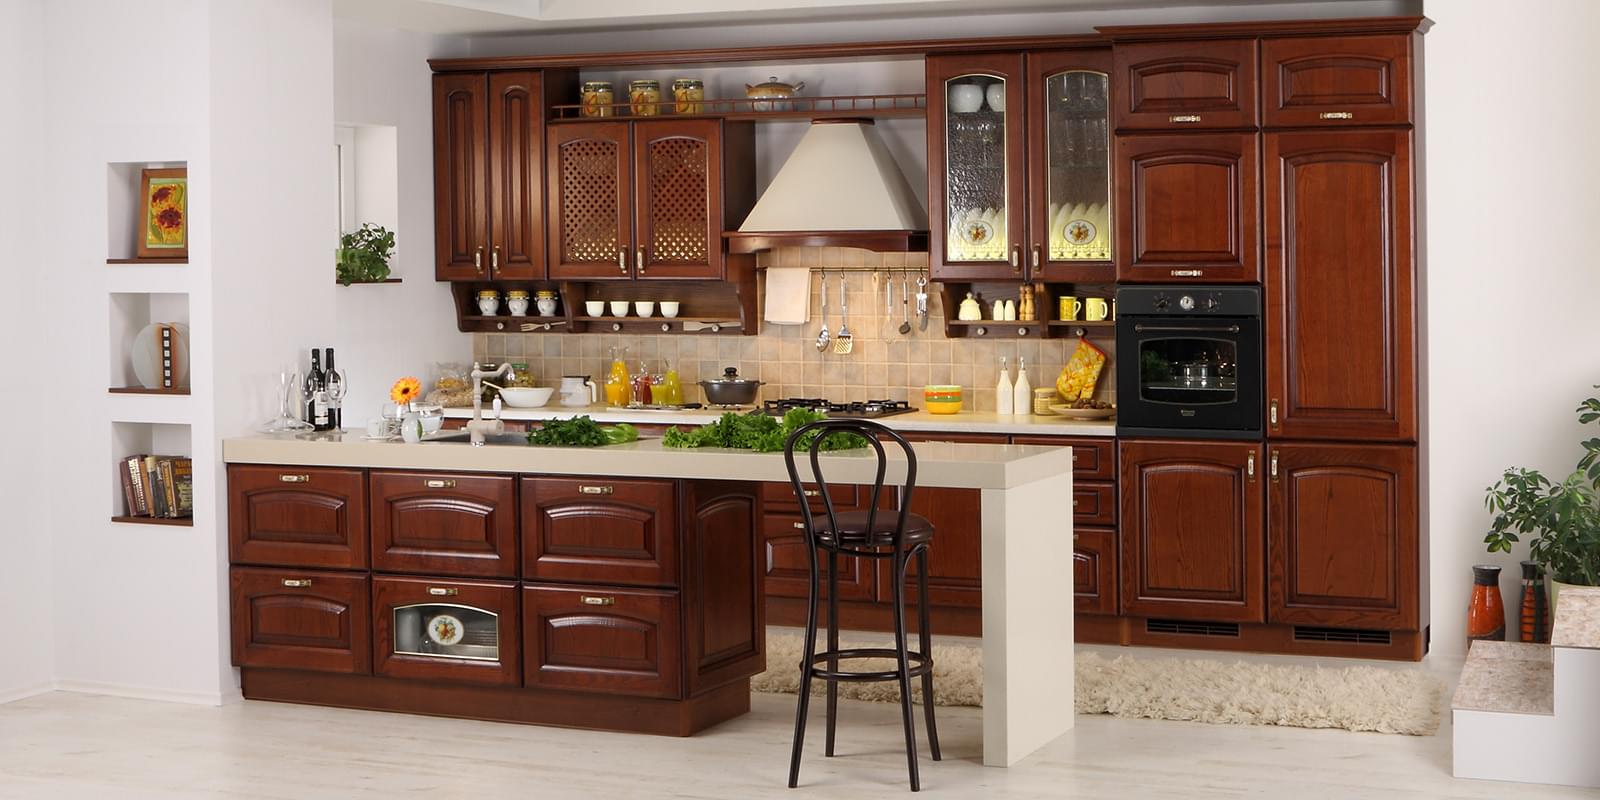
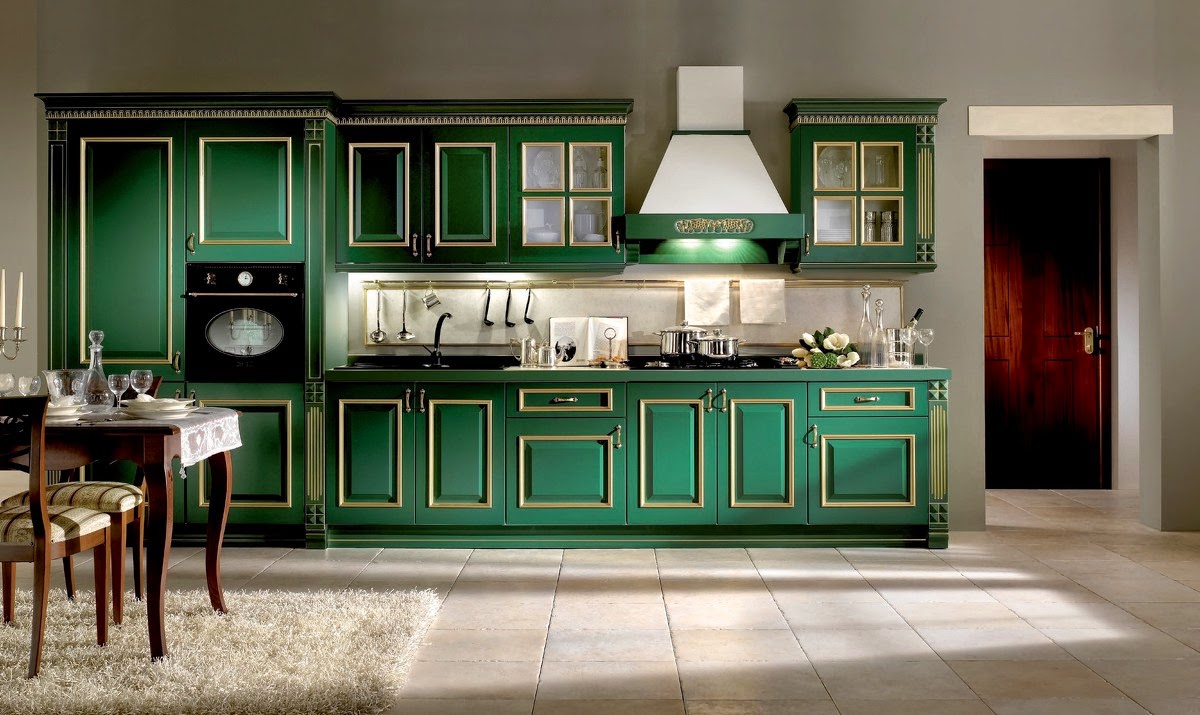
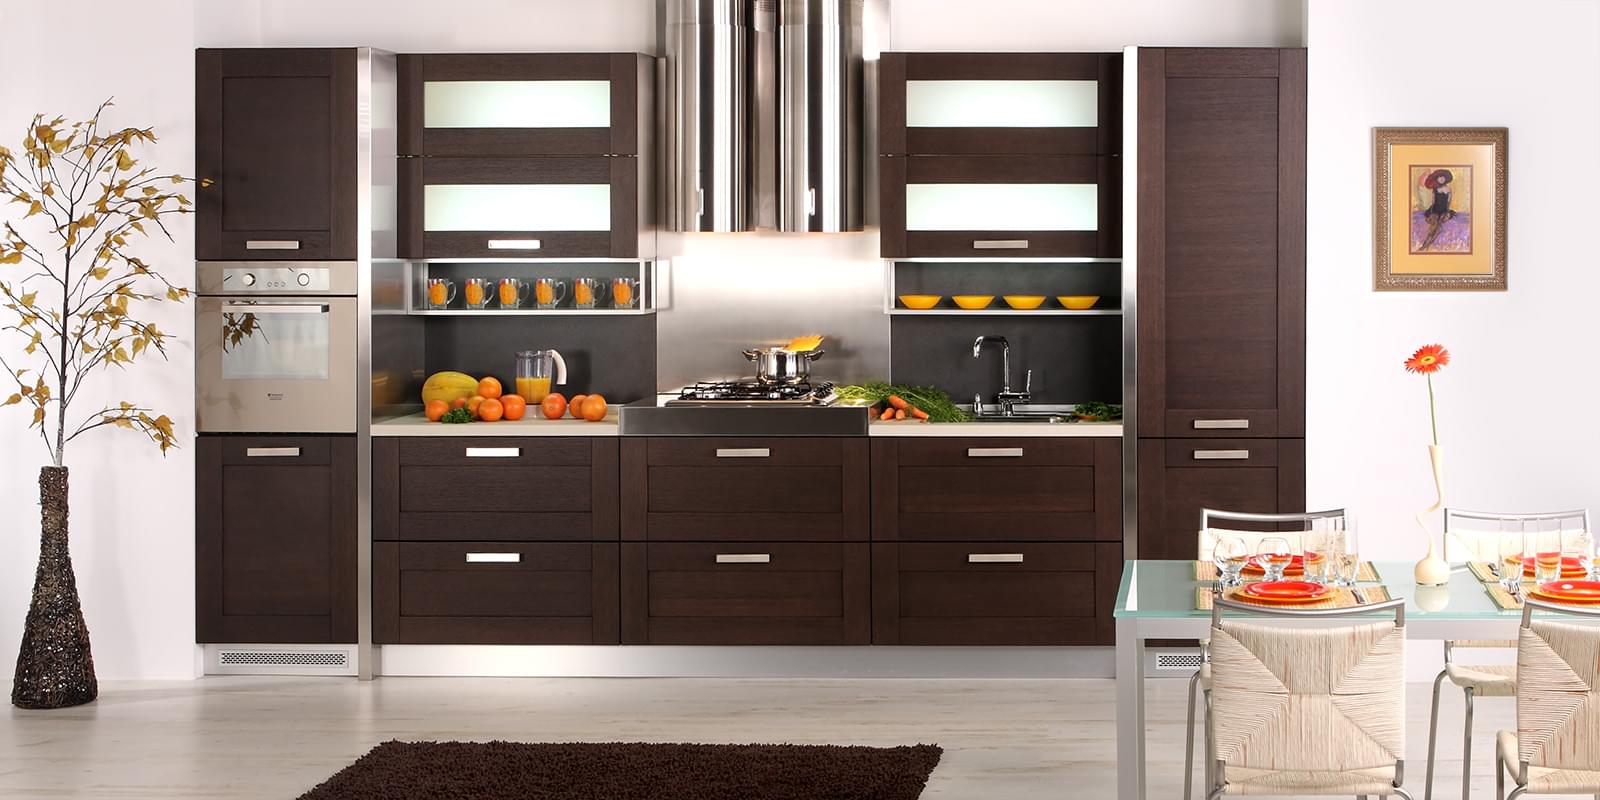
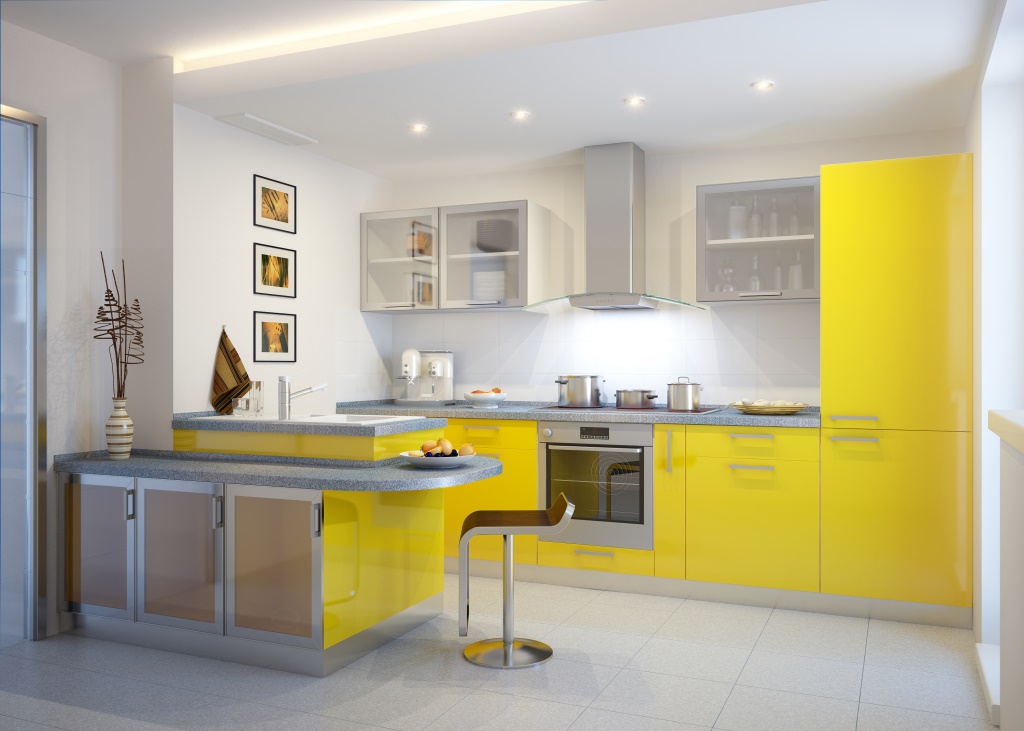
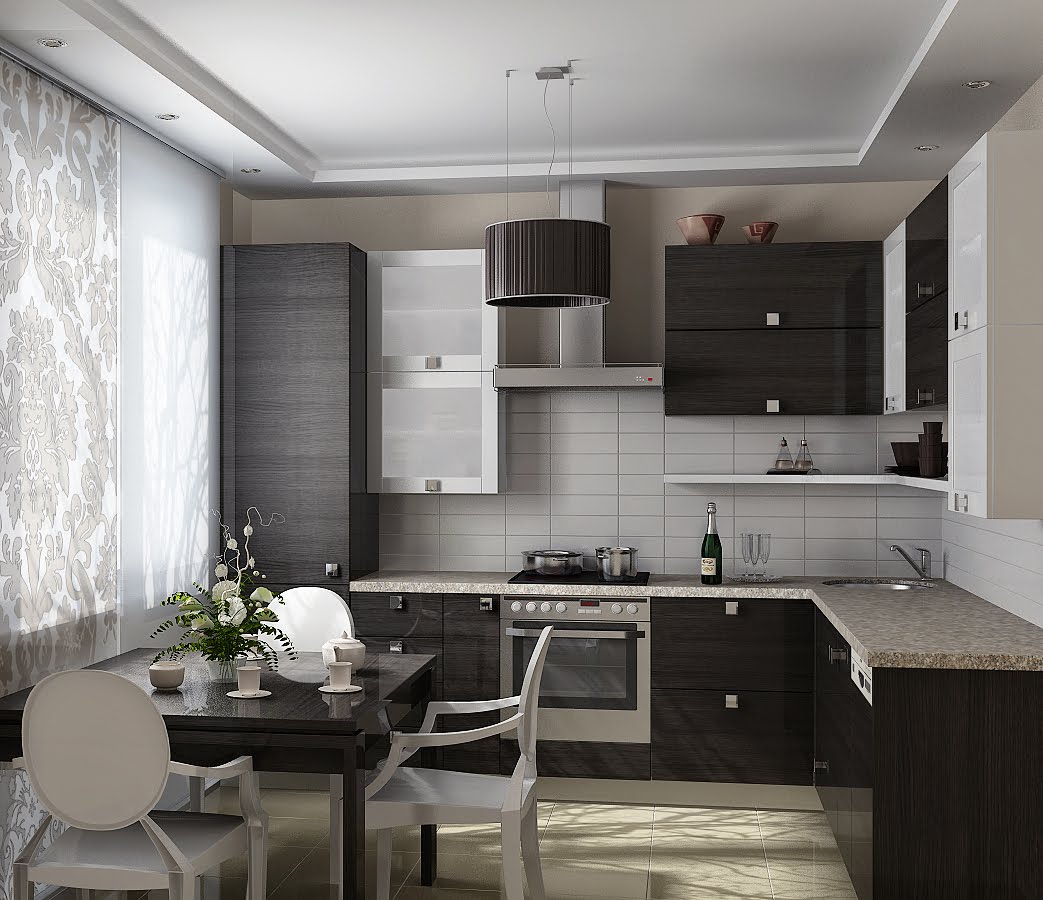
Now they do not make a plinth, but the countertop is made of a zapadlo with a facade. I myself am not a designer, but I am interested in something like that. Actually, I'm a builder. On the base - just stupidly lower the facade almost to the floor level. And the countertop, which was previously released in order to protect dubious facades from water, but which it still got on, is not released now, and it looks awesome.