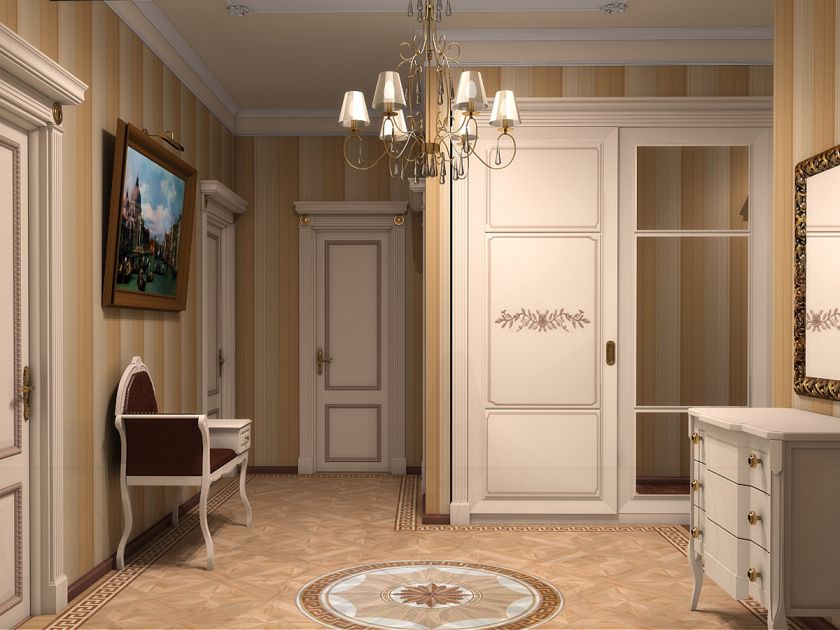
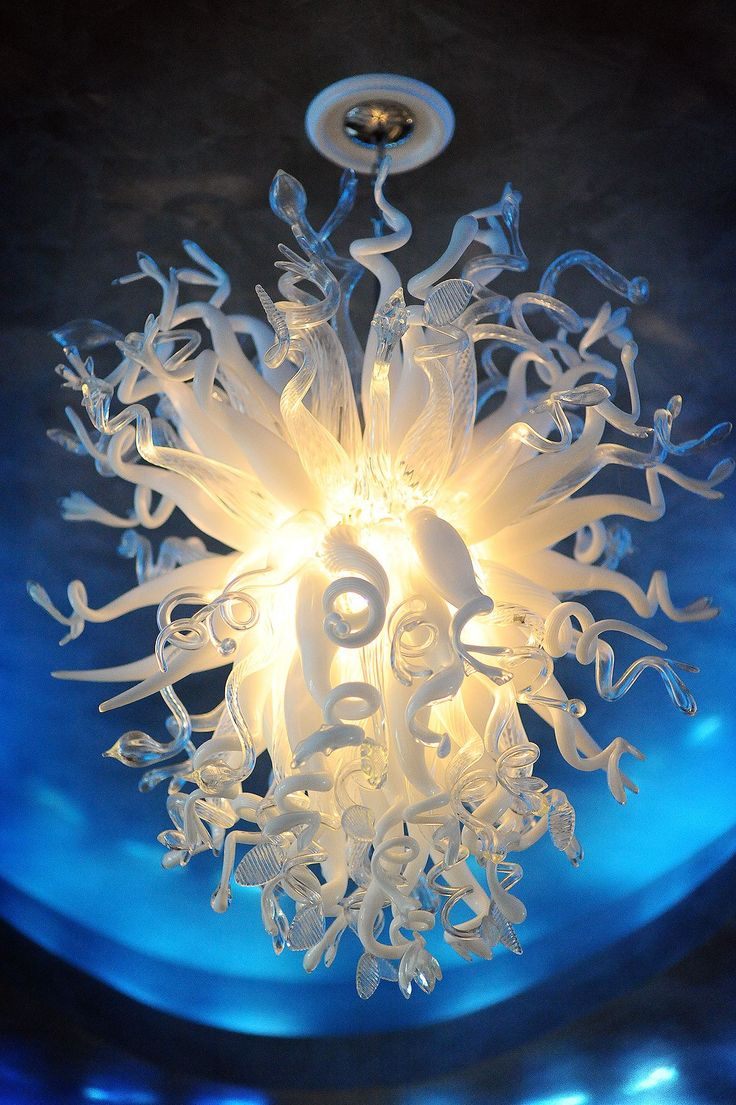
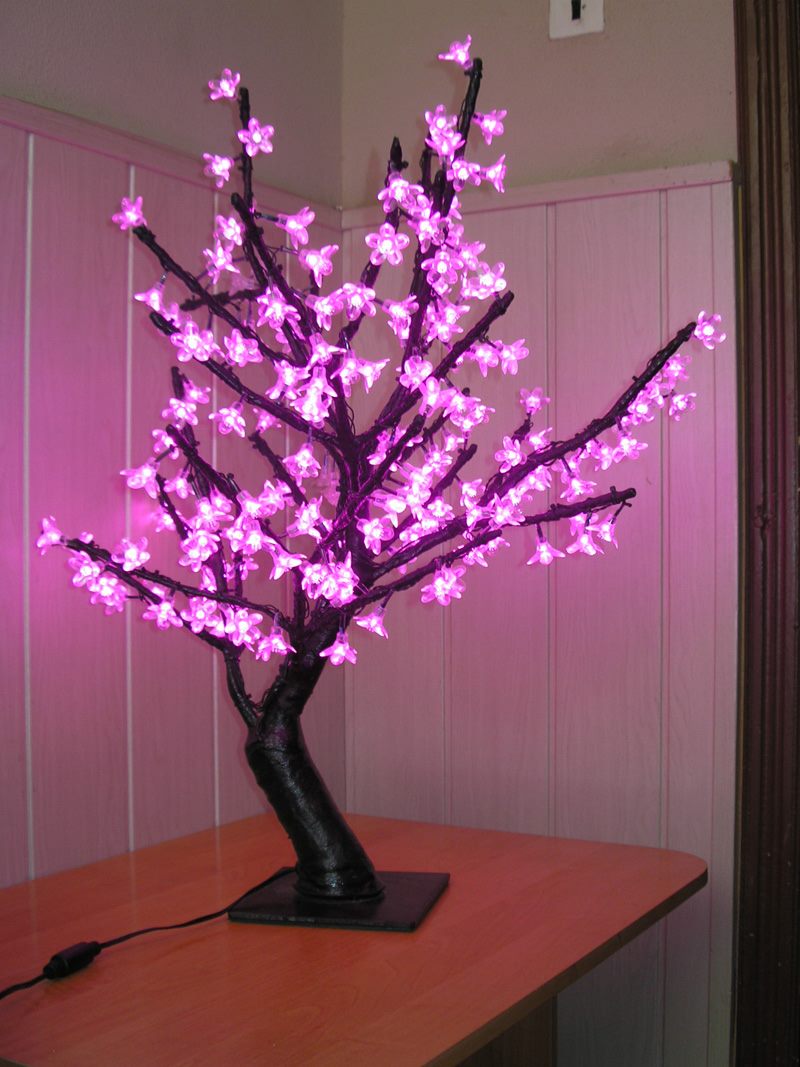
DIY chandelier: a diagram with a description and a manufacturing principle with a photo
Many people have creative inclinations, as well as a rich imagination, which is a good help for the implementation of various creative ideas. So for example, with ease you can radically change any piece of furniture in the house. As an illustrative example, you can turn your attention to an ordinary chandelier. At the same time, rooms where there are unique and unusual interior items and even made by hand, this gives the room a special atmosphere.
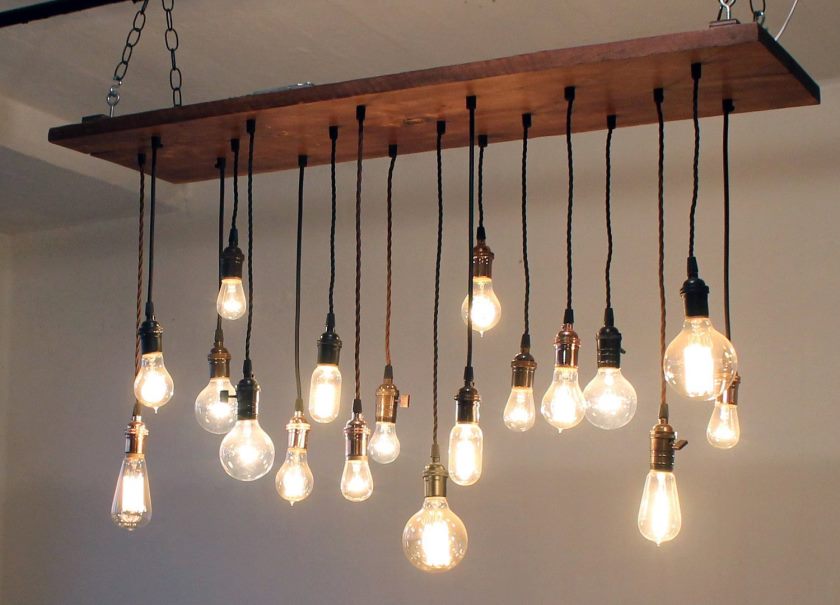
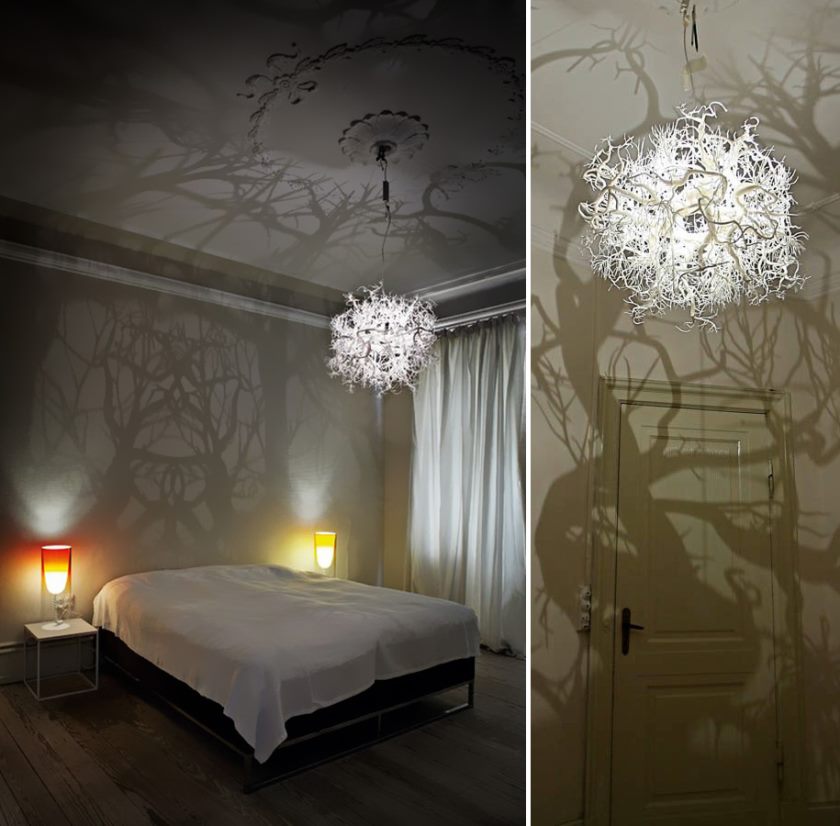
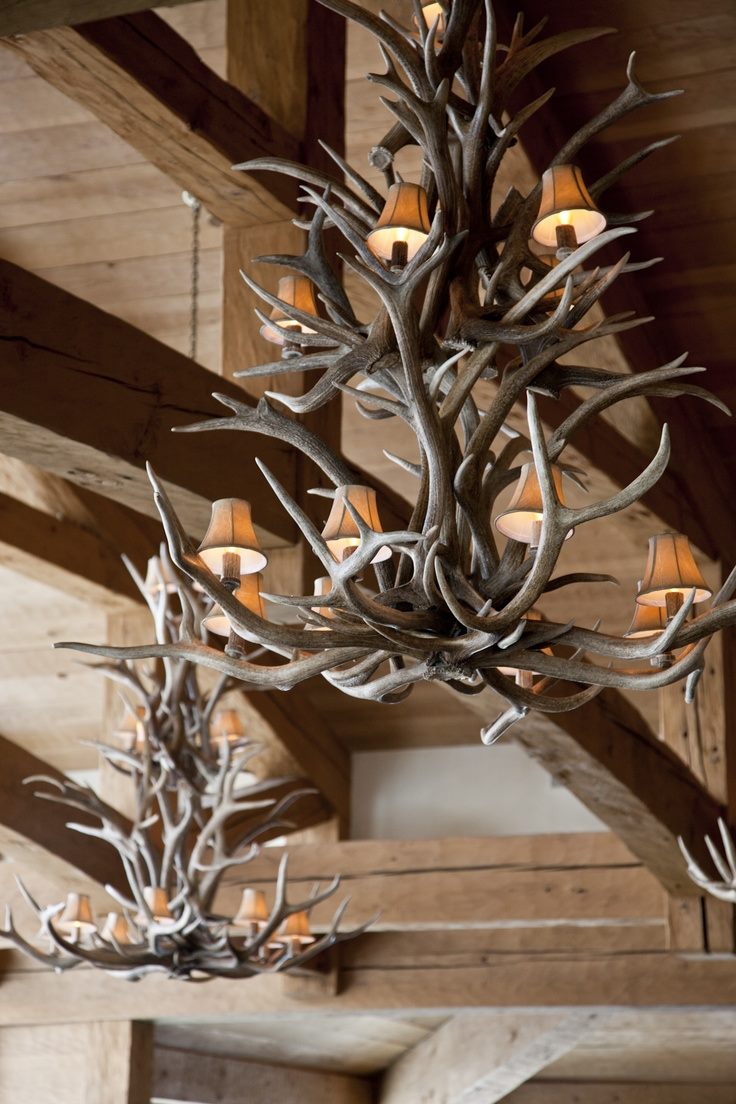
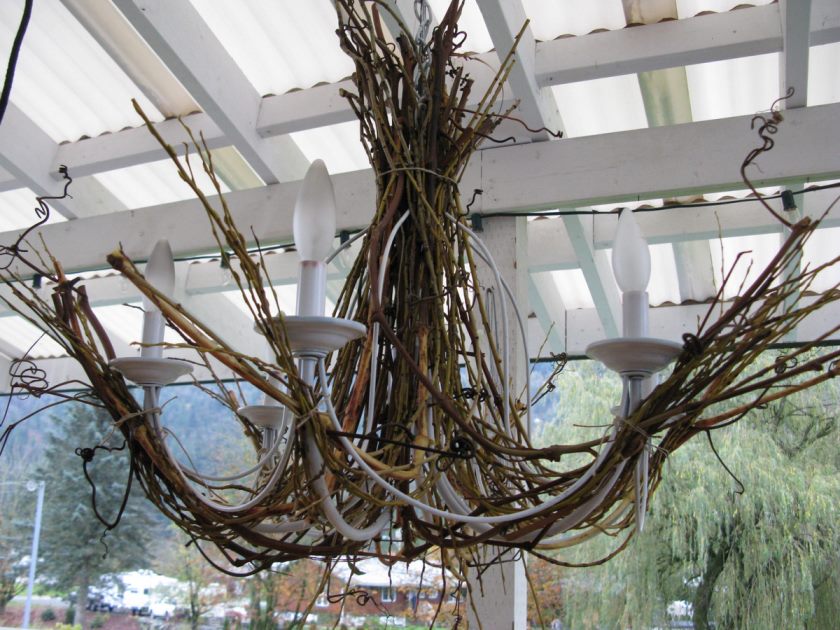
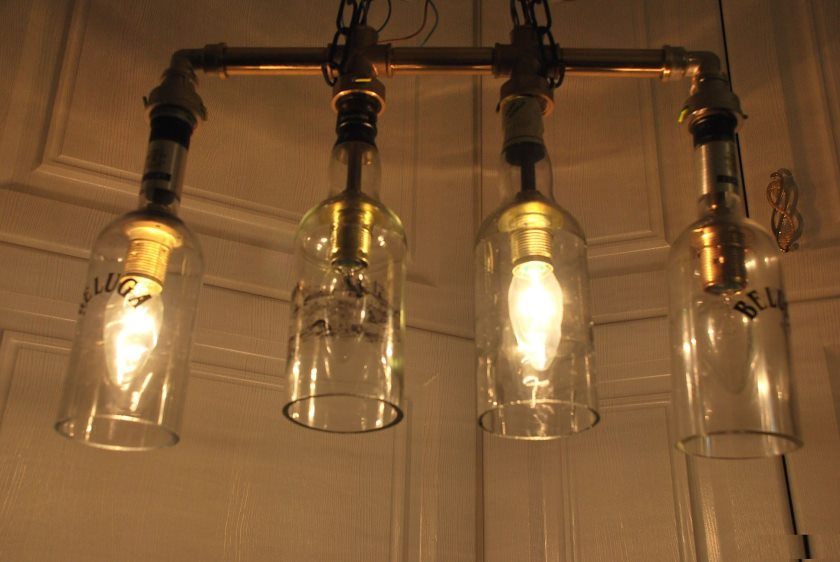
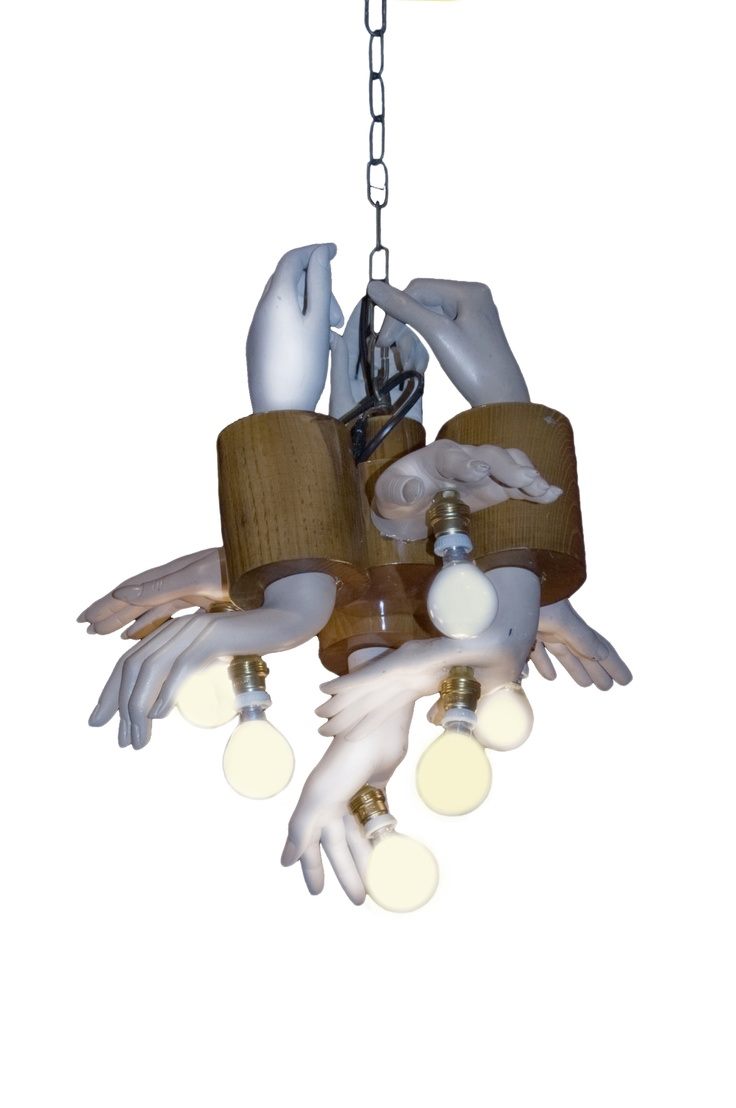
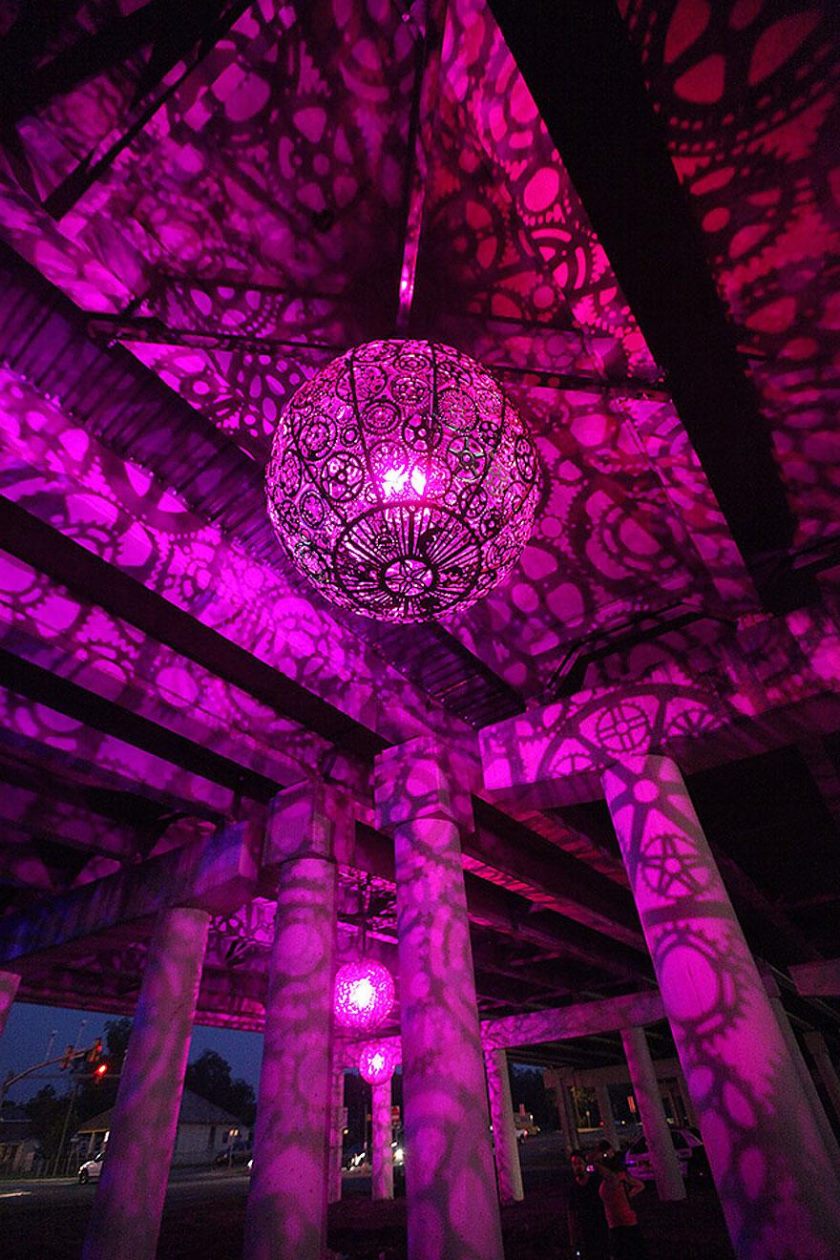
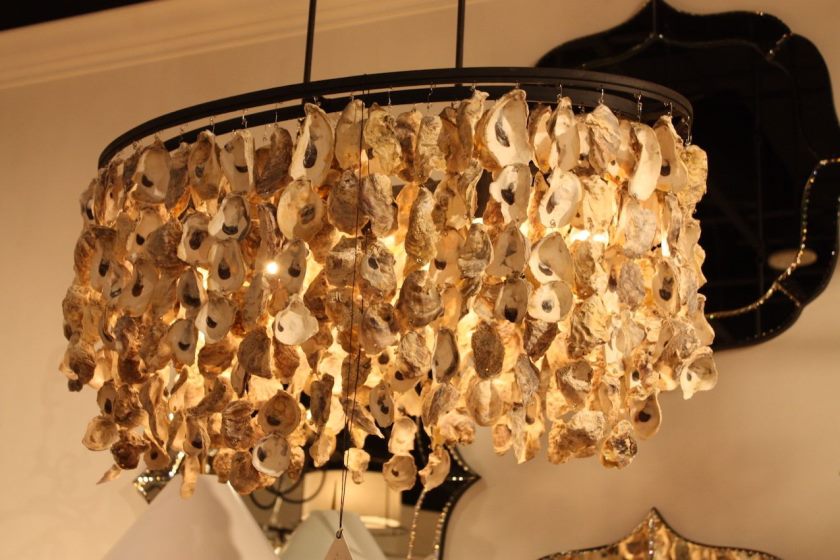
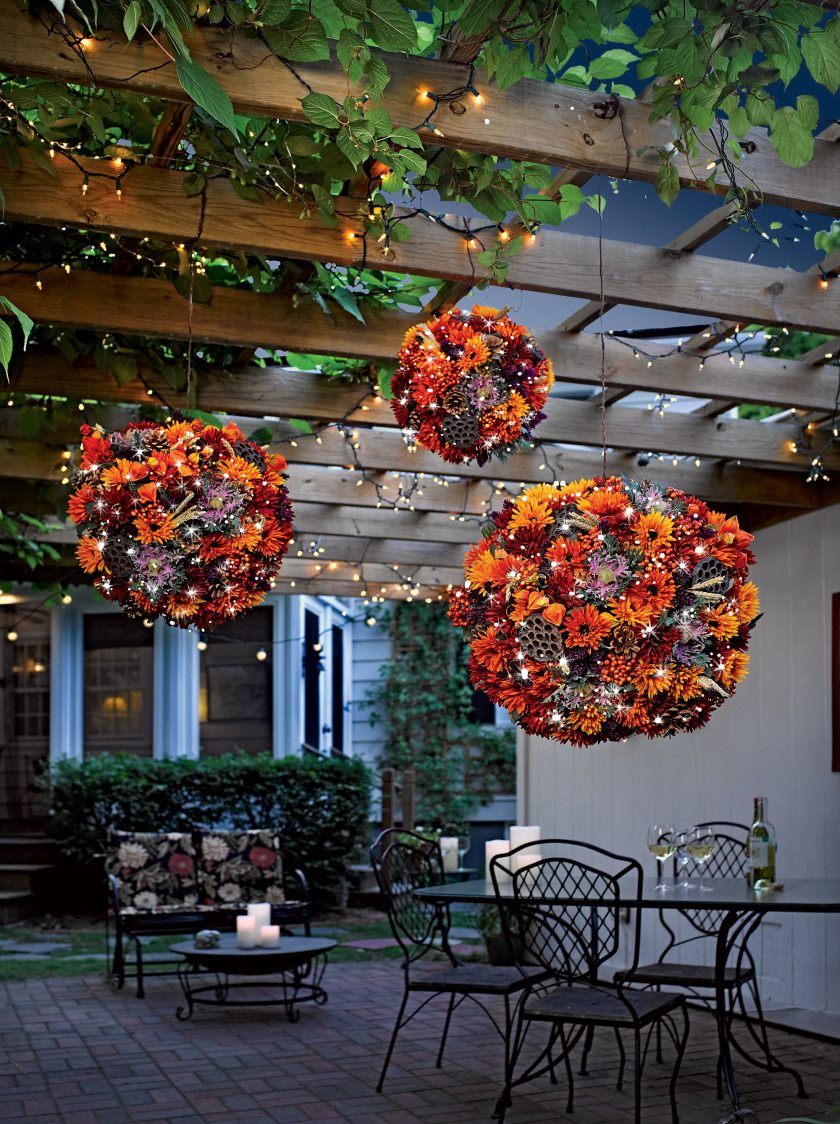
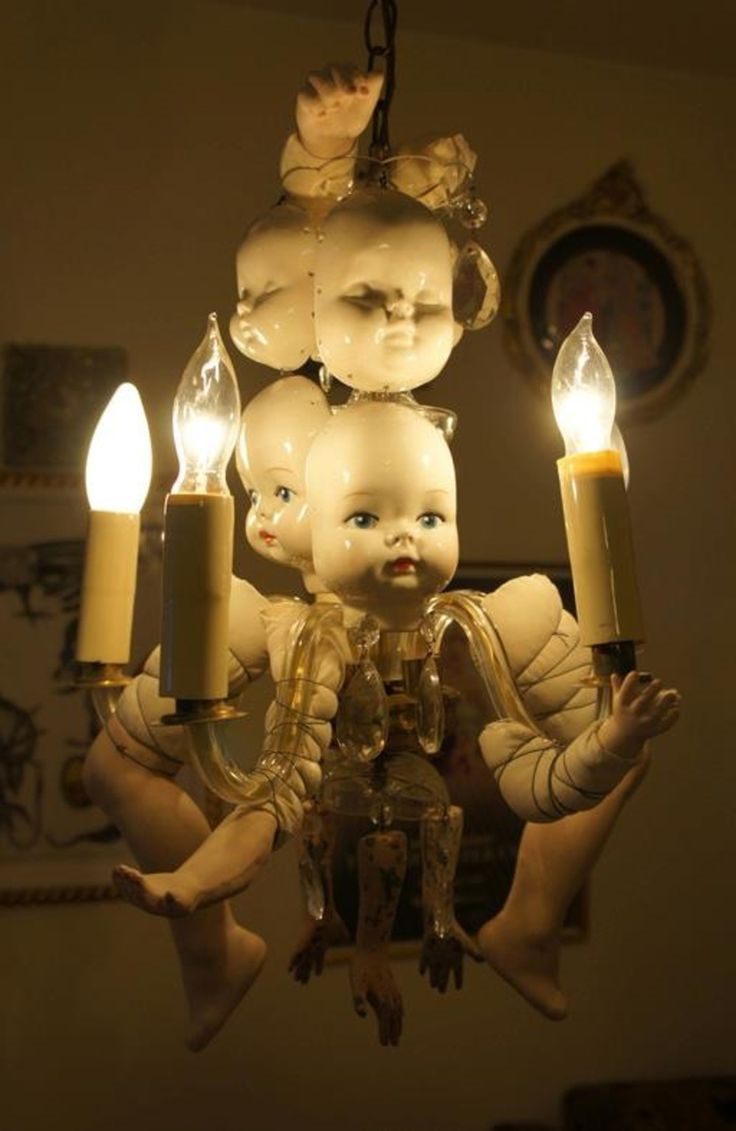
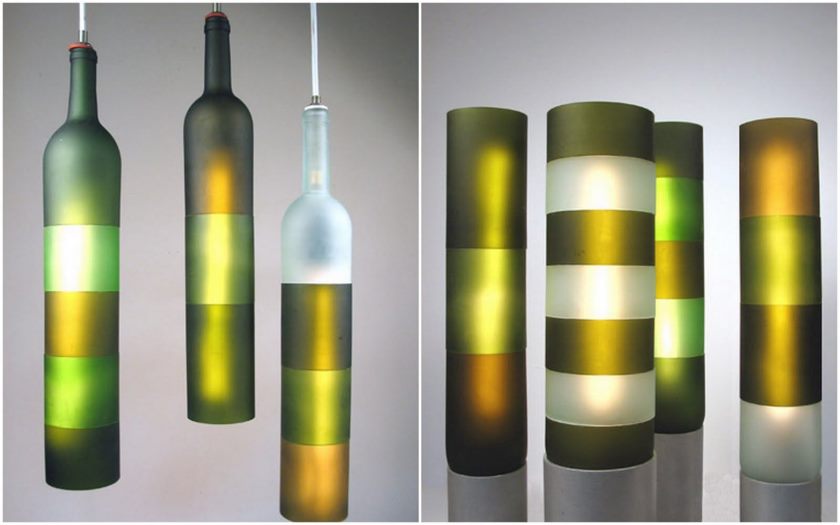
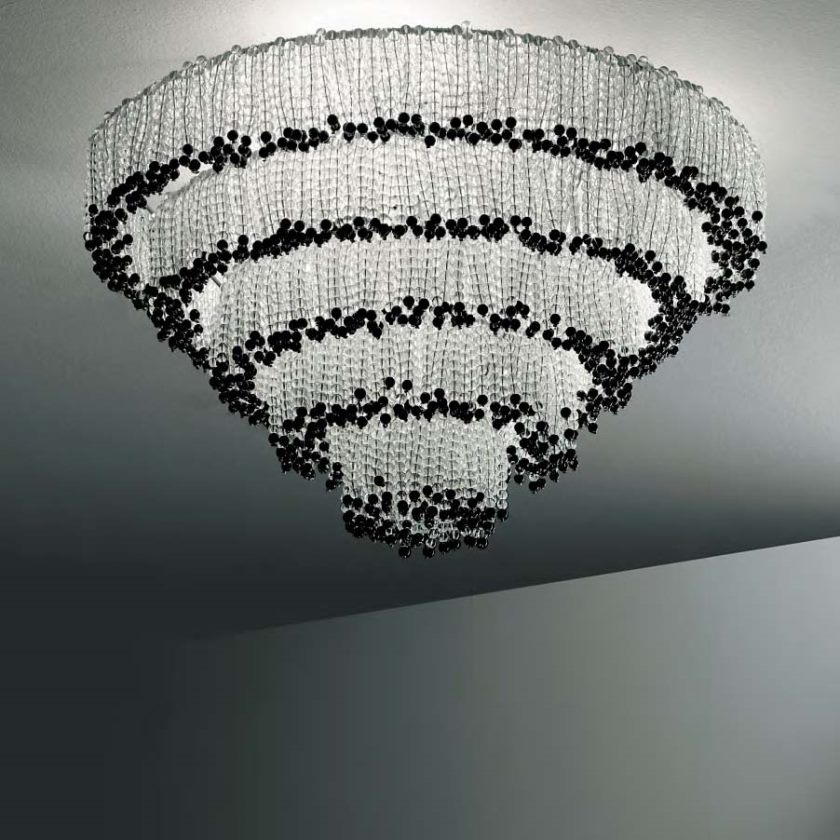
The most widely used is a chandelier made by hand from various obsolete materials.
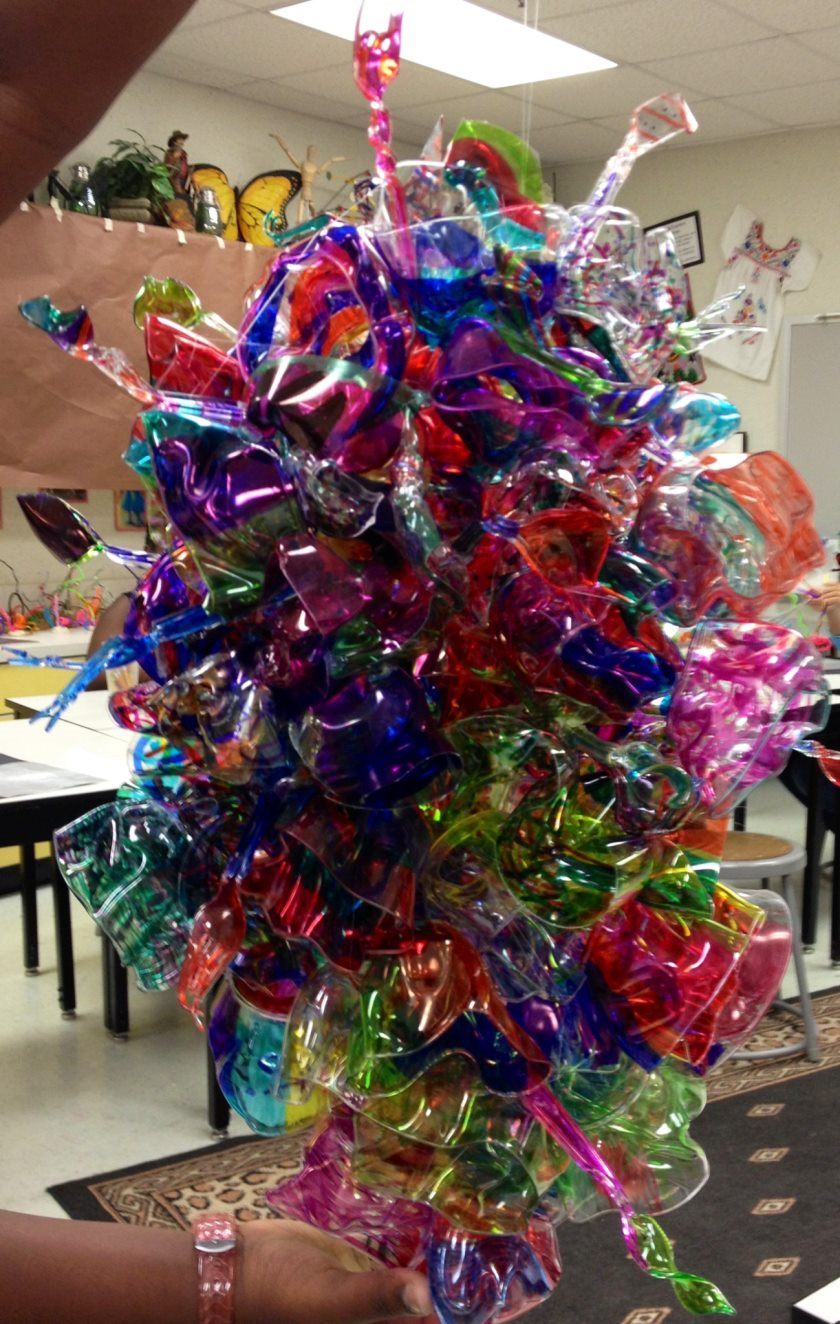
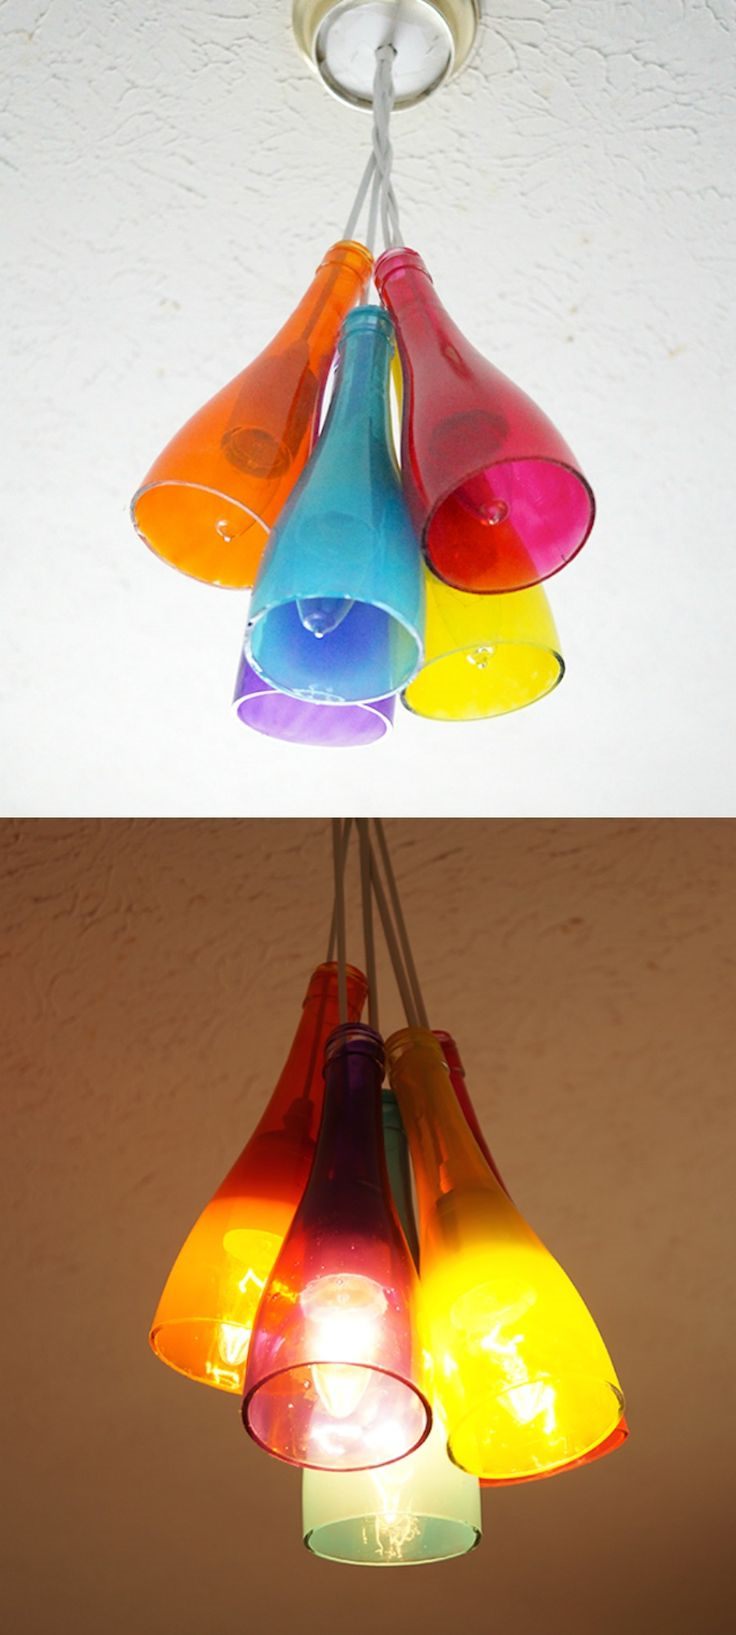
Do-it-yourself chandelier from plastic bottles
1. Using sharp scissors, we make various patterns, shapes and different shapes for use on your chandelier.
2. On the chandelier mount, it is necessary to fix several thin rods, after that we connect all the other rods, but we remove one bar in the middle that is necessary to place the bulb. At this stage, the chandelier becomes a hedgehog.
3. We make the connection of all the prepared figures with the prepared wire frame.
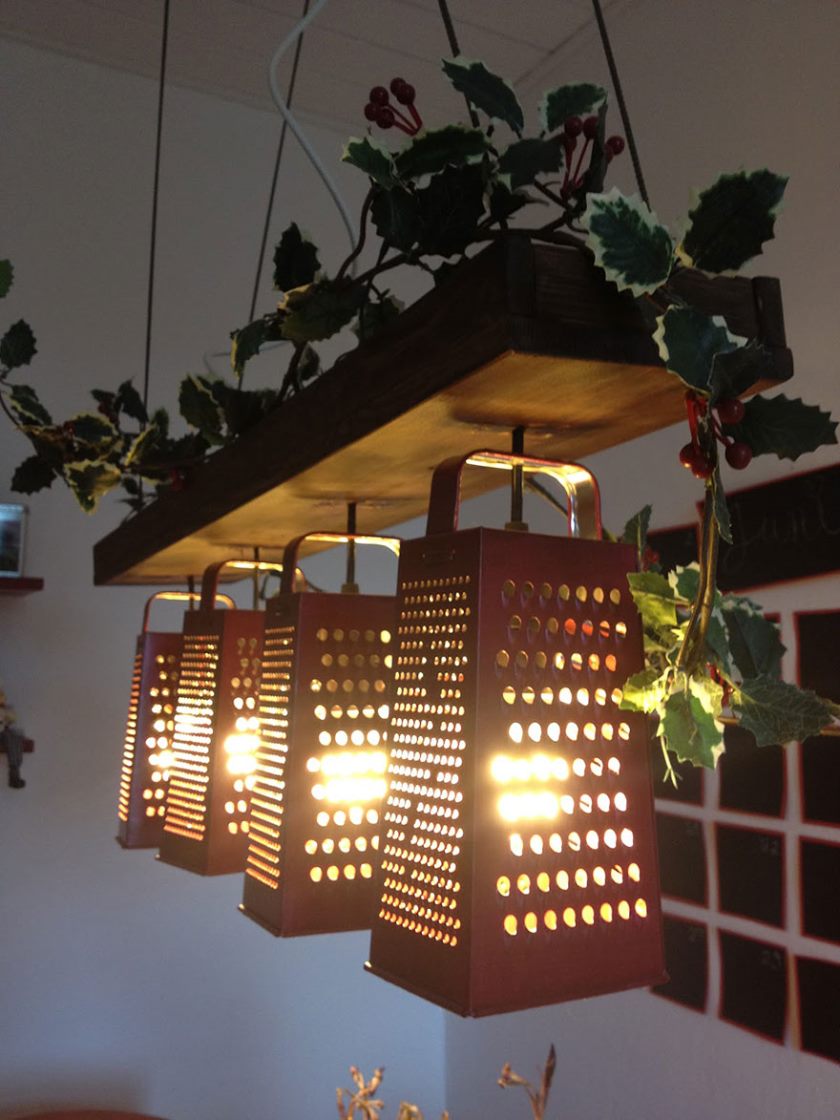
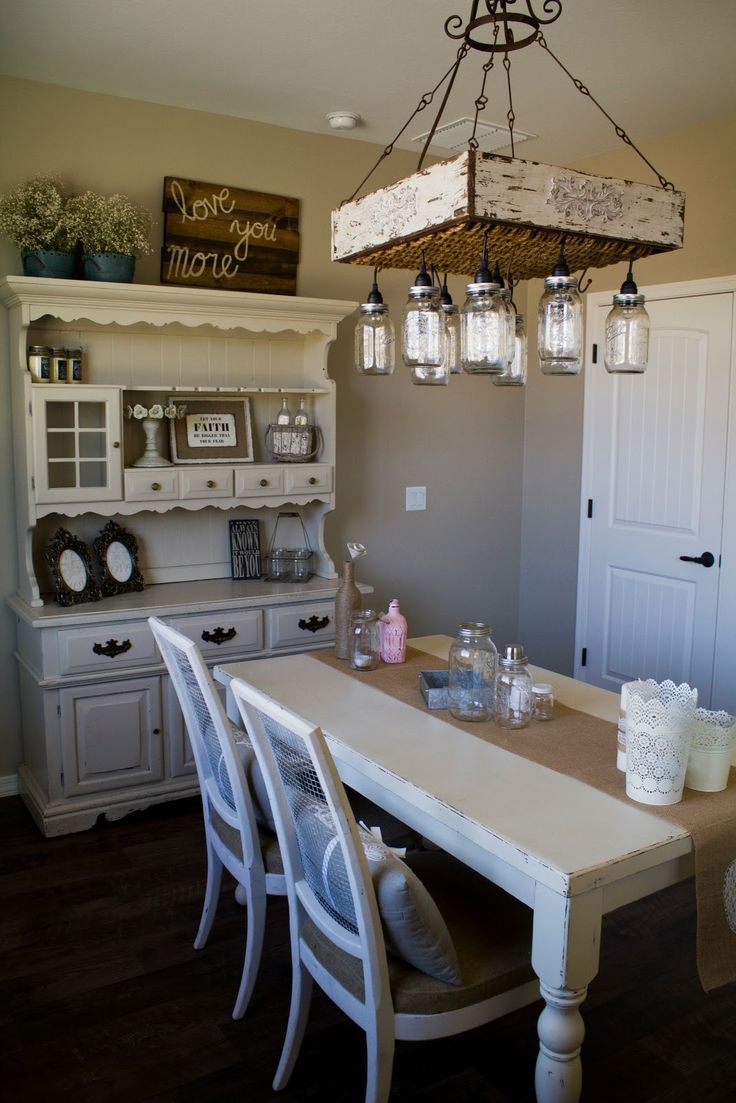
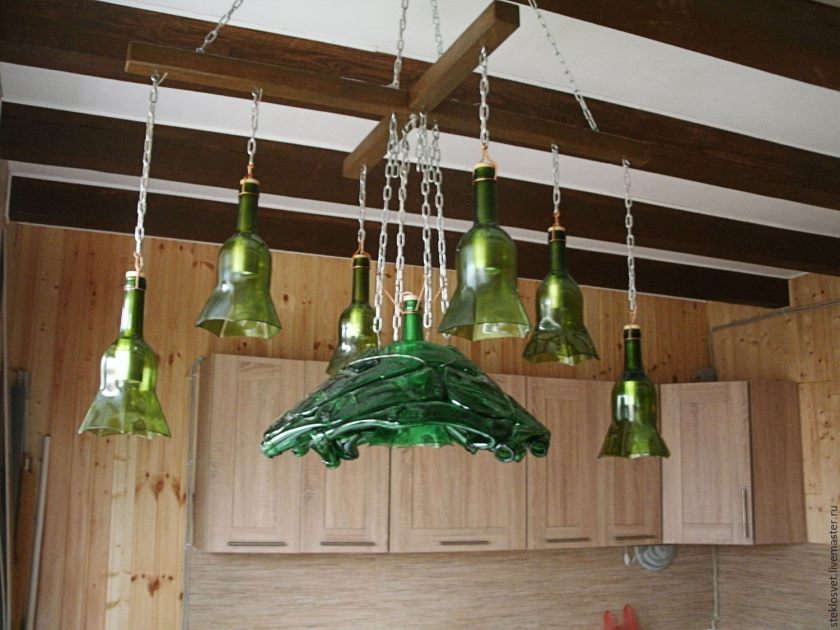
Do-it-yourself wood chandelier
To make this chandelier you need:
- several wooden planks having a width of approximately 40 cm.
- several liter cans for the manufacture of a lampshade.
- paint or varnish for wood.
- small self-cuts necessary for fastening, as well as sanding paper having a fine fraction.
So:
1. First, grind our strips with sanding paper until the strips become smooth.
2. It is necessary to make a recess on the planks on the back to install wiring.
3. It is necessary to make three holes where the shades will be mounted.
4. We paint the planks in the natural color of the tree.
5. The cartridge itself needs to be fixed in the hole in the lid, screw the light bulb into it.
6. As a shade, we use a liter jar, having previously painted it in a bright and light color.
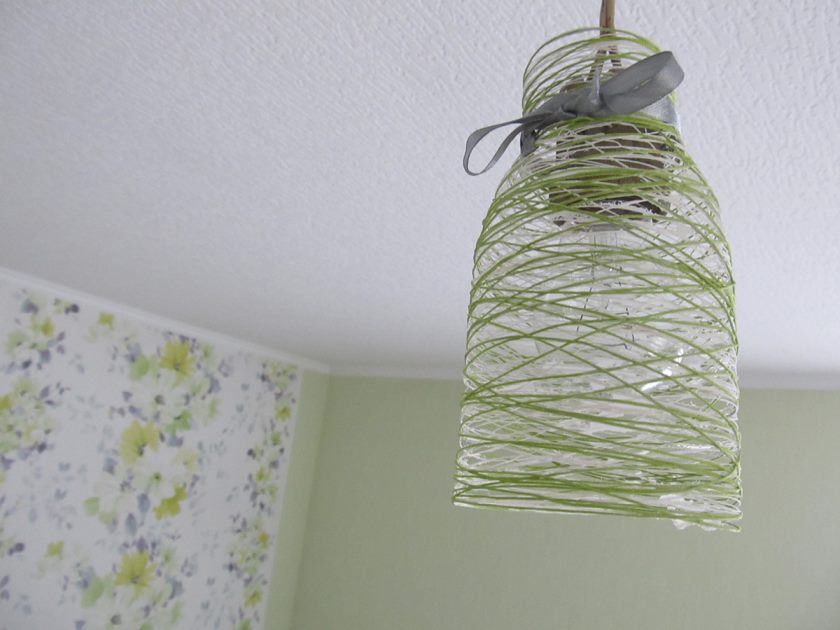
Do-it-yourself chandelier from threads
When making a chandelier from various types of threads, you must take:
- a plastic bowl or other suitable object of the desired shape.
- different threads having different shades, you can use the white color of the threads, but then paint the shape of the lampshade in the desired color
- glue or make a special viscous mass to shape the lampshade.
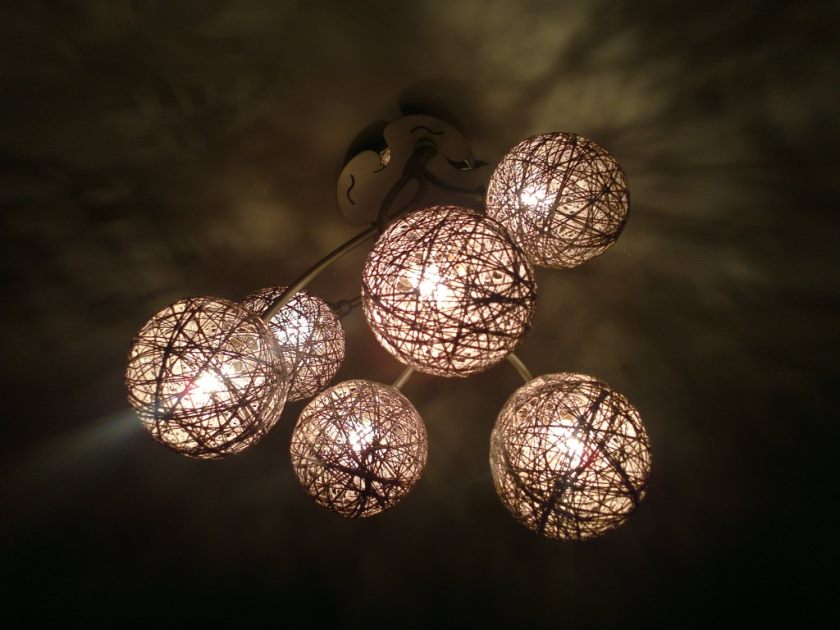
So, the process of performing such a chandelier consists of several stages:
1. First you need to make a special paste, for this we need half a glass of flour, mix half a liter of water and add another glass of hot water and a few tablespoons of sugar. All the resulting mass is mixed well, allowed to cool, a viscous sticky mass is obtained.
2. Throw our threads into the resulting mass, after which these threads must be wound on a plastic bowl or other prepared form, and allowed to cool the product for one day.
3. After the threads have dried, they have acquired the necessary shape of the lampshade and you can separate the threads from the form.
4. We mount the ceiling on the bottom, and the chandelier is ready, you can hang it.
However, the main feature of such lampshades is that all the materials from which the lampshade or chandelier is assembled are very flammable, therefore, for safety reasons, it is recommended to use light bulbs of not high power of 50-60 watts.
DIY chandelier - step by step instructions
To make a chandelier with your own hands you will need:
- an electric wire, a cartridge and a low-power bulb up to 60 watts.
- special frame.
- colored threads and glue.


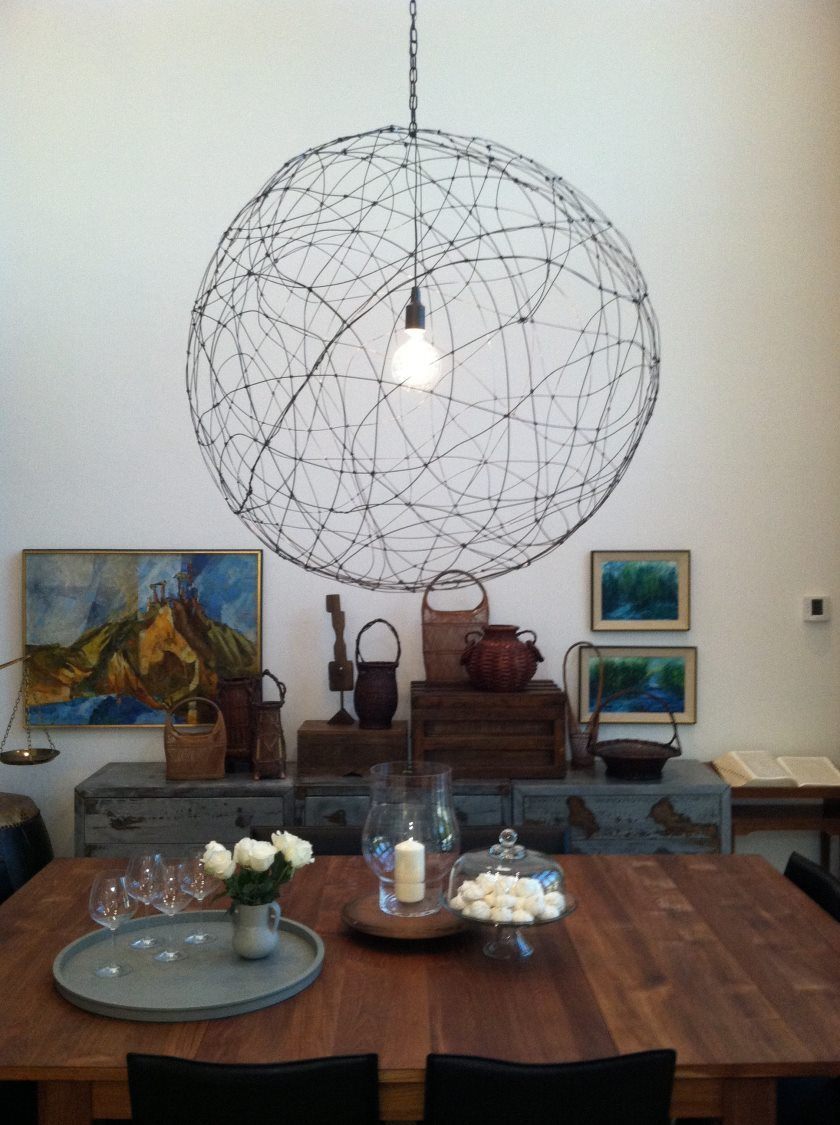
As a frame, you can use the old and unnecessary chandelier, which can be transformed. Some modern designers act in this way, give their old and unnecessary things a second life.
So, you need to determine the size and fabric that will be involved in the process. Next, you need to sew the cover of the required dimensions and put it on the frame. As a decorative decoration, you can use almost everything that is enough for imagination. In this case, you can use various cut patterns, beads, buttons and much more. Next, mount the cartridge with a lamp to the lampshade. The whole old thing has found a new life.
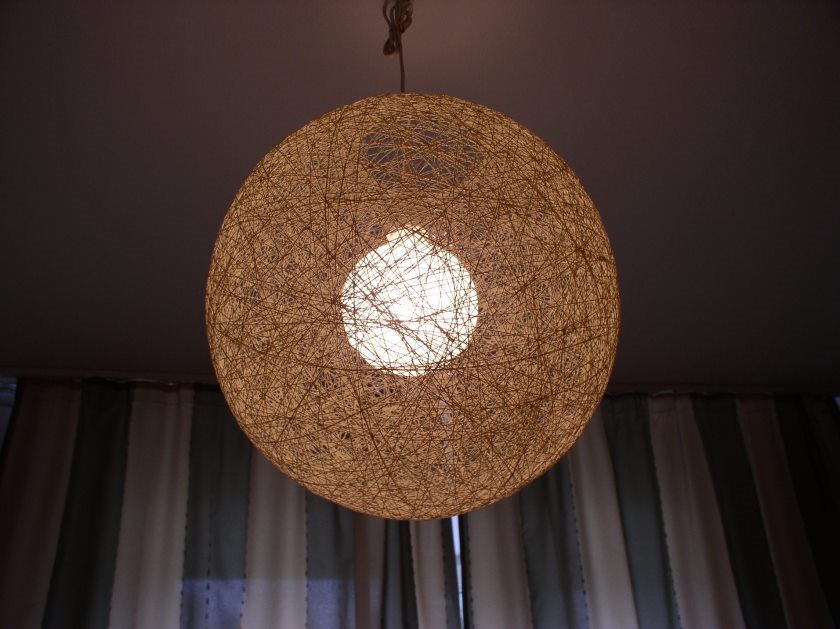
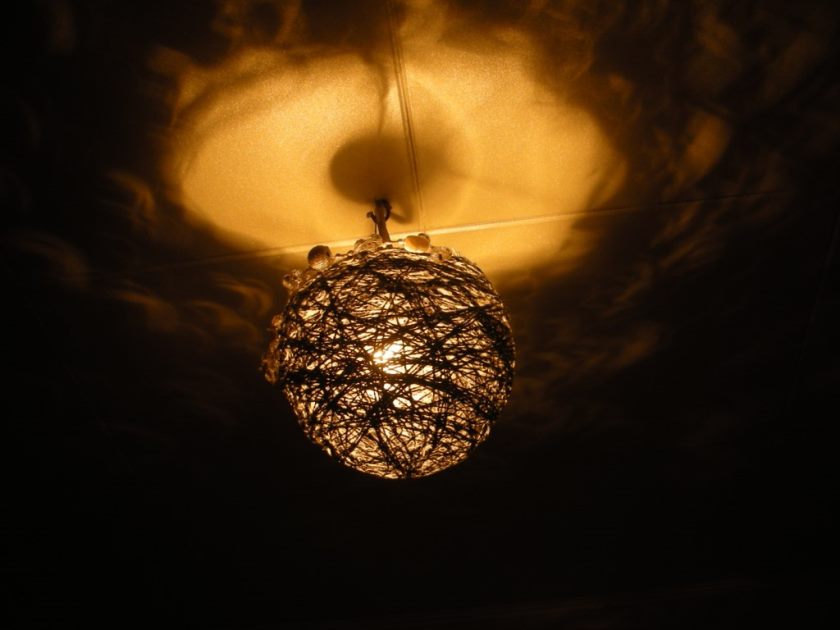
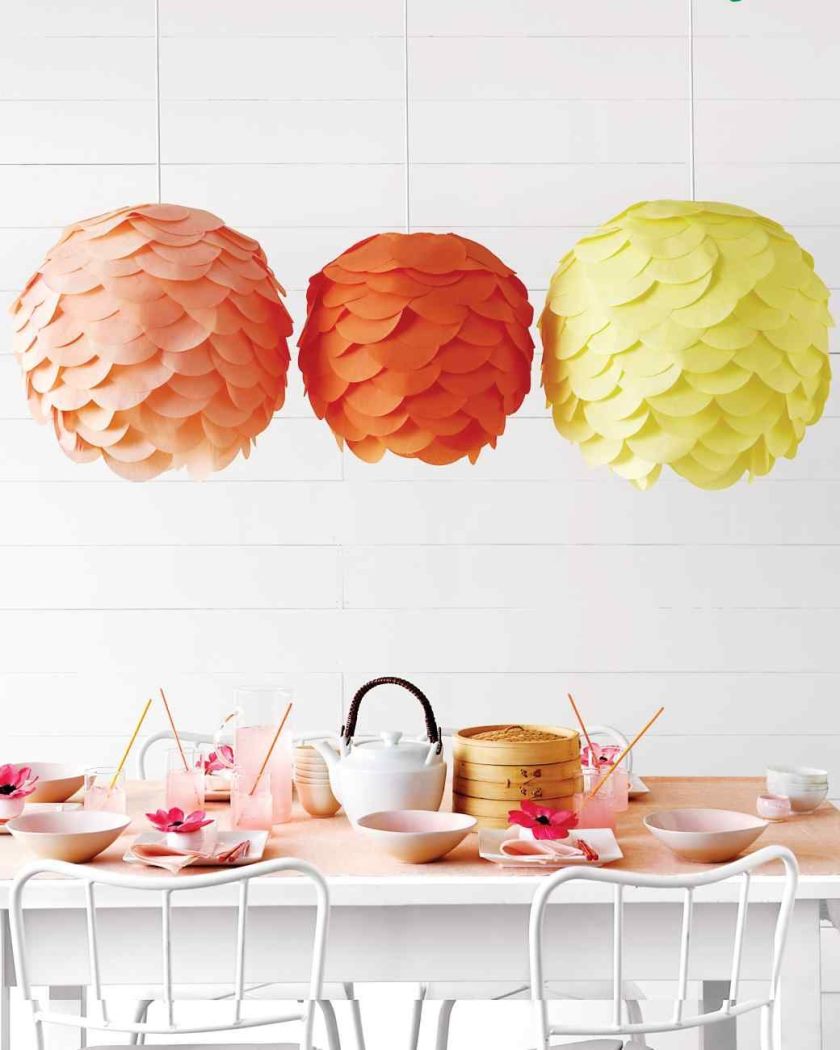
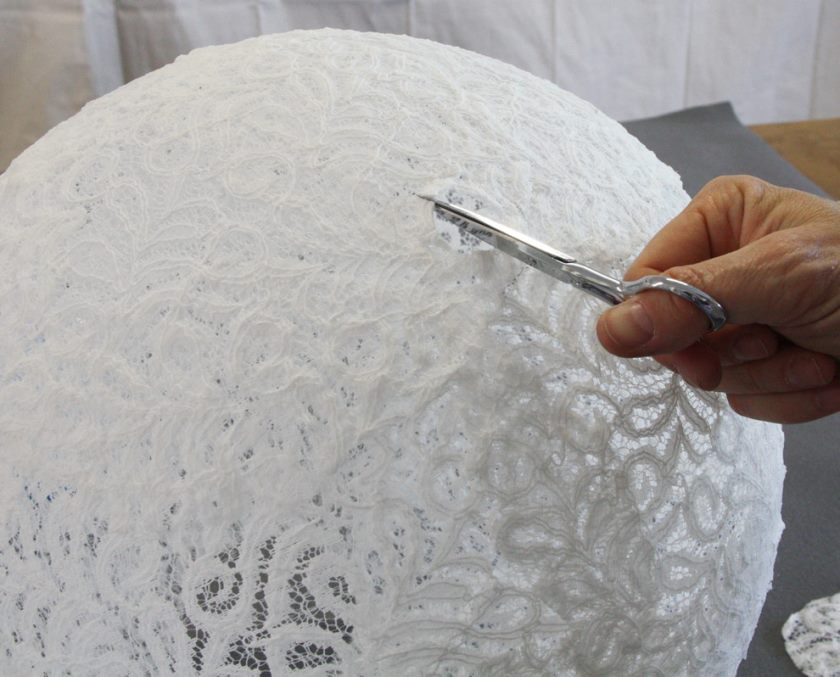
Thread Chandelier
At the moment, a chandelier made in the form of a winding of threads is gaining special popularity. Such a chandelier is very quickly made, and it looks very beautiful. For the manufacture of such a chandelier, a large amount of PVA glue will be required, but an ordinary ball or other sphere will also be needed.
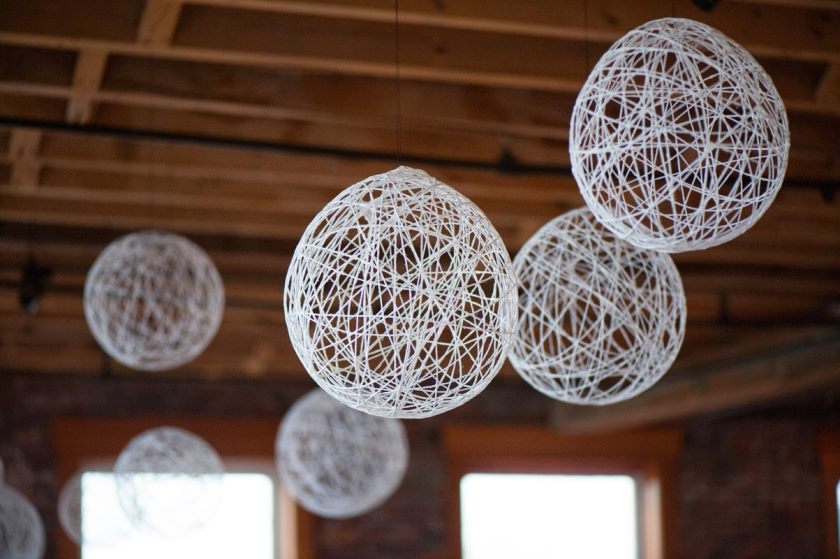
So, we inflate the ball to the desired size, wrap the entire surface of the ball with threads and apply PVA glue to the threads. Next, let the product dry after which, we break the ball at the same time, make a small incision, resulting in a hole. We mount a light bulb in this hole, all the beautiful chandelier is ready for use.
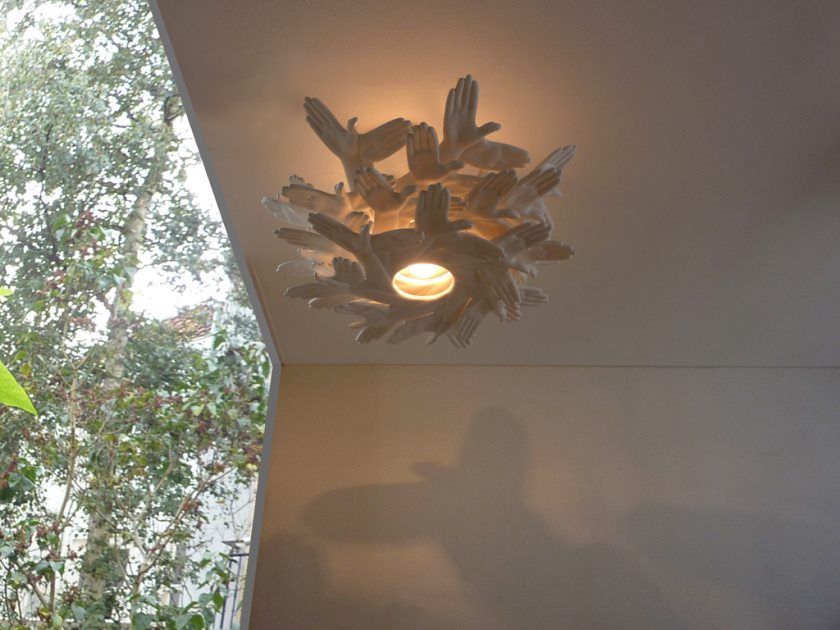
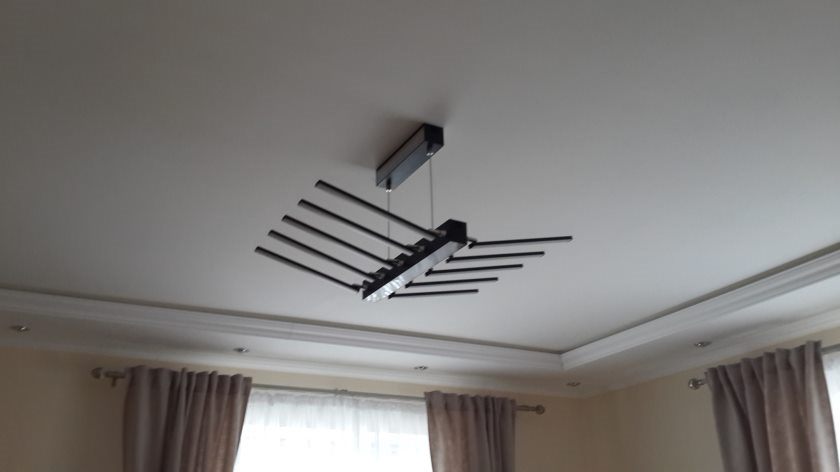
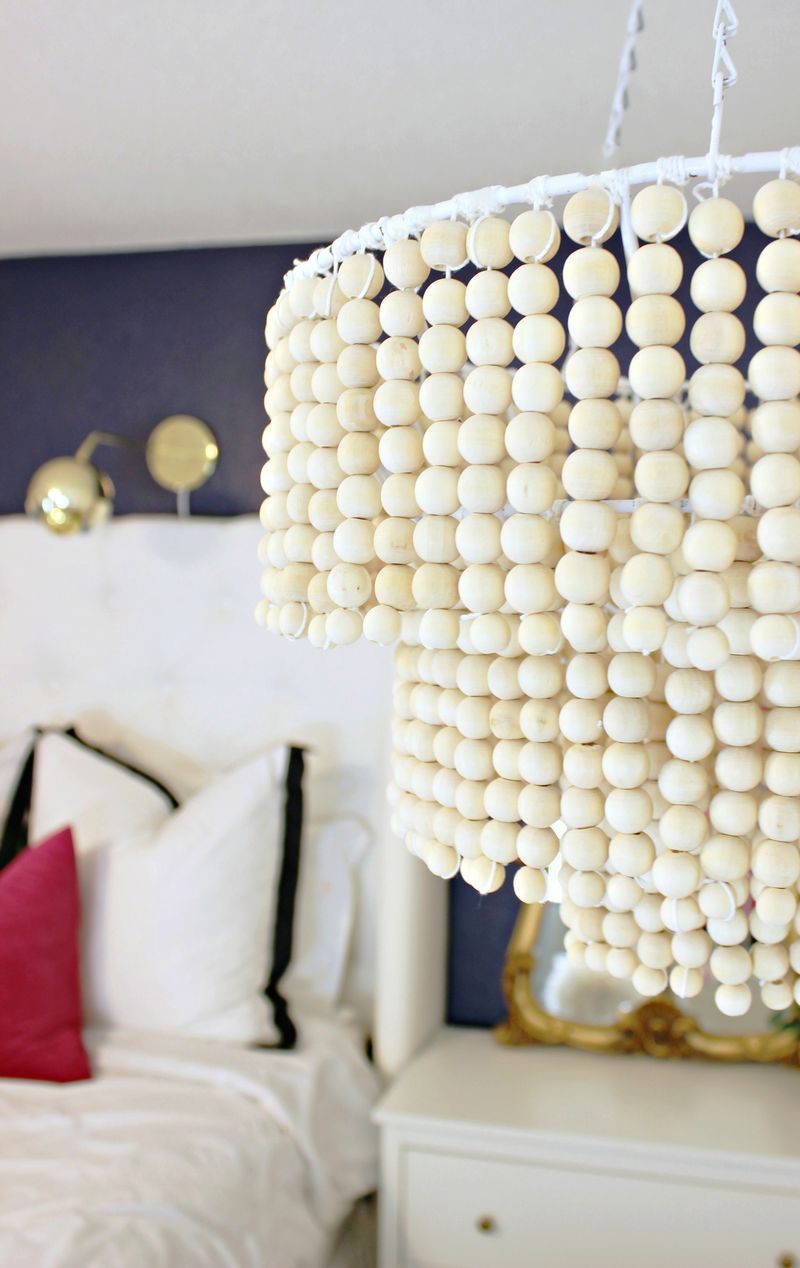
DIY Chandelier Photo


For a very long time they could not choose a good chandelier in stores, since they are all of the same type, they do not fit into the interior, they wanted an original something. I am very glad that I found this article, I didn’t even think that you can make a chandelier with your own hands to make it look expensive and of high quality. Yes, and old favorite things can be revived. A lot of interesting ideas, be sure to try to execute a couple.
Some ideas are interesting. But many will only spoil the interior.