Crafts from wood: interesting options and manufacturing methods
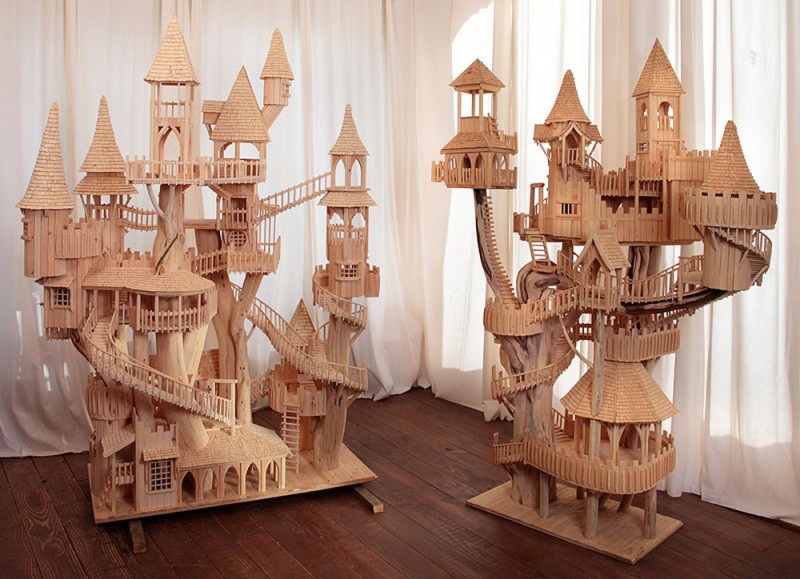
Wood products, bright ideas
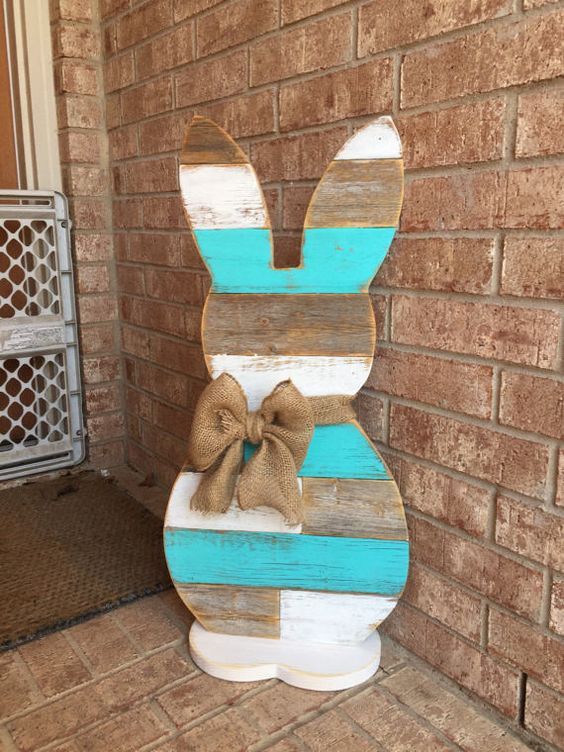
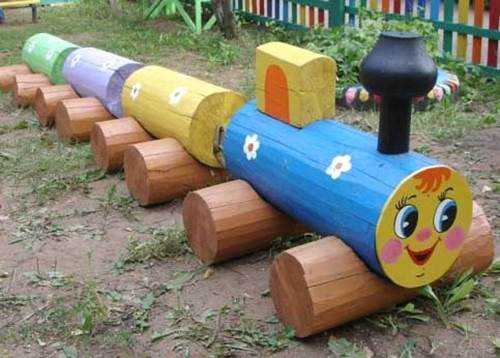
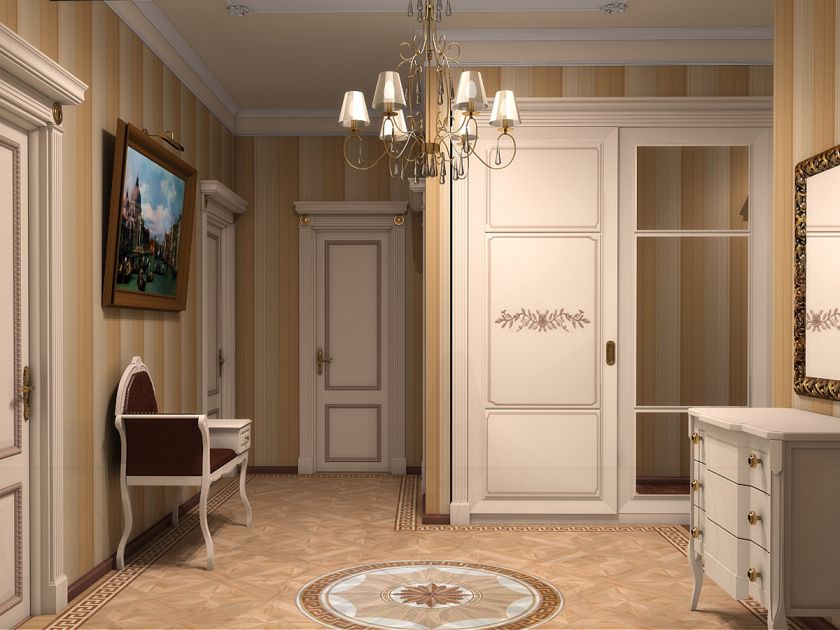
It is so pleasant to do beautiful and useful things for your home or summer house with your own hands. Even those who do not have solid carpentry skills can make simple garden furniture, a playground, fences, rutarias and flowerbeds for plants, and other interesting wood crafts. In addition to practical items from wood materials, decorative items are added to complement the interior of an apartment, private house, garden building.
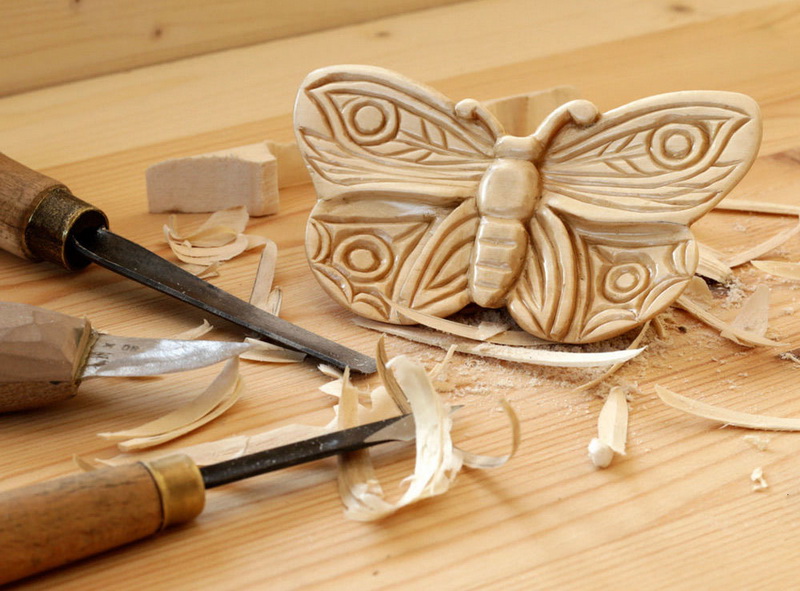
Natural wood, its derivatives are universal, affordable material. It has beautiful textures, is well processed, has a high mechanical density. At home and at work, we are surrounded by wood and wood products, and graceful decorative crafts and wooden jewelry amaze and delight.
Types of crafts made of wood
Wood is a universal material that opens up great creative, practical possibilities. There are a lot of crafts made of wood, from simple to the most intricate, requiring skills to work with complex carpentry tools.
Feed groups:
- timber, including sawn, planed, peeled materials;
- waste (sawdust, shavings, wood chips, branches, bark), chipped wood;
- treated with resins, plasticizers, other chemical reagents;
- finished building materials - particleboard, laminated wood plastics, boards, fiberboard, etc.

When working with wood, use step-by-step drawings, instructions, which are many on the network. Use the photos and descriptions below.
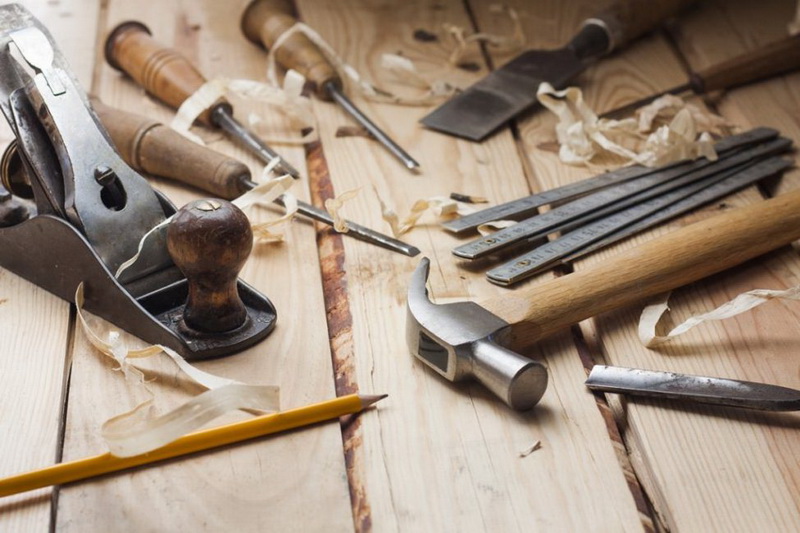
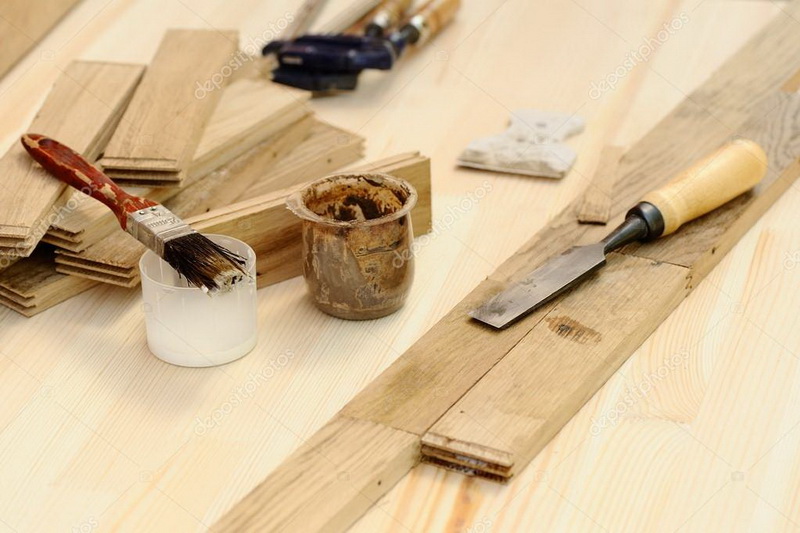
Tools for work
What equipment, tools are needed for work, to do crafts from wood with your own hands:
- hammer with a chisel;
- for the selection of grooves, seams - chisels, chisels;
- a planer, in the absence replaced by a jointer;
- circular, face, bow saw;
- manual or jigsaw;
- hacksaws, files of various shapes on wood;
- for screed during gluing - clamp on the stand;
- manual or electric screwdriver;
- drill, a set of drills;
- screws, spikes, screws, more.
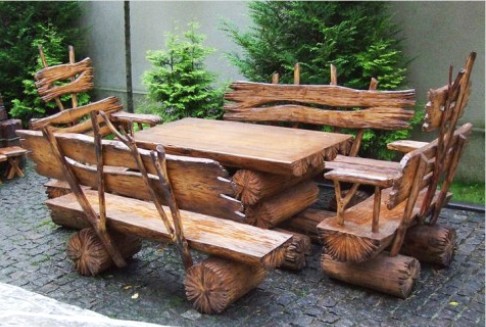
Furniture
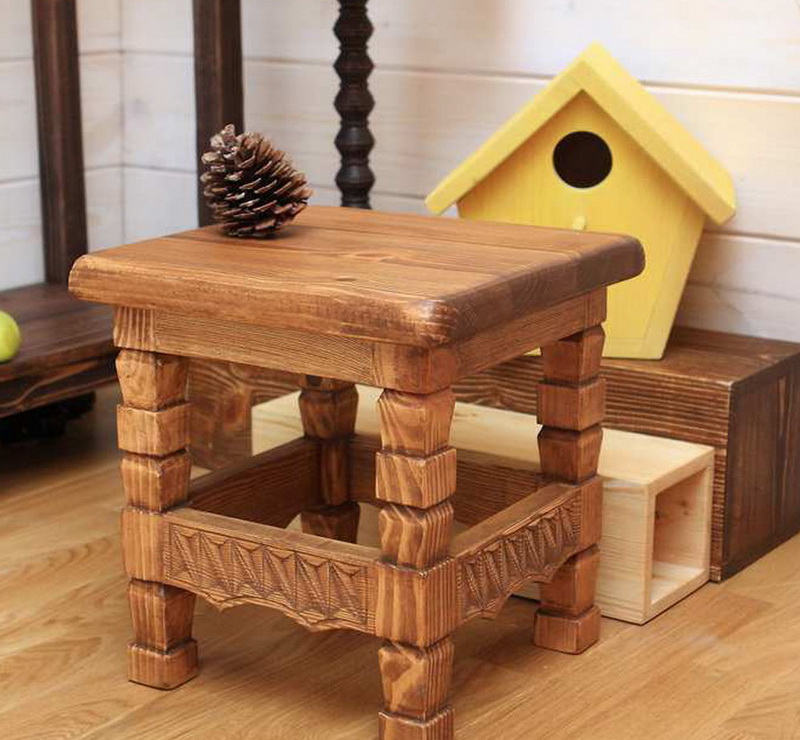
Stool
Universal furniture for the kitchen, cottage, workshop, garage. Make a stool, with a seat in the form of a low drawer for small things. Or make a stool with a round seat on three knives. Cut out the round seat, legs. Sand the parts with sandpaper. On the lower part of the seat, mark the points for the legs, at an angle drill holes of the same diameter as the legs. Put the legs on the glue, let dry.
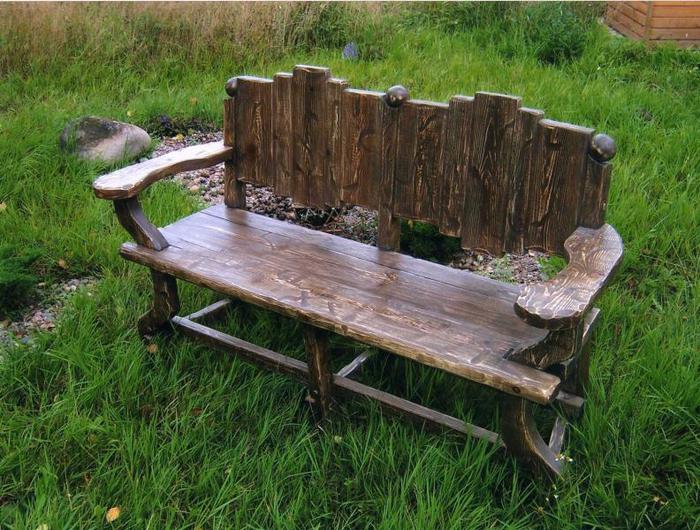
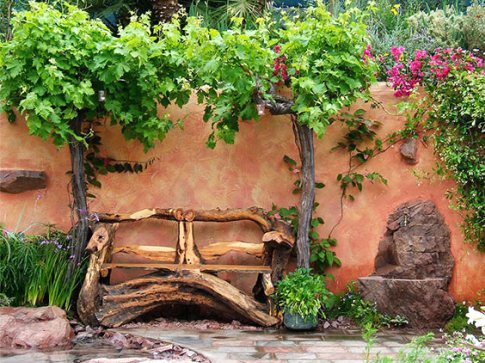
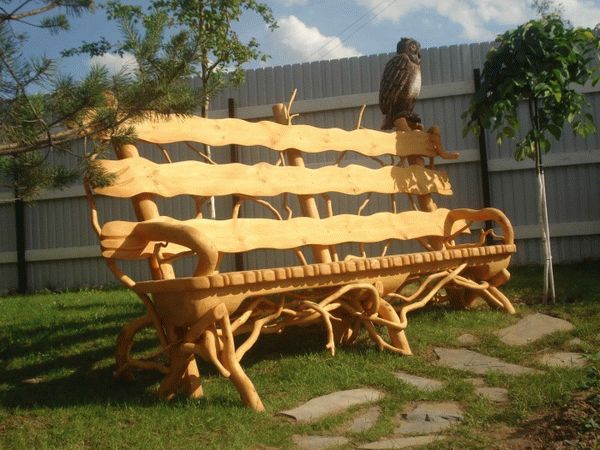
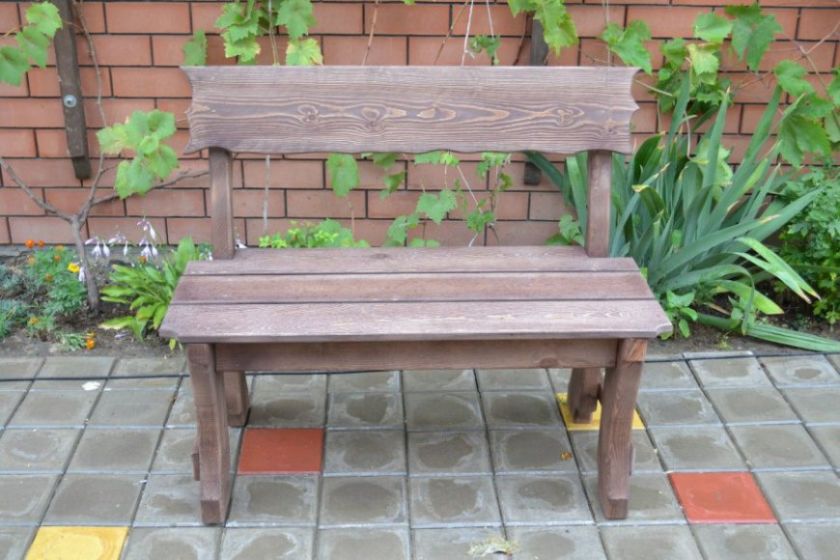
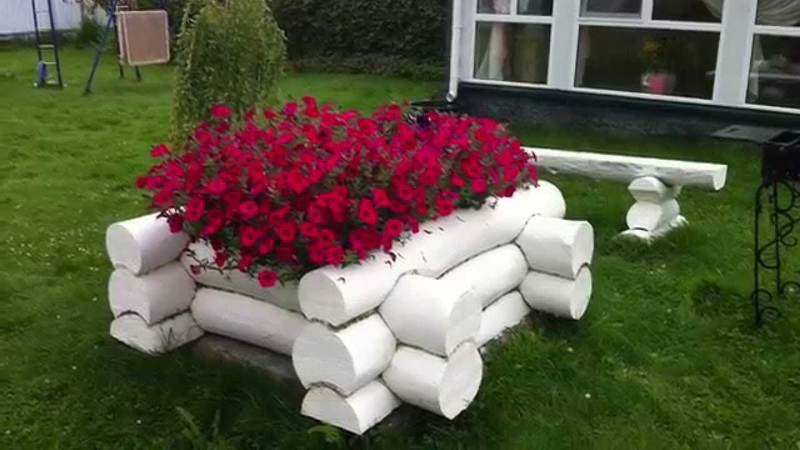
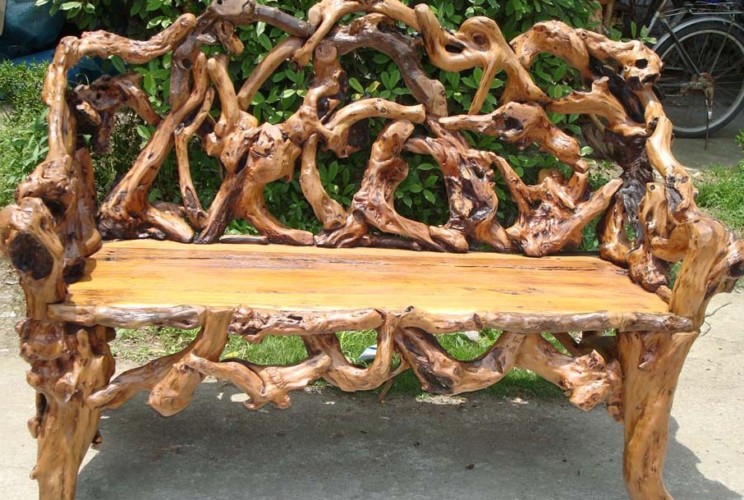
Bench
From a log sawn along, a massive, unusual bench is obtained. Sitting - half cut, for legs use two small blanks. The back is made of a narrow beam, it is well complemented by wooden carved decor. Bright, original ideas are captured in the photo in the collection of examples.

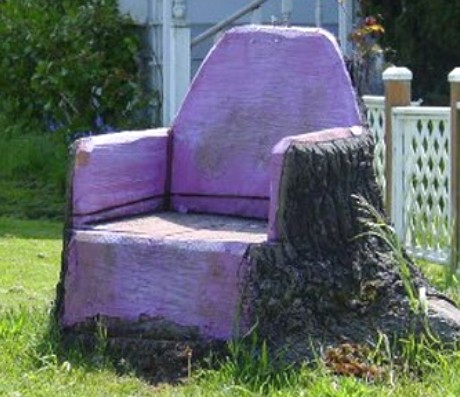
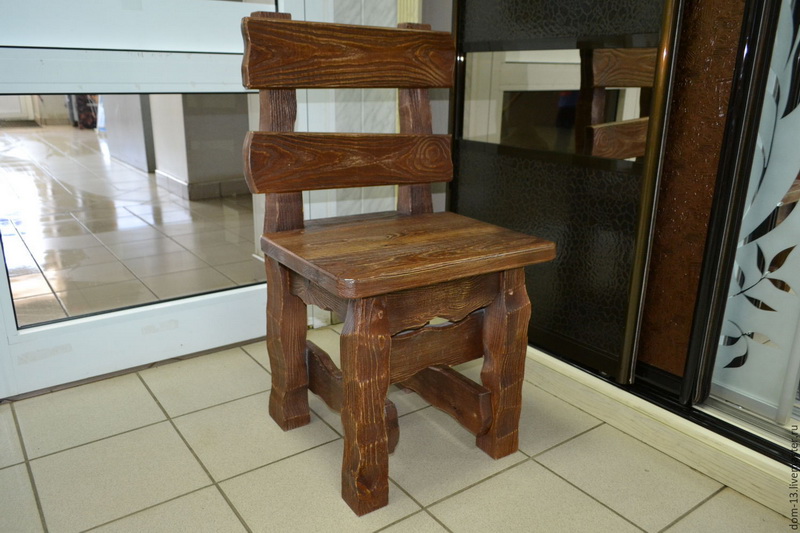
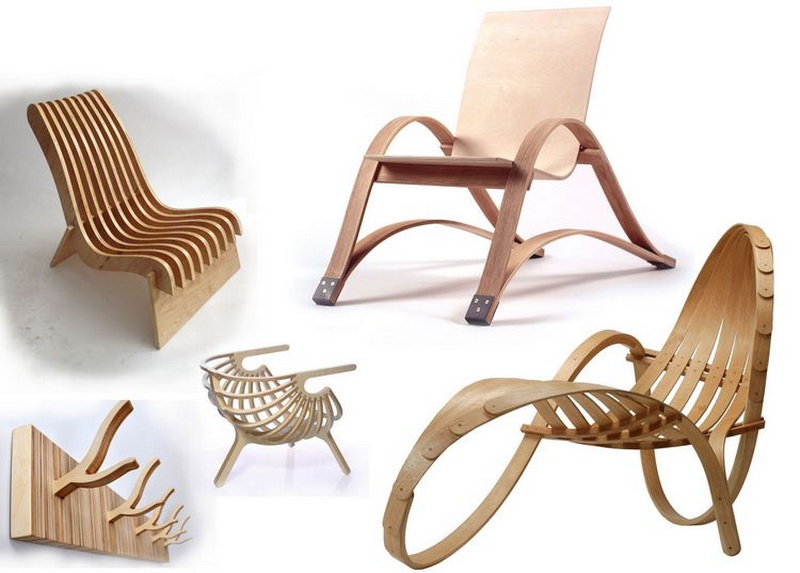
Chair
Make a high chair, a chair for an adult from plywood. It will become an original element of the interior of the room.
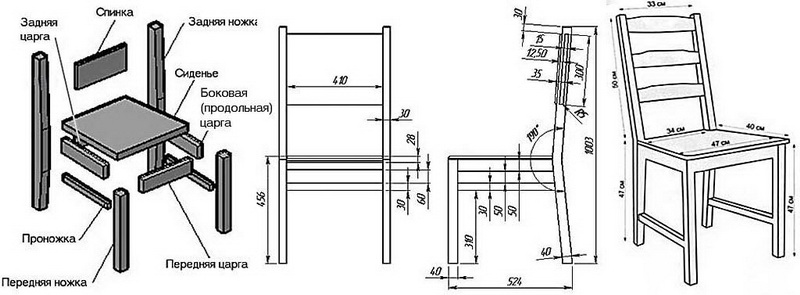
Work Stages:
- On a sheet of paper (A1 format) draw all the details of the chair according to the template. Scale 1: 1.
- Cut paper drawings.
- Put patterns on a pre-sanded plywood sheet, circle the contours with a pencil.
- Cut all parts with a jigsaw.
- Coat the grooves and wooden spikes with furniture glue. Assemble the base of the chair from the legs and cross plates.
- Connect the parts. Finish the chair.
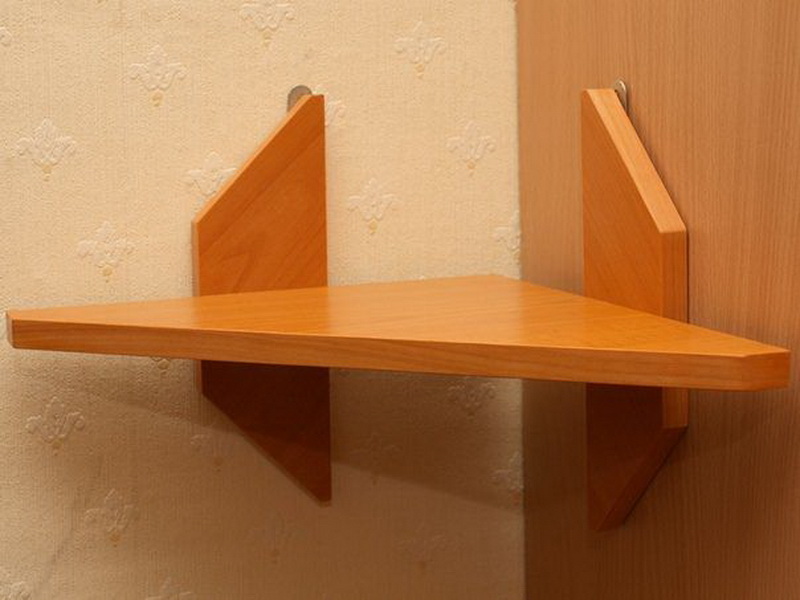
The simplest shelf
Make a Scandinavian-style hanging shelf from wood and lace.
You will need:
- one wooden board - length 60 cm, width 20 cm, thickness 2.5 cm;
- braided rope or cord - length 4 m, diameter 8 mm;
- two steel hooks, two dowels for a concrete wall (8 mm);
- drill with a drill (diameter 10 mm);
- hammer drill set of drills (need a diameter of 8 mm);
- a simple pencil;
- ruler;
- brush;
- light stain;
- Matt lacquer;
- carpentry level.
Master Class:
- Move away from the edges of the board by 3 cm, draw a line. In the places of their intersection, in the corners, make marks with a pencil.
- Drill holes according to the marking with a drill. Remove wood dust from the board.
- Cover the board with a stain, let dry.
- Treat the surface of the workpiece with a brush matte varnish.
- On the wall, mark the two attachment points of the shelf at a distance of 56 cm from one another, using the carpentry level.
- Drill holes with a puncher, insert dowels, screw in the hooks.
- Cut the rope in half.
- Pass the ends of each piece into the holes of the workpiece, tie in knots.
- Hang the shelf on the hooks.
Plywood products
Crafts from plywood will decorate the house, will be a good gift for a loved one. Plywood - a multilayer material from glued thin sheets of veneer.
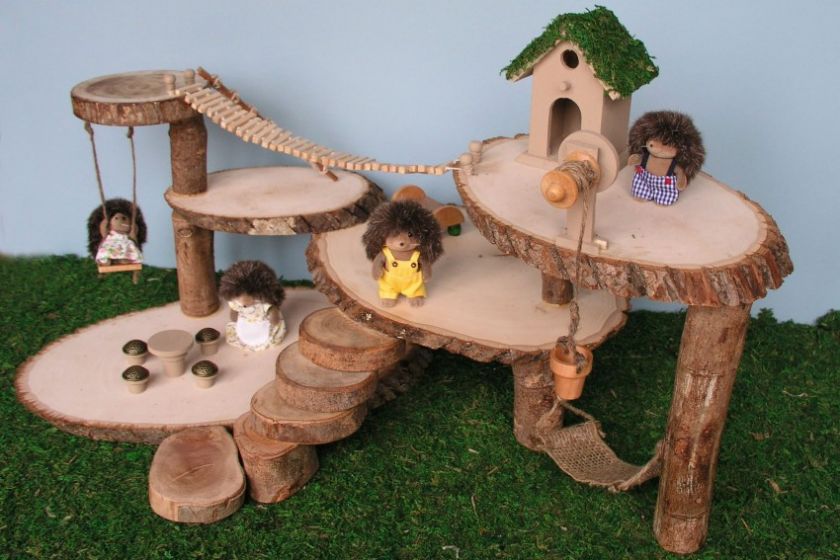
Beginners and experienced craftsmen make children's furniture, tables, shelves, other furniture, fences, fences, window sills, cutting boards, patterned platbands, flower stands and flowerpots, all kinds of boxes, and more from plywood sheets.
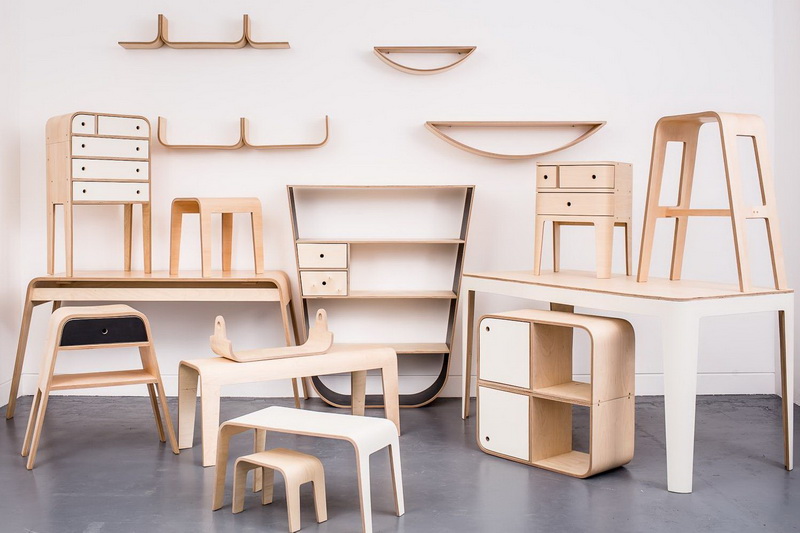

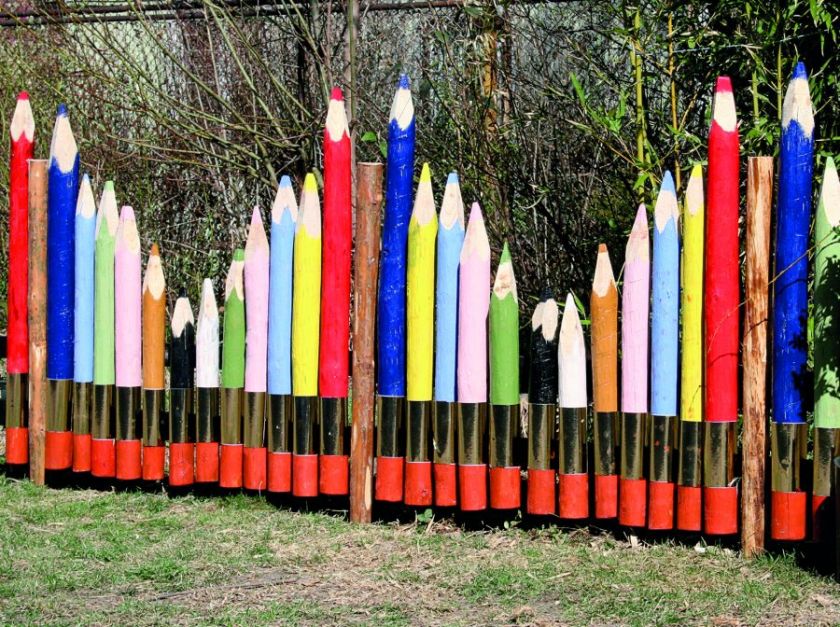
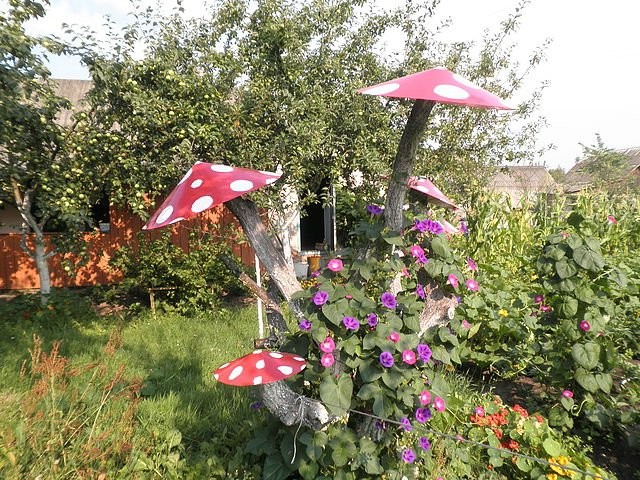
In the landscape of cottages, country houses, flat, voluminous figures, playgrounds in which there are decorative elements made of wood, plywood look interesting. Jigsaw cut openwork lampshades, vases, paintings and panels, lamps, accessories, and other wooden crafts.
Plywood items are made using drawings, a stencil is made for cutting a sheet. Drawings of large products are created on a 1 to 1 scale; when sawing, a natural-size scheme is used, which is later transferred to the workpiece.
Products for a country house
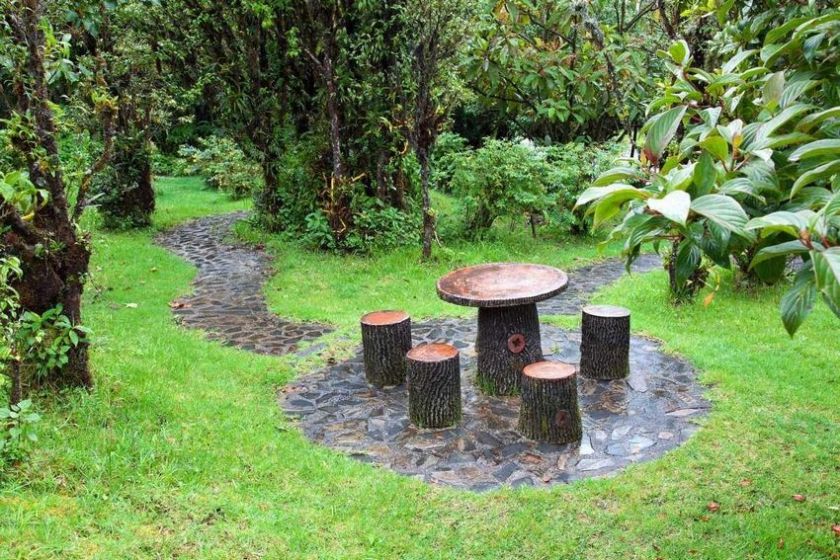
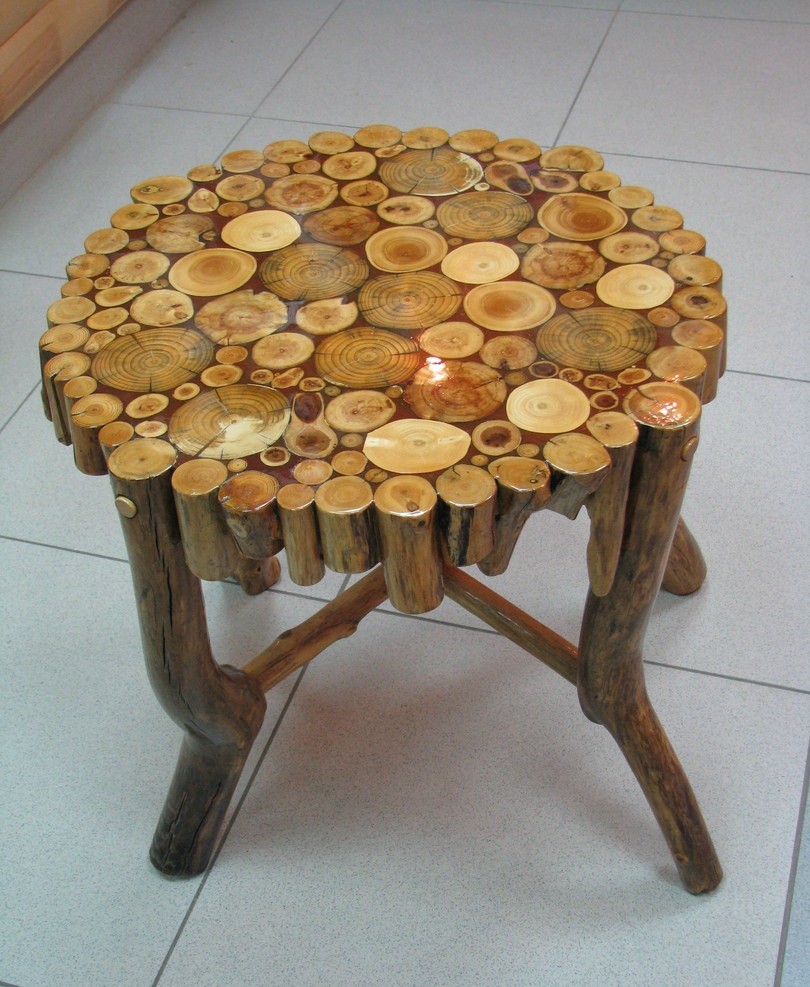
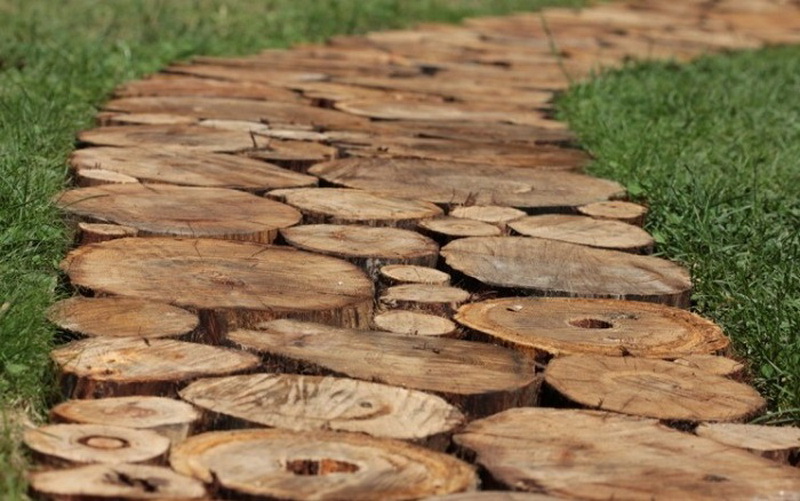
Paths from cuts
The household territory with such paths, paths looks festive and unusual. Do-it-yourself wood products decorate the landscape.
- Mark the tracks with pegs, a cord.
- Take the soil 12-15 cm deep.
- Tamp the base.
- Put waterproofing on the bottom of the moat. Pour a layer of sand 2-3 cm, compact.
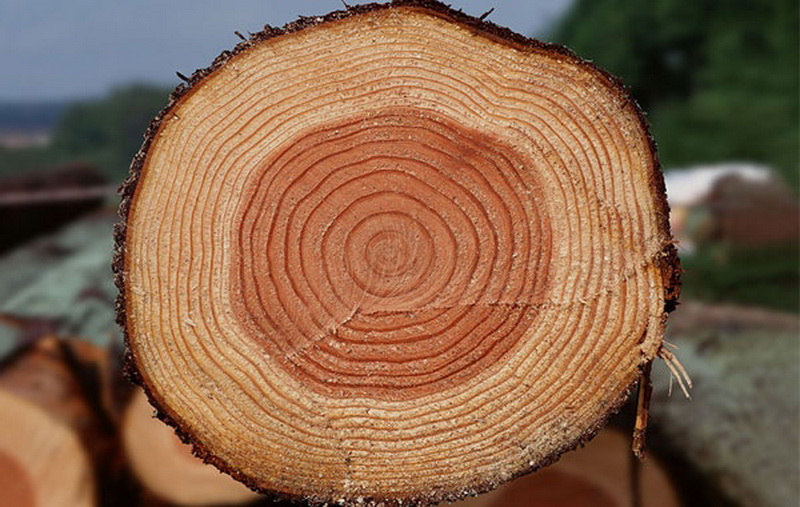
- Saw a tree trunk into round logs 8-10 cm thick.
- Grind cuts with a grinder or sandpaper. Varnish.
- Arrange the saw cuts arbitrarily, lapping them in the sand with a wooden hammer.
- Fill the holes between the rounds with sand, soil, small gravel, cement mortar. Seal the backfill.
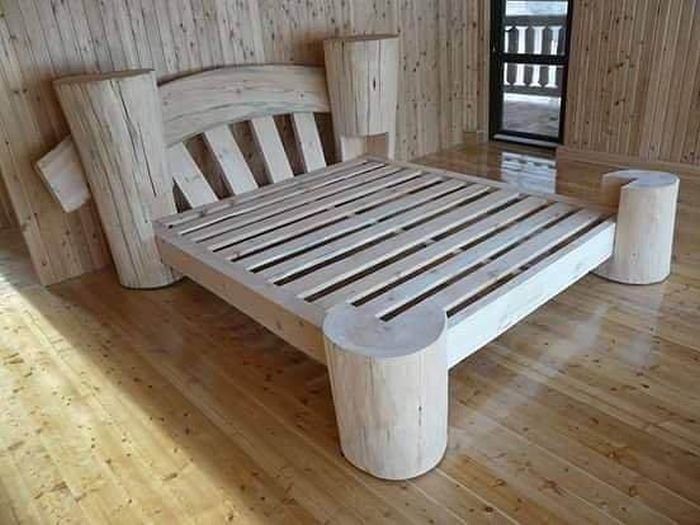
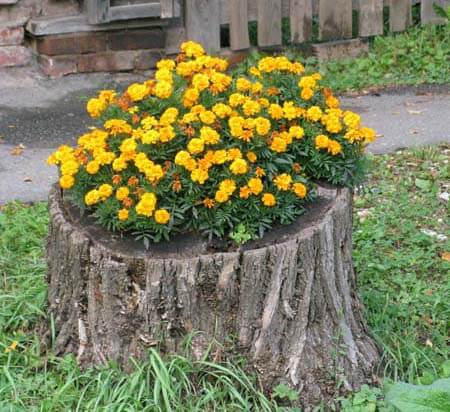
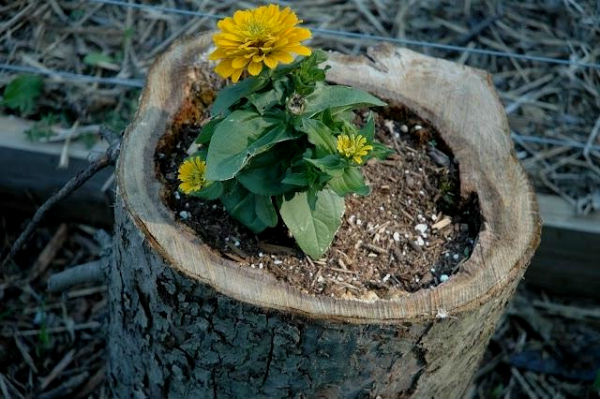
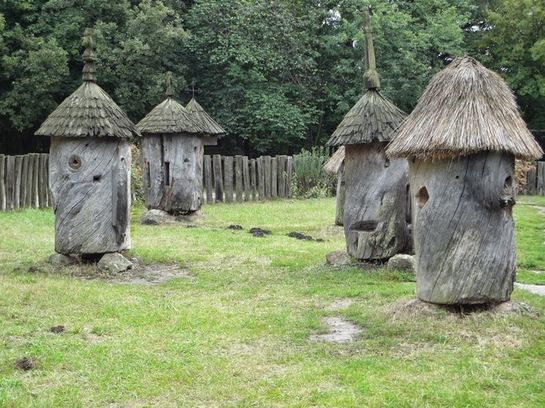
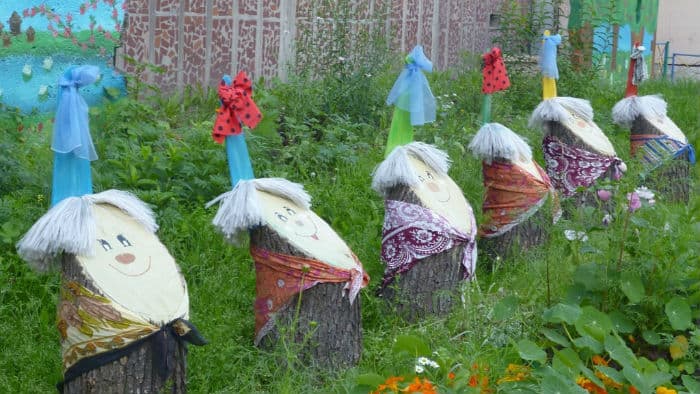
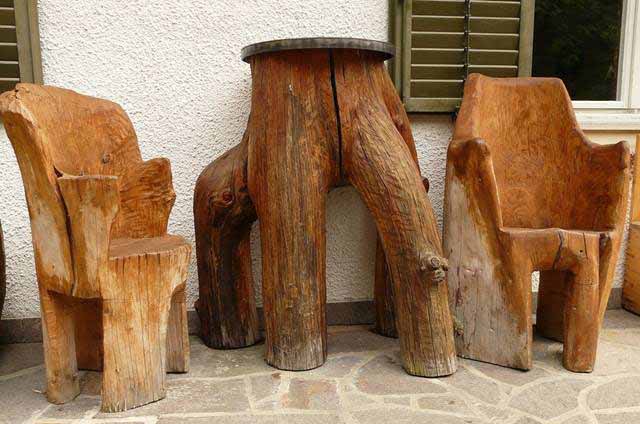
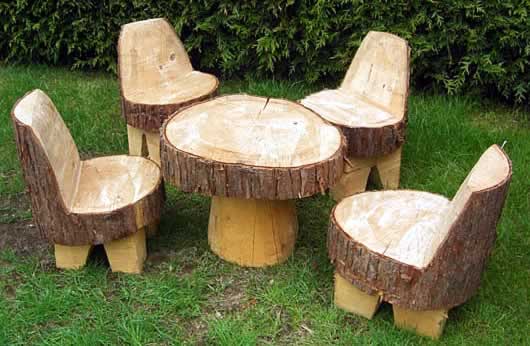
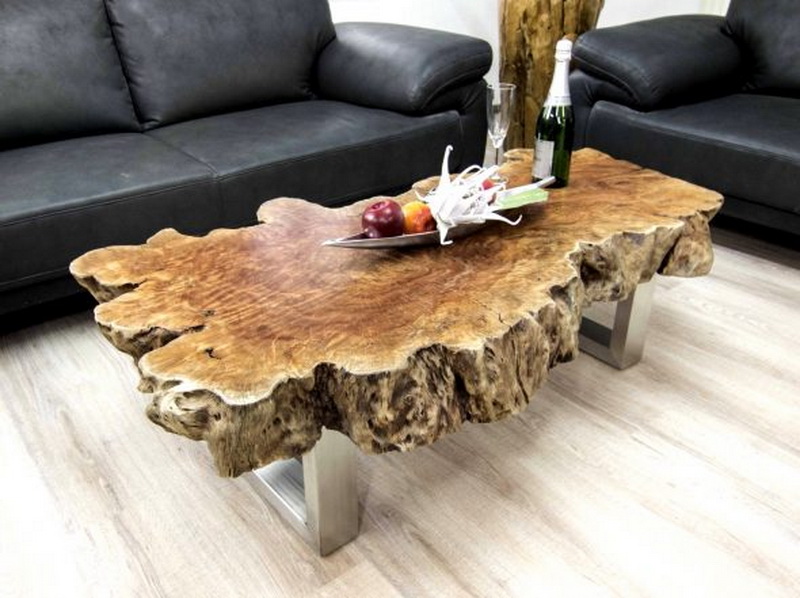
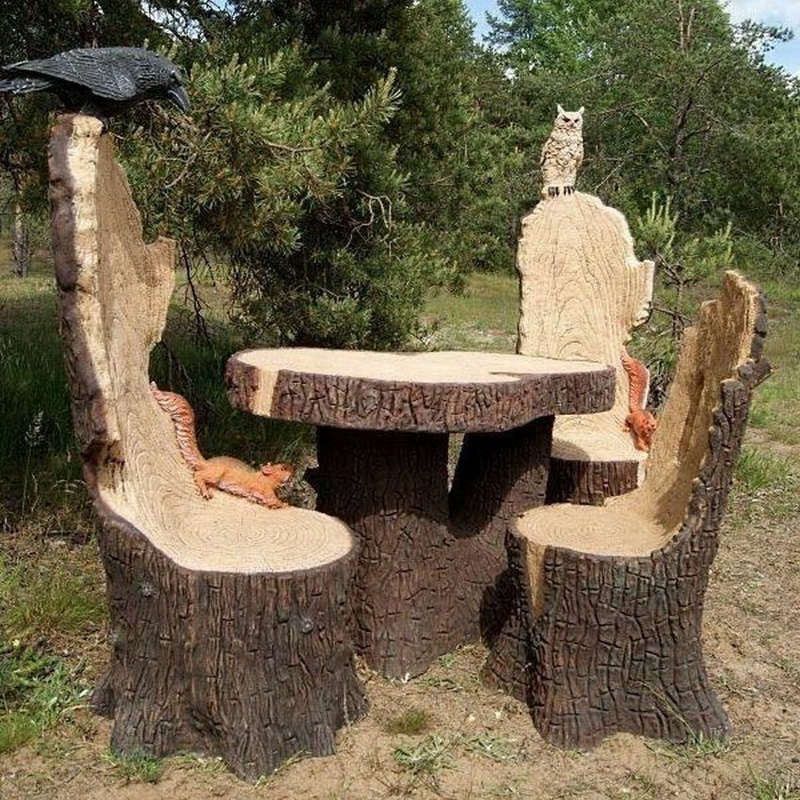
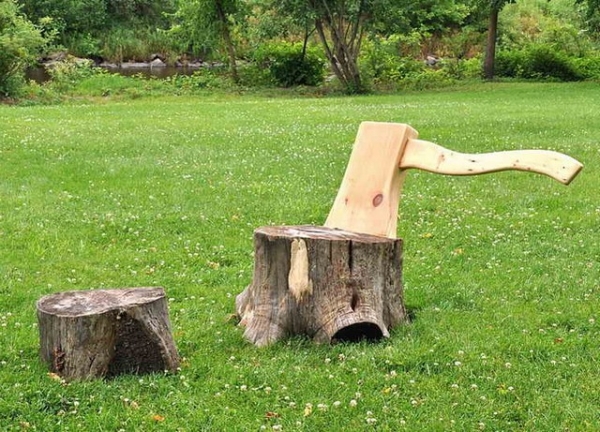
From logs, stumps
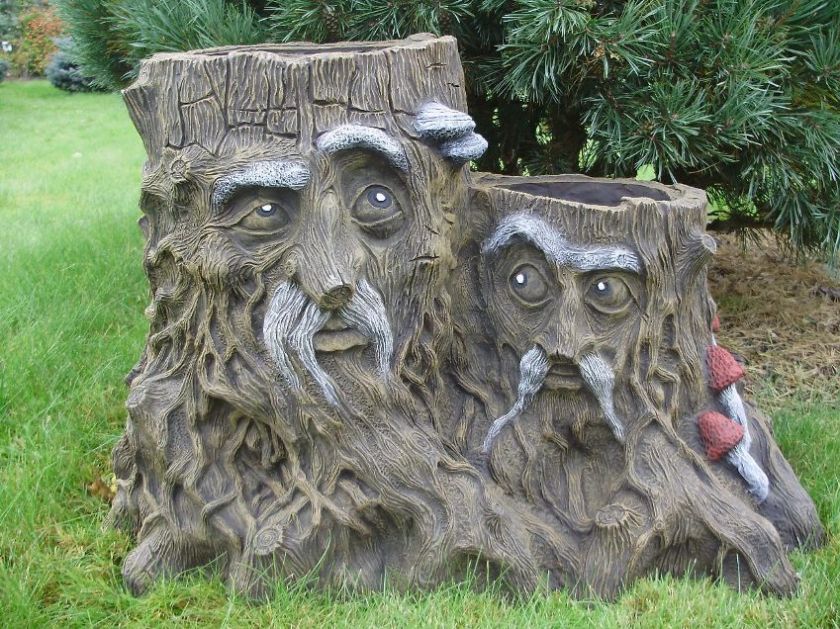
Old stumps, driftwood are an excellent basis for rutaria, a floral composition of stones, moss, succulents, flowers, beautiful plants, herbs, and other thematic elements.
Sawn stump rutaria:
- Make one or 2-3 recesses in the stump for planting the plants.
- Drill 3-6 drainage holes from the top to the base, the number of channels depends on the size of the workpiece.
- Clean the workpiece from dust with a brush, whisk, a piece of cloth.
- Sprinkle stump with boiling water, spill the entire surface.
- Dry in the open air, removing the base from a direct beam of the sun. Drying lasts 3-7 days.
- Treat with antiseptic solution twice.
- Line the recesses under the plants with waterproofing material.
- Locate the rutarium in the landscape of the site.
- Fill the soil, plant flowers, herbs, succulents. Pour. Create clearing compositions from living stumps, snags, large, bizarrely interwoven branches.
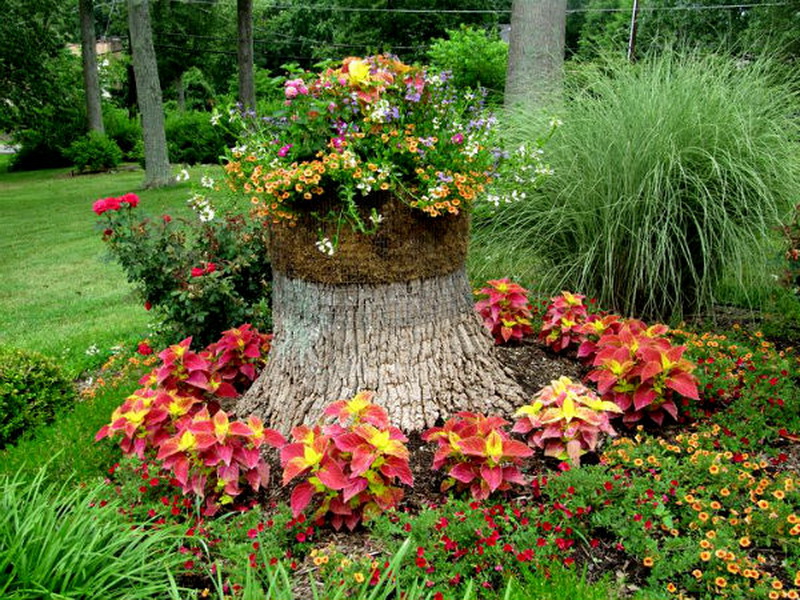

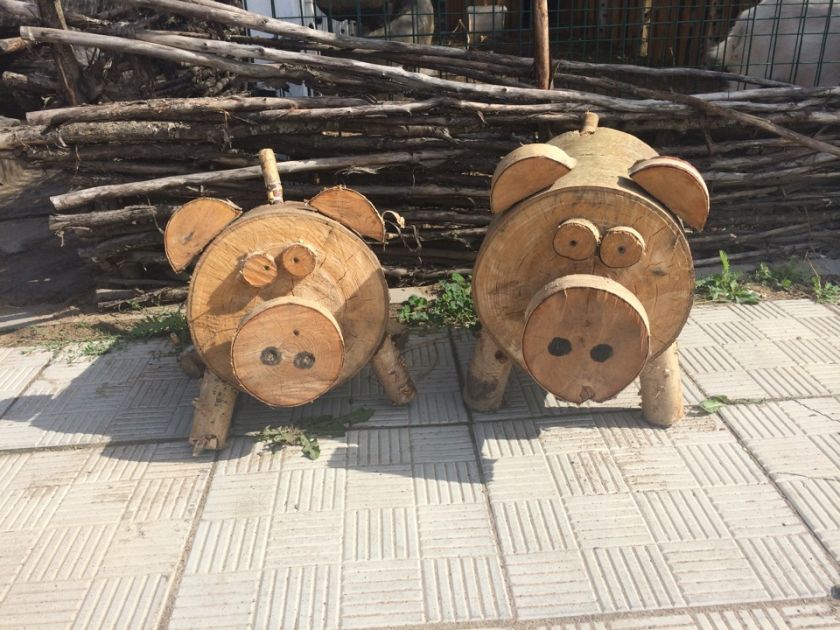
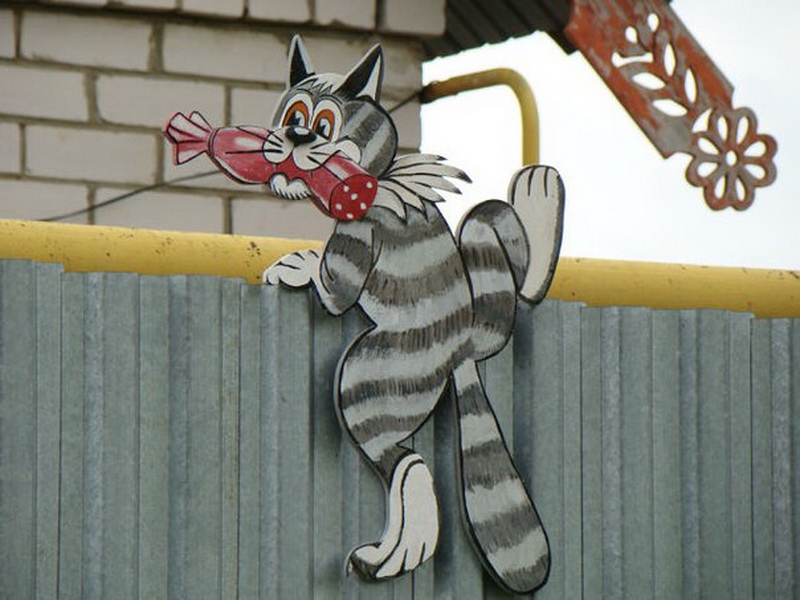
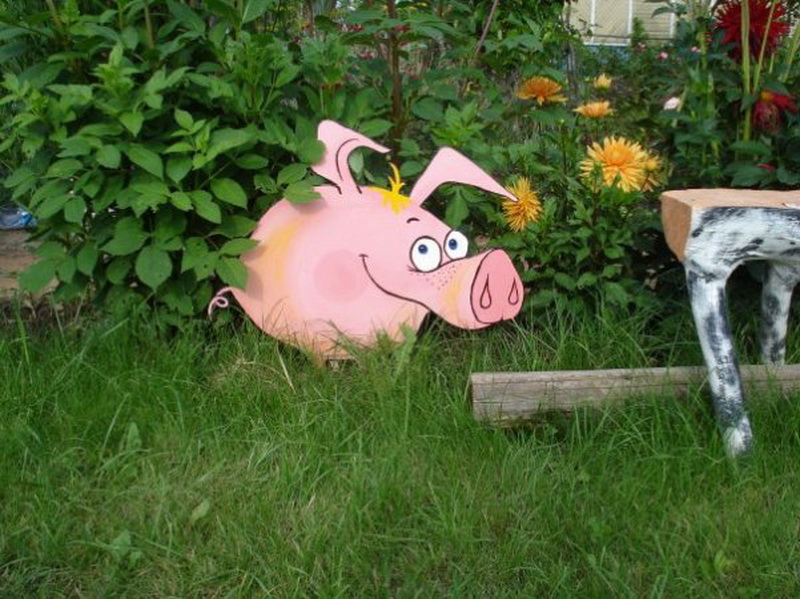
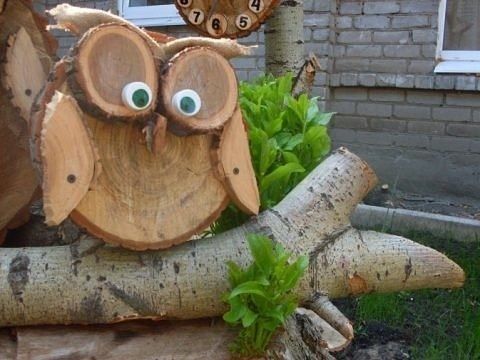
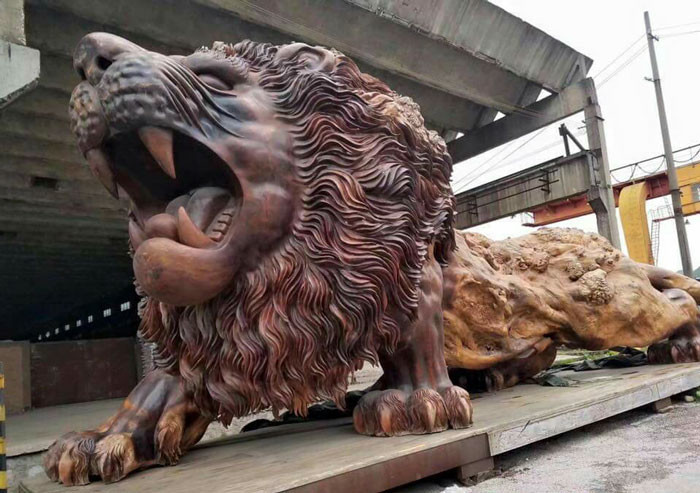
Skillful hands turn driftwood, decks and stumps into stunning, figures of unseen animals, fairy-tale characters, fancy flowers and plants, and other wooden decor.
Bird feeder
The wooden bird feeder is familiar to everyone. This may be the simplest platform with sides hanging on ropes, a miniature house with large openings, a complex multi-storey structure.
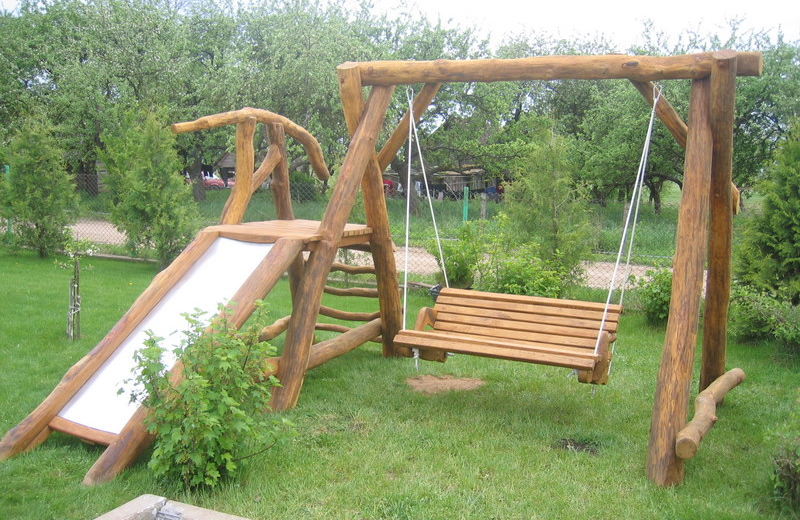
Swing
Make your own home a swing from wood with your own hands at home. Choose and design one of the types of hanging, portable or stationary swings. The most popular are large models with a wide base and back (sofa type), they are equally convenient for children, adults. Complete the swing with an awning, put soft pillows.
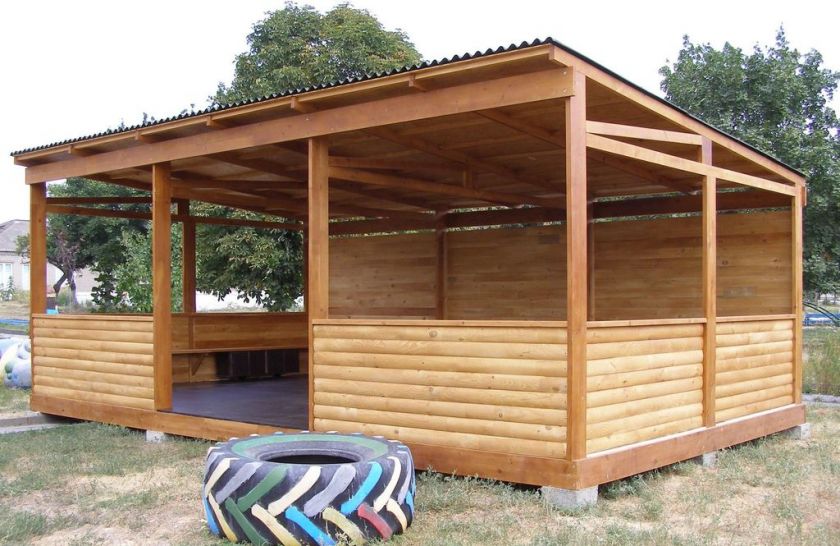
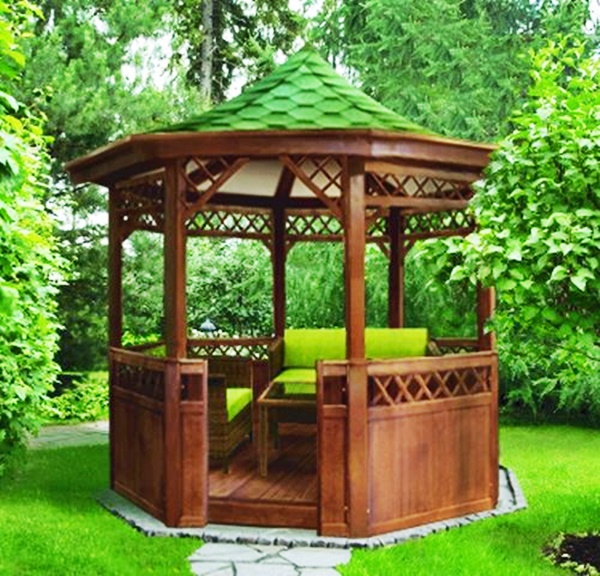
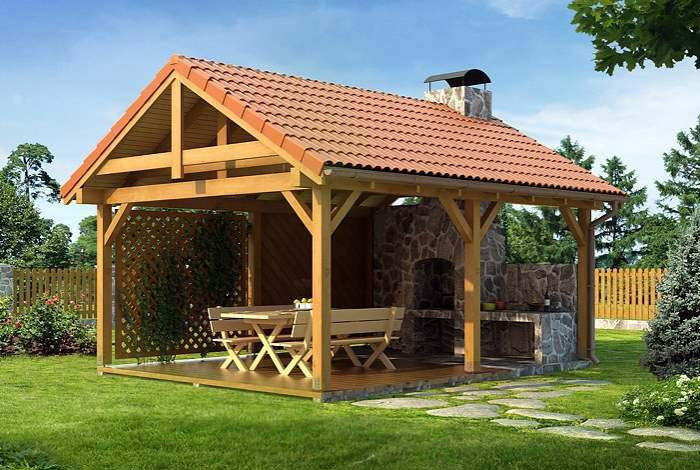
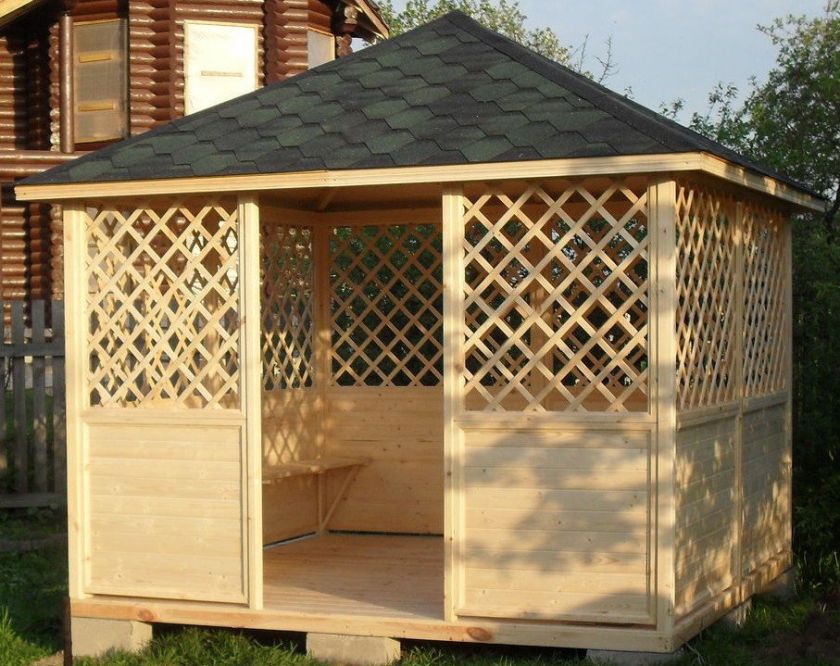
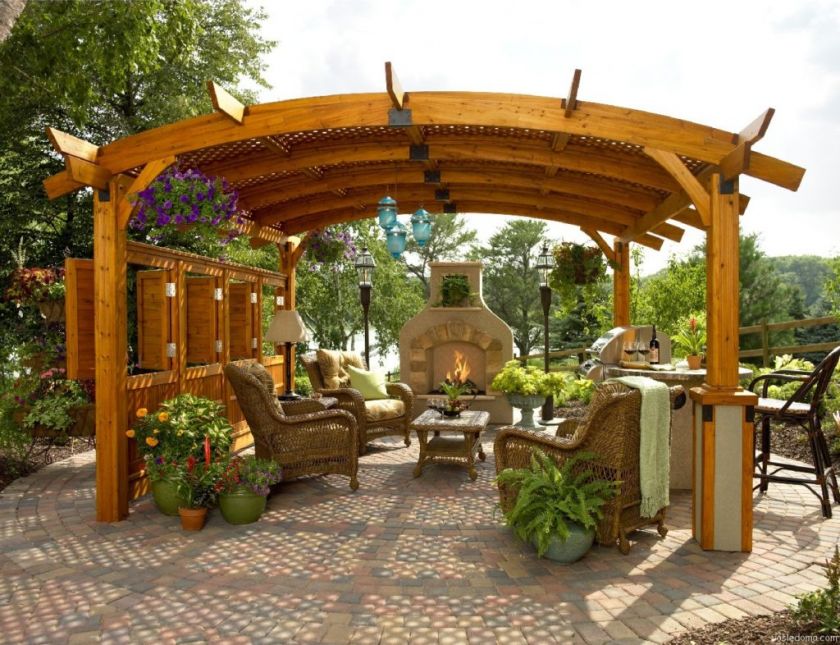
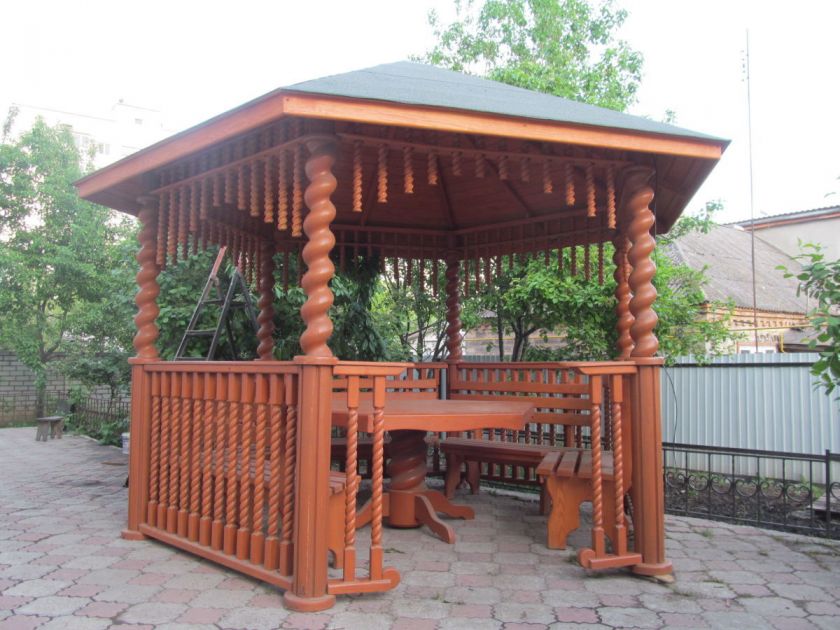
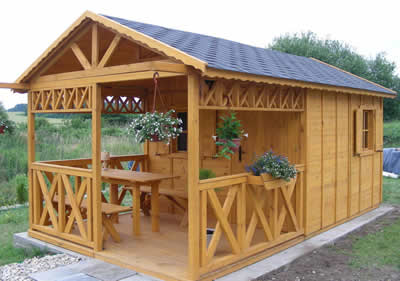
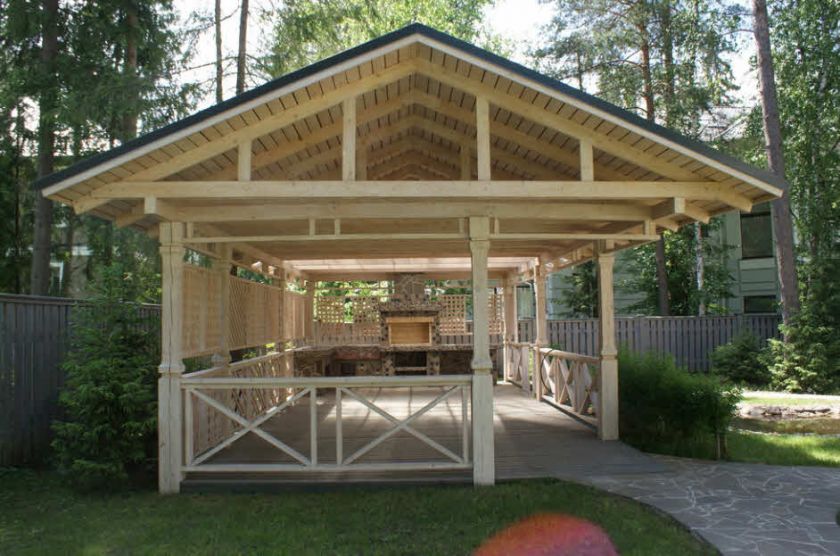
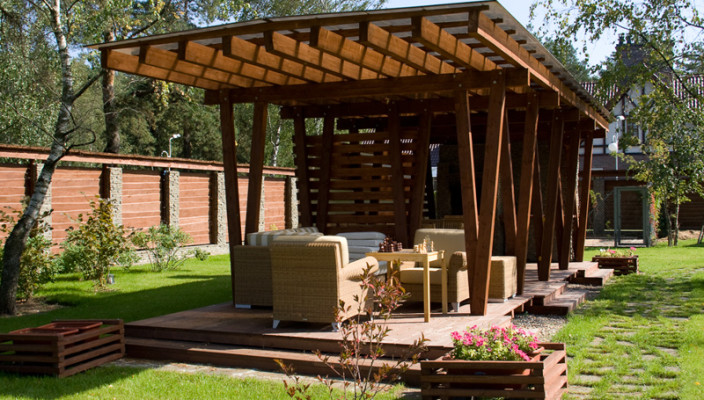
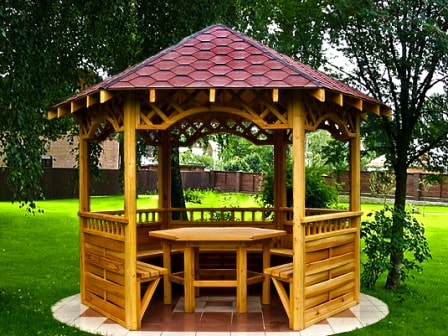
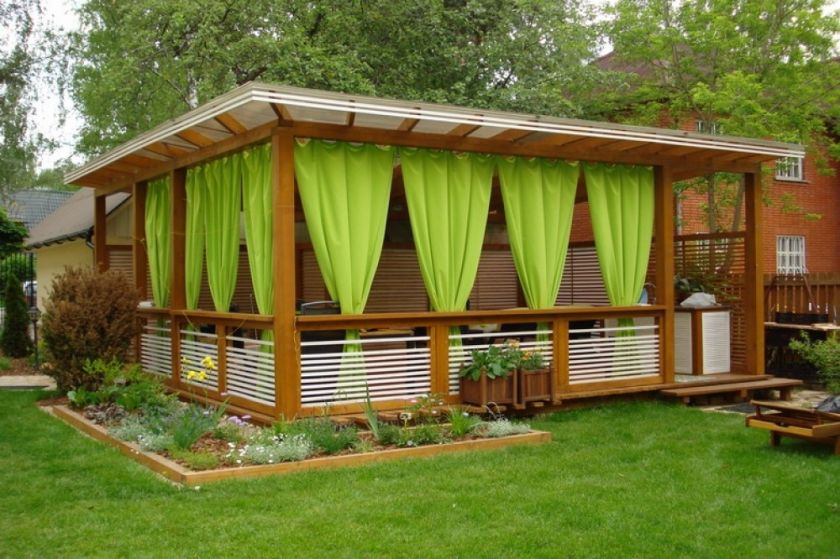
Gazebo
Choose a gazebo design. This will help the photo of wooden arbors from the collection of photos. Plan your future recreation area, draw a plan. Pick up materials, tools, drawings for beginners. Such wood products for summer cottages are always unique, decorate any site.

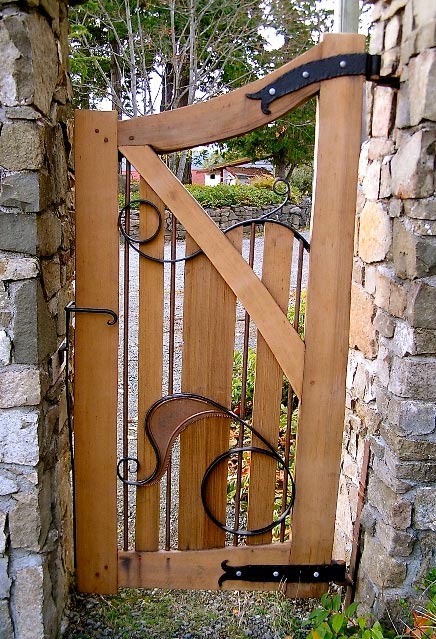
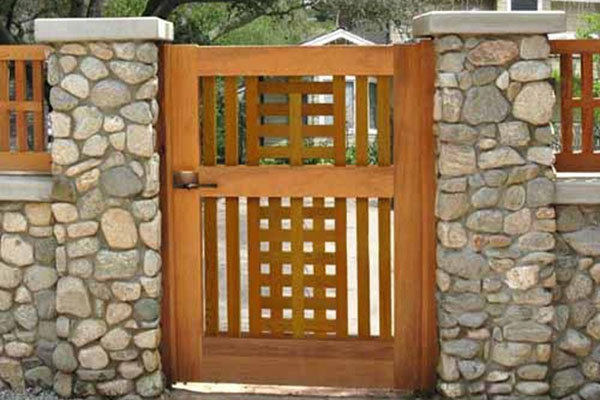
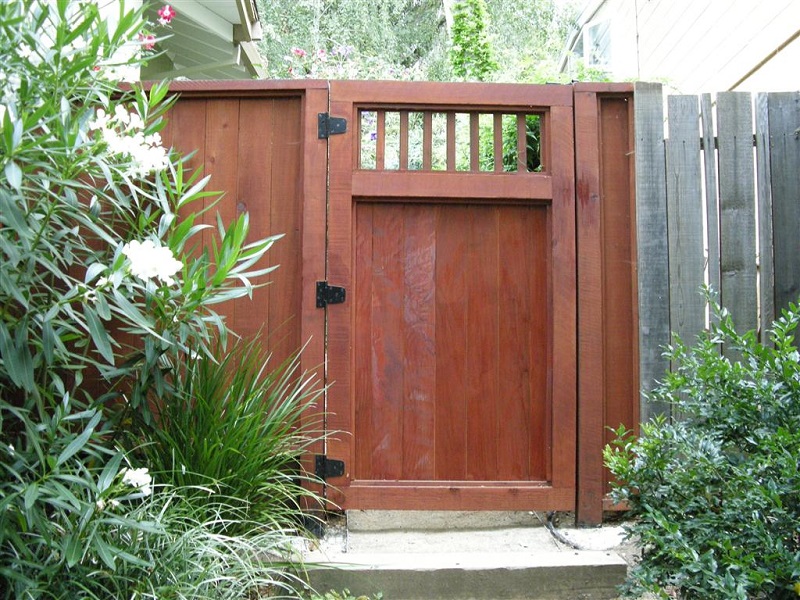
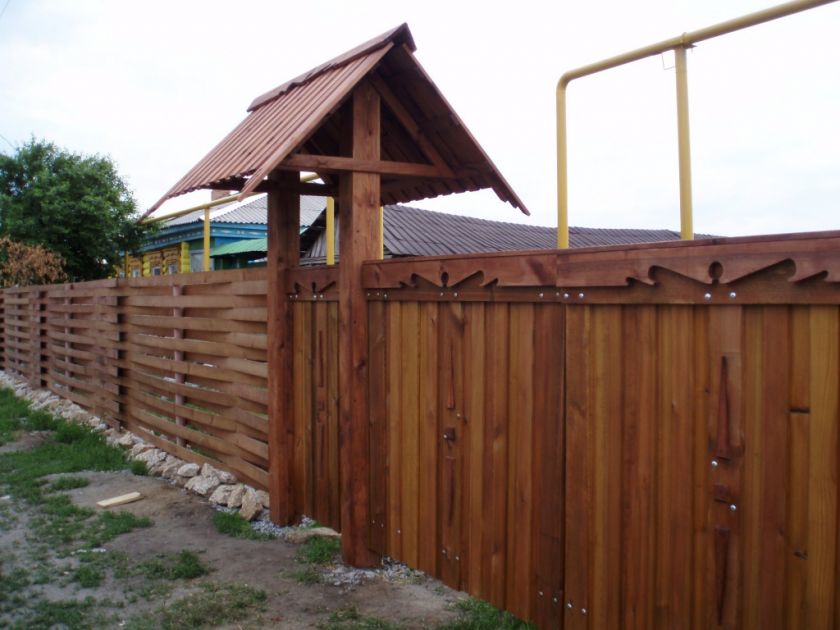
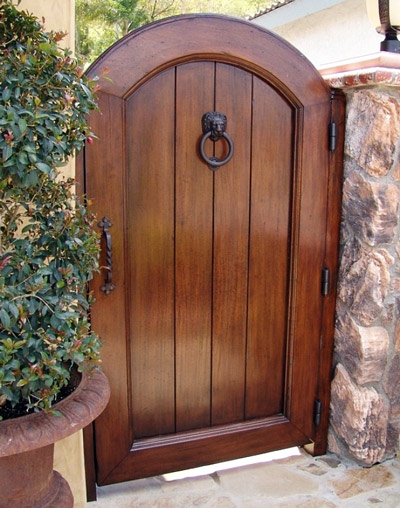
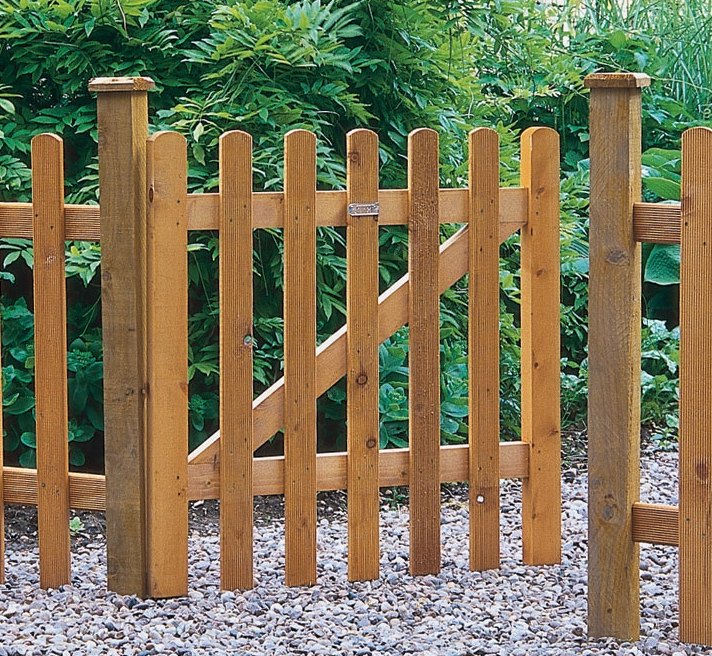
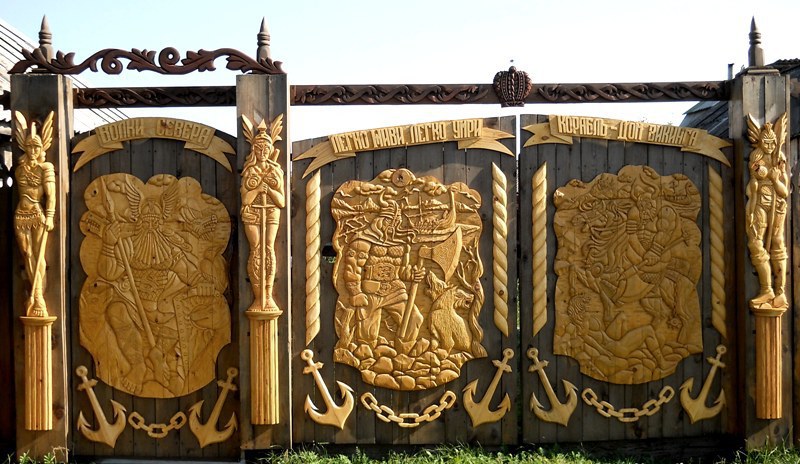
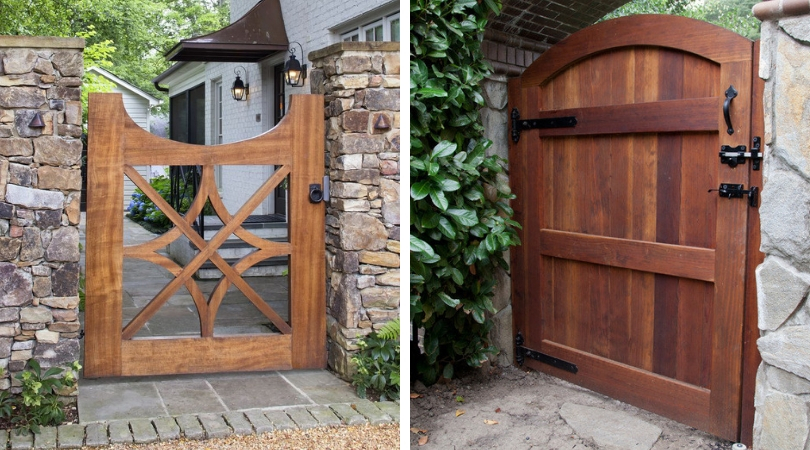
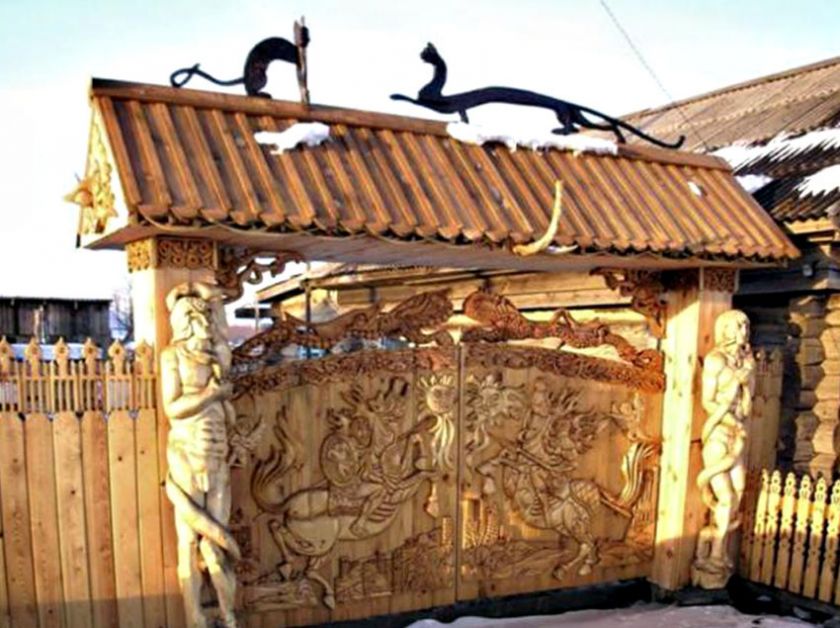
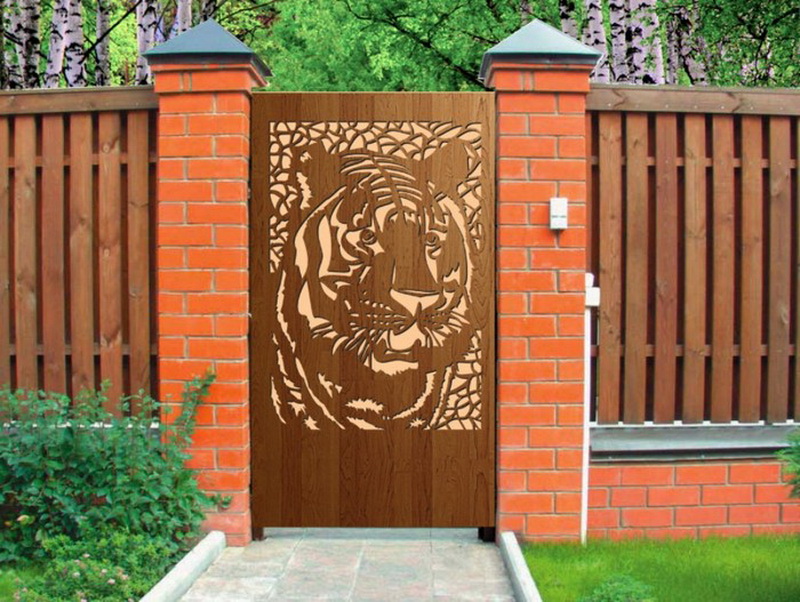
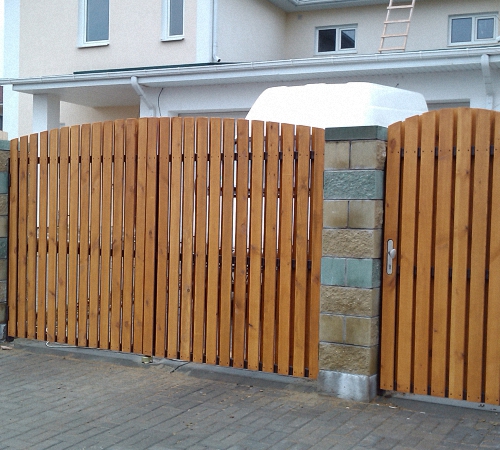
Gate
Make yourself a wooden gate in front of the house according to simple drawings. Wickets vary in construction and design, there are many options. When choosing a gate, buy quality materials designed for a long service life. Treat a tree with an antiseptic, paint or varnish.
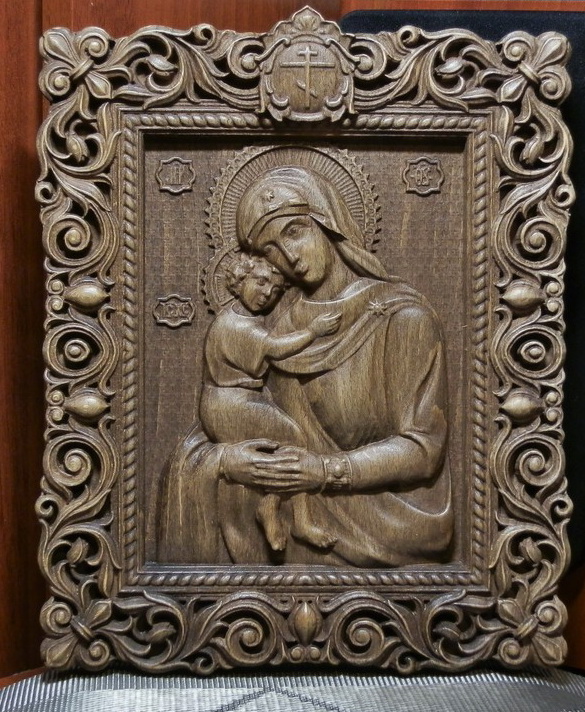
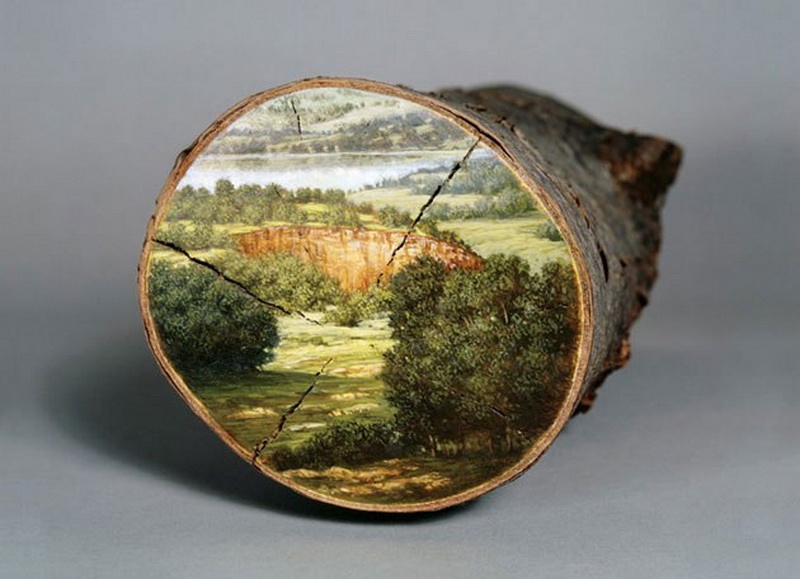
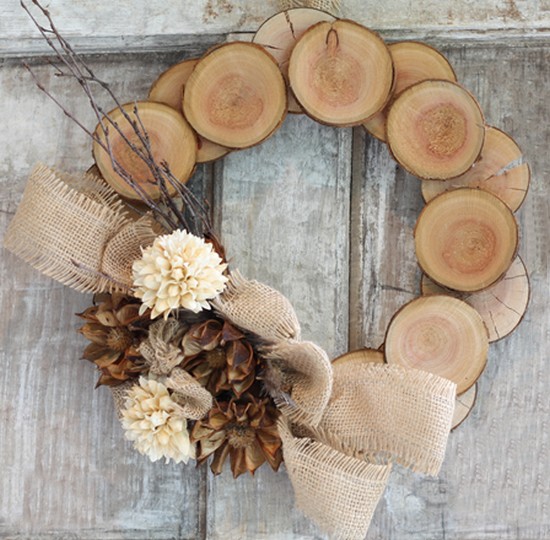
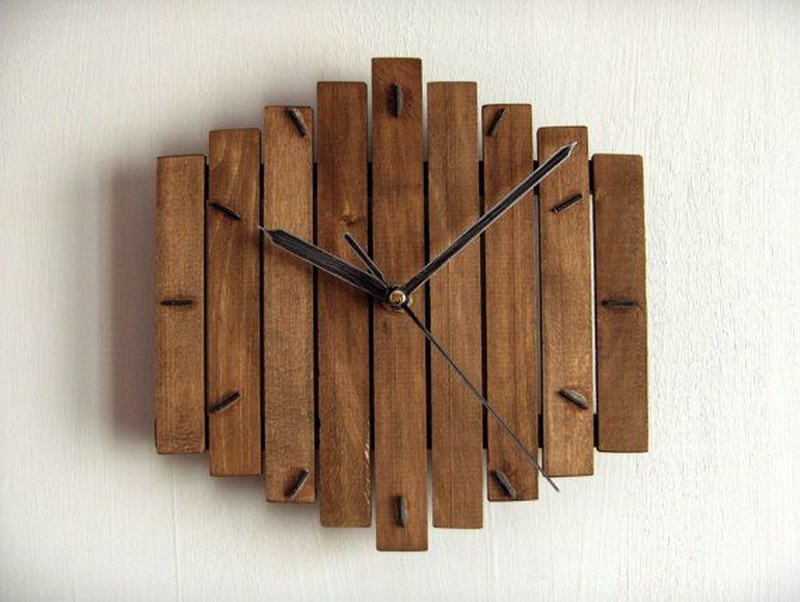
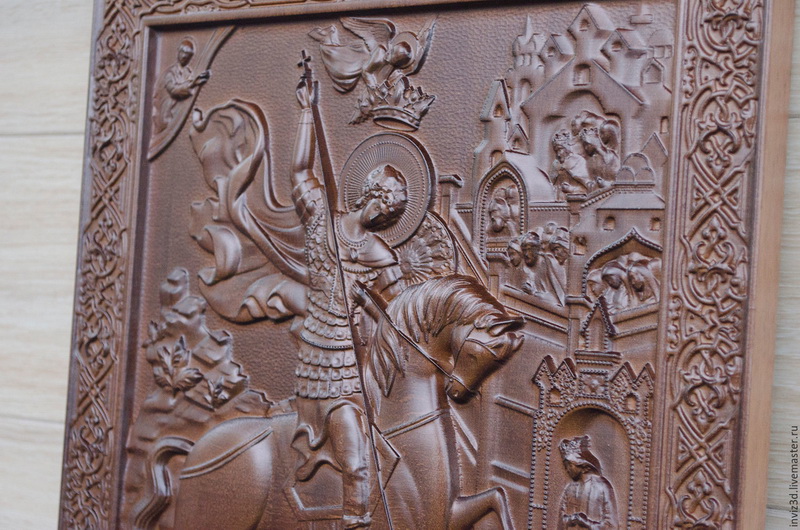
Tree trunk painting
Such a beautiful wooden decor on the wall is always interesting and unique. It is carried out by burning on a wood saw, painting with oil paints, created by blending techniques, their pre-cut wooden components.
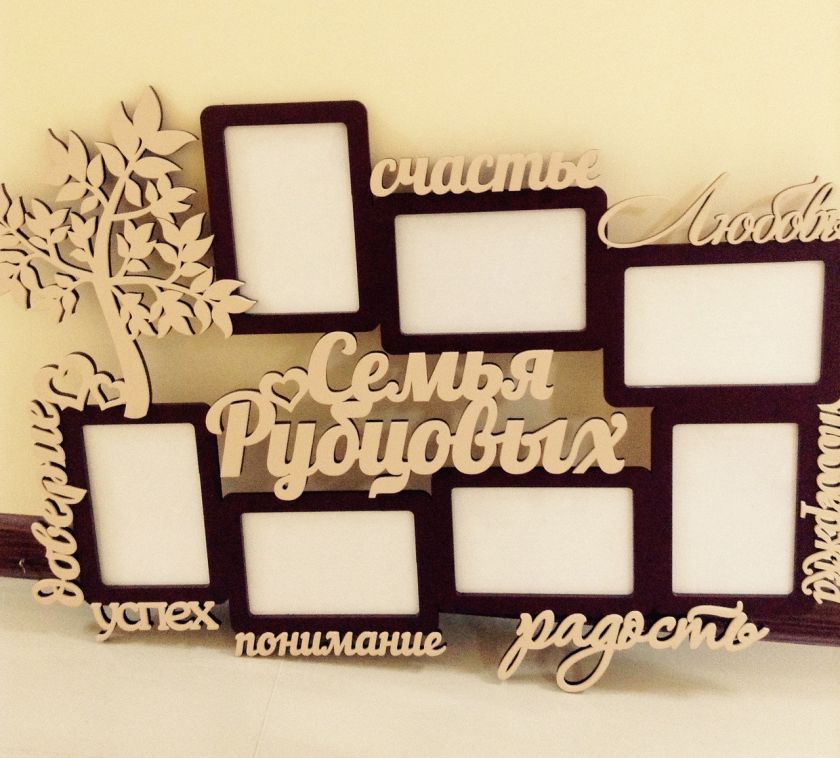
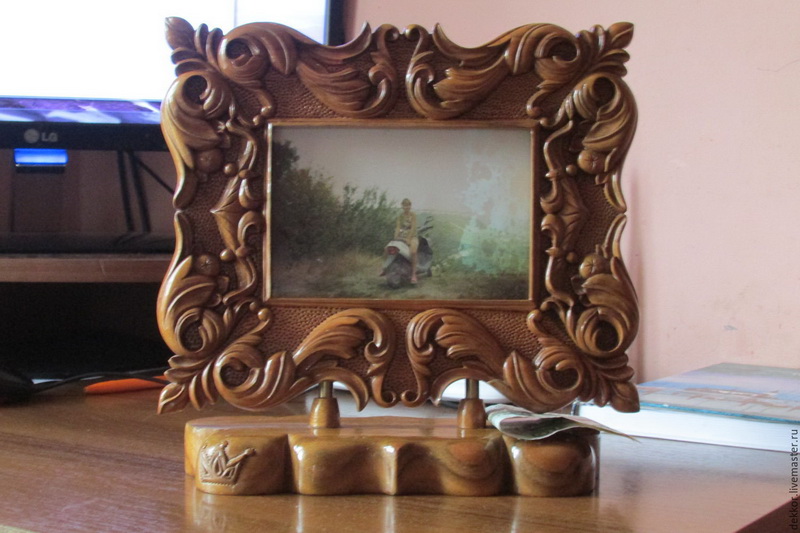
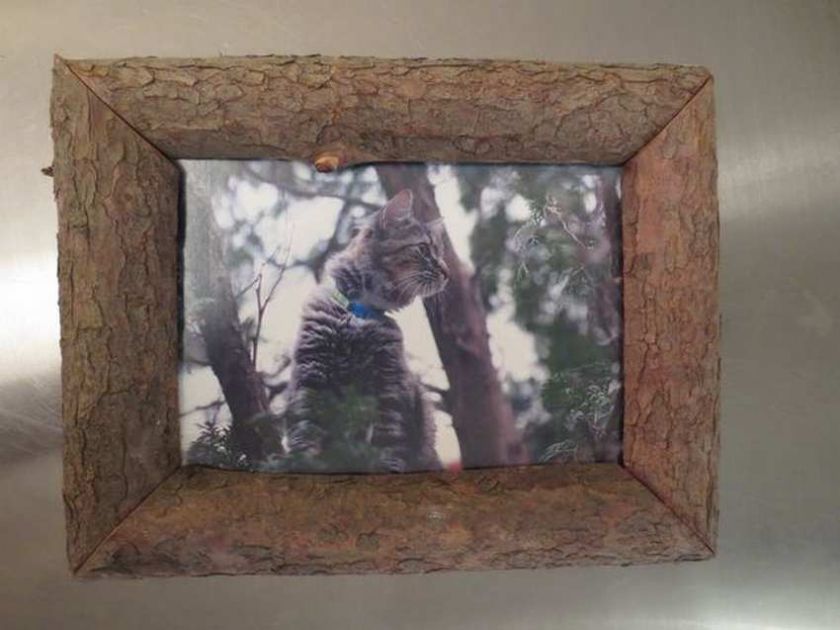
Frames for photos and paintings
To make such crafts, connect imagination and imagination.
- Do it yourself, print stencils with patterns from the network.
- Cut out the patterns with scissors, a clerical knife.
- Cut from plywood (thickness 5-6 mm) 4 strips 3-10 cm wide.
- On paper stencils, apply a pattern.
- Cut the profile of the frame, the pattern inside the strips (jigsaw)
- Fasten the strips into the frame with glue and staples.
Useful Tips
- Do not work with a tree only brought in from the cold. It should be "lay down" for at least a day.
- If there is no screwdriver, make holes half the diameter of the screws themselves. Screwing them in manually will be much easier.
Examples of original objects and jewelry made of wood, wood materials in a large selection of pictures.

-
- OLYMPUS DIGITAL CAMERA